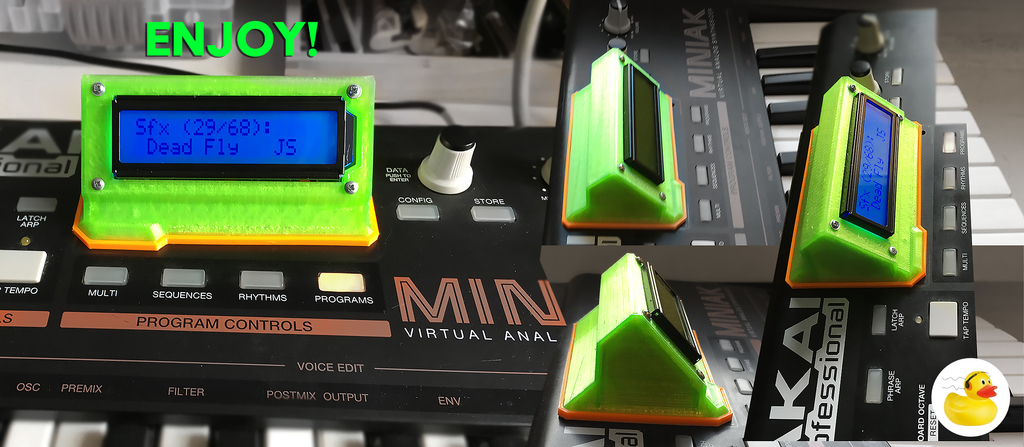
Display housing for AKAI MINIAK
thingiverse
This mod is based on the original Akai Miniak display, which was previously hidden behind a small plastic window and completely useless in its original position. 1. Remove the display and the original plastic window, print out parts, position the base, mark, and drill holes. 2. Combine printed parts to fit everything together. 3. Extend the display's ground cable - but don't worry about the ribbon, as the original length is enough. 4. Attach a ribbon and place the display in a new housing - it won't work if you try to place the display first and then attach the ribbon. 5. Screw the display into housing. 6. Screw the housing onto chassis - be careful! Screws can't be too long or housing will be damaged. 7. Enjoy your fully readable display! About printing - rotate models so they are horizontal (it's okay in Cura, but I'm not sure about others - e.g., Thingiverse preview is rotated - it shouldn't be). Use supports to support the upper horizontal edge of the display hole.
With this file you will be able to print Display housing for AKAI MINIAK with your 3D printer. Click on the button and save the file on your computer to work, edit or customize your design. You can also find more 3D designs for printers on Display housing for AKAI MINIAK .
