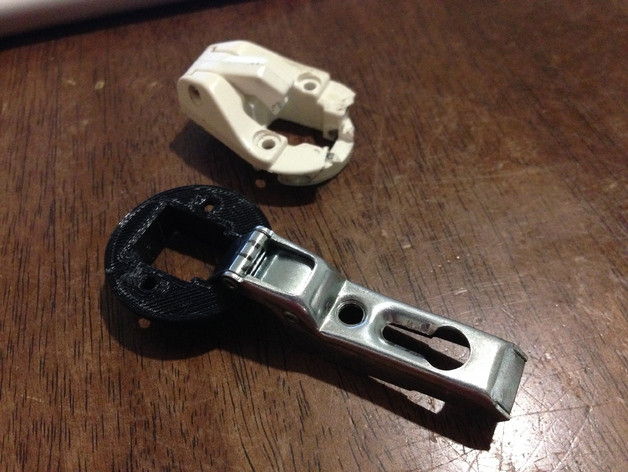
Display Cabinet Hinge Replacement Part
thingiverse
The replacement hinge piece designed specifically for the glass display cabinet boasts a sleek and sturdy build. It is engineered without the vital locking mechanism. To properly install this replacement hinge piece: Firstly, make sure your 3D printer is configured to print with optimal results. This can be achieved by adjusting settings such as layer height, infill percentage, and shell count. Here are the recommended settings for this project: 1. **Layer Height**: Set the layer height of the printer to 0.2 mm for a smooth finish. 2. **Infill Percentage**: Increase the infill percentage to 25% for added durability. 3. **Shells**: Configure the print to use three shells to ensure maximum strength and support. Once these settings are confirmed, it is time to begin the printing process. Please note that proper ventilation should be maintained during this project due to potential dust and chemical exposure. With your printer and settings properly prepared, start by placing the first shell on a flat surface. Apply glue or adhesive only to areas designated for bonding in the 3D design files. Now carefully align the next shell according to markings on each component. Securely fasten with additional glue or adhesive if necessary.
With this file you will be able to print Display Cabinet Hinge Replacement Part with your 3D printer. Click on the button and save the file on your computer to work, edit or customize your design. You can also find more 3D designs for printers on Display Cabinet Hinge Replacement Part.
