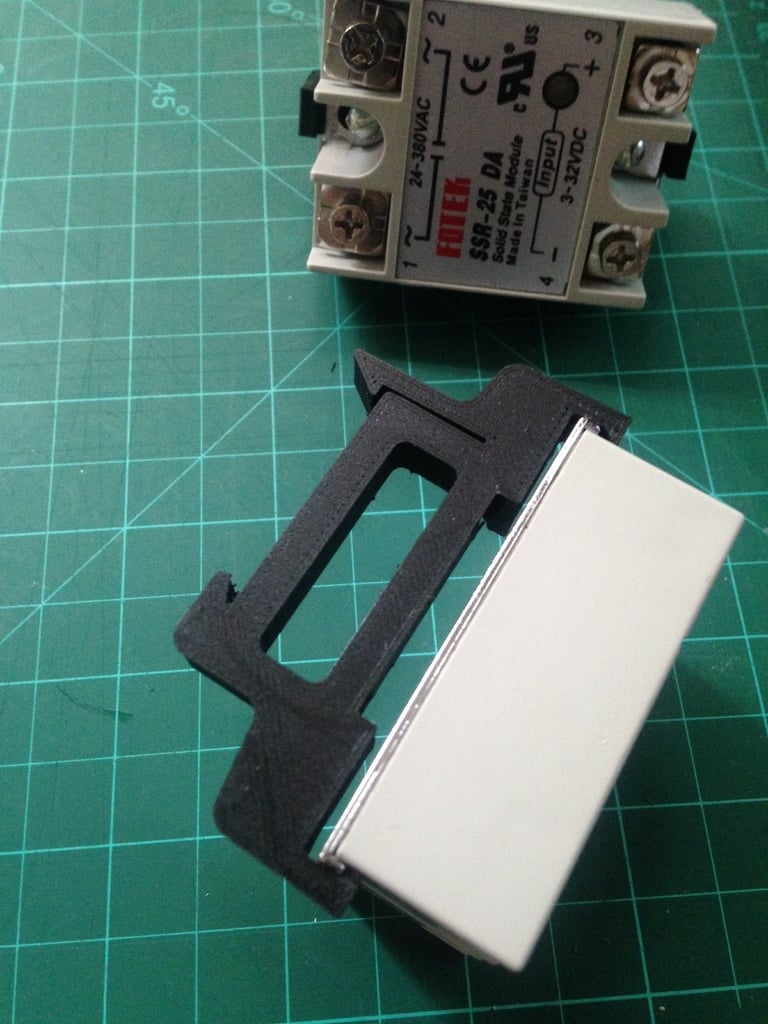
DIN rail mount SSR 25 DA
thingiverse
A custom-designed DIN mount for the SSR-25 DA relay is now available from ULSA-MX, making it easy to install and integrate into any system. To assemble this part, you will need 2x 6mm nuts and 2 M3 (approximately) bolts. While these are the recommended sizes, feel free to experiment with different options to find what works best for your specific application. When printing this DIN mount, make sure it is oriented with the flat side facing upwards. This will ensure a smooth installation process. To attach the DIN mount to an SSR-25 DA relay, start by sliding it onto one edge of the device or using a screwdriver to access the metal notch located at the back of the relay. Once you have accessed the notch, carefully insert the screws into the holes (or middle notches) on the part. The holes are designed to accommodate a 6x6mm nut, making it easy to secure the DIN mount in place. To align the hole with the wire or small screwdriver tip of the SSR-25 DA relay, simply insert a screw and then tighten it firmly. This will ensure a secure and stable connection between the DIN mount and the relay.
With this file you will be able to print DIN rail mount SSR 25 DA with your 3D printer. Click on the button and save the file on your computer to work, edit or customize your design. You can also find more 3D designs for printers on DIN rail mount SSR 25 DA.
