Dimensional Accuracy Calibration for Delta Printers
thingiverse
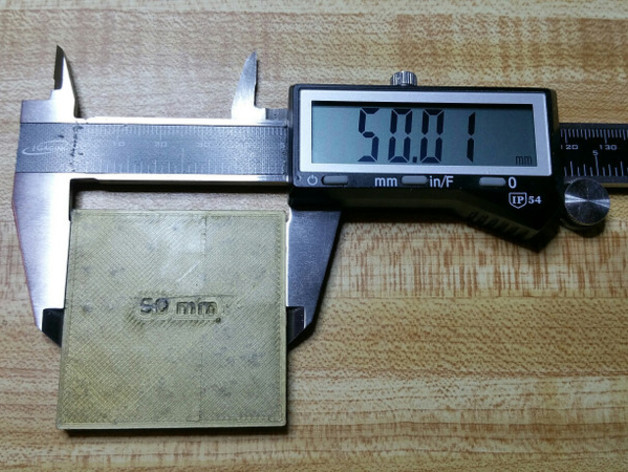
The text appears to be instructions on how to calibrate a 3D printer using a simple method involving the printing of two specific boxes with dimensions 50mm and 100mm. Here's a summary: **Step 1: Measure the filament diameter** Measure the diameter of your filament, which should be around 2.85mm for most plastics. **Step 2: Print the 50mm box** Print the 50mm box using the printer's default settings. Measure its width in several locations to get an average value. **Step 3: Big Box** Slice and print a larger box with dimensions 100mm x 100mm. Measure its width in several locations. **Step 4: Figure out where the scaling error is** Compare the measured widths of both boxes. If the scaling errors are similar, adjust the arm length; if they're different, adjust the extrusion multiplier. **Step 5A: Adjusting the Arm Length** If the scaling errors are similar, calculate a new arm length using the average measured width and the desired width (50mm or 100mm). Re-calibrate the printer geometry after adjusting the arm length. **Step 5B: Adjusting the Extrusion Multiplier** Adjust the extrusion multiplier to fix the scaling error. If the boxes were too narrow, increase the extruder; if they were too wide, decrease it. No re-calibration of the printer geometry is needed in this case. **Step 6: Re-check and re-slice (if necessary)** Re-print the 50mm box and check its width with calipers. If the calibration piece doesn't come out perfect, you can start again.
With this file you will be able to print Dimensional Accuracy Calibration for Delta Printers with your 3D printer. Click on the button and save the file on your computer to work, edit or customize your design. You can also find more 3D designs for printers on Dimensional Accuracy Calibration for Delta Printers.
