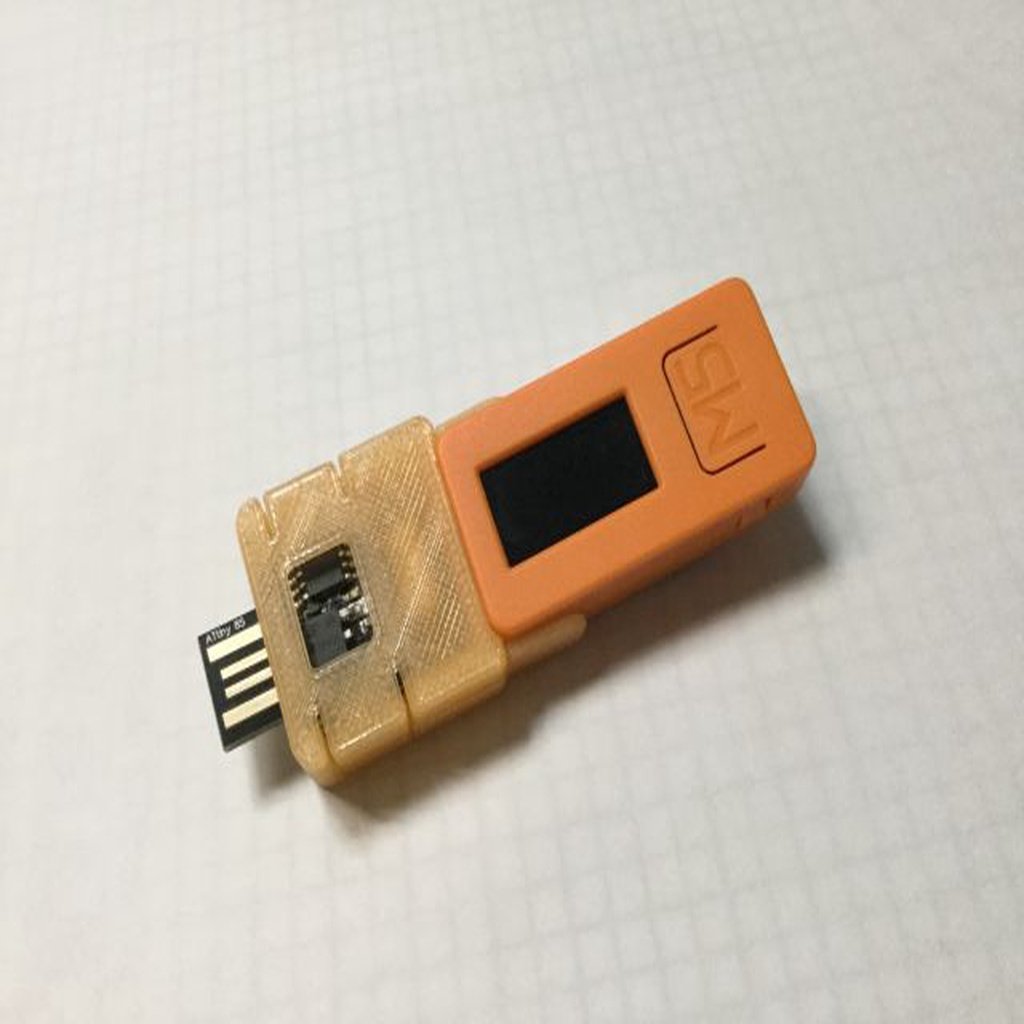
Digispark HAT for M5StickC
thingiverse
This prototype connects DigiSpark or compatible boards to M5StickC. It was created with reference to the following site, Lang-Ship. The specific project is "Trial of USB keyboard function with M5StickC and DigiSpark(ATTiny85)" by @tnkmasayuki, located at https://lang-ship.com/blog/?p=1219. Special thanks go to Tanaka Masayuki for sharing the details. CAD files are available for this project, including at85-c_27.stp in STEP format and STL files at85-c_27_top.stl and at85-c_27_btm.stl. To create this prototype, you will need: * Digispark or compatible boards * A square piece of universal board with 8x9 holes, measuring 21x23mm and 1.6mm thick * 2.54mm pin header connectors * Right angle 2.54mm pin headers * Jumper Header (optional) Please refer to the above site and photos for instructions on how to make this prototype. To connect M5StickC and DigiSpark, follow these steps: * Connect GND to GND * Connect SDA on GPIO 0 to P0 * Connect SCK on GPIO26 to P2 Optional: If you want to add a jumper Header and 2.54mm pin header connector (3pin), you can do so. The wiring is as follows: 1. NC (no connection) 2. DigiSpark[5V_out] 3. M5Stick [5V_in]
With this file you will be able to print Digispark HAT for M5StickC with your 3D printer. Click on the button and save the file on your computer to work, edit or customize your design. You can also find more 3D designs for printers on Digispark HAT for M5StickC.
