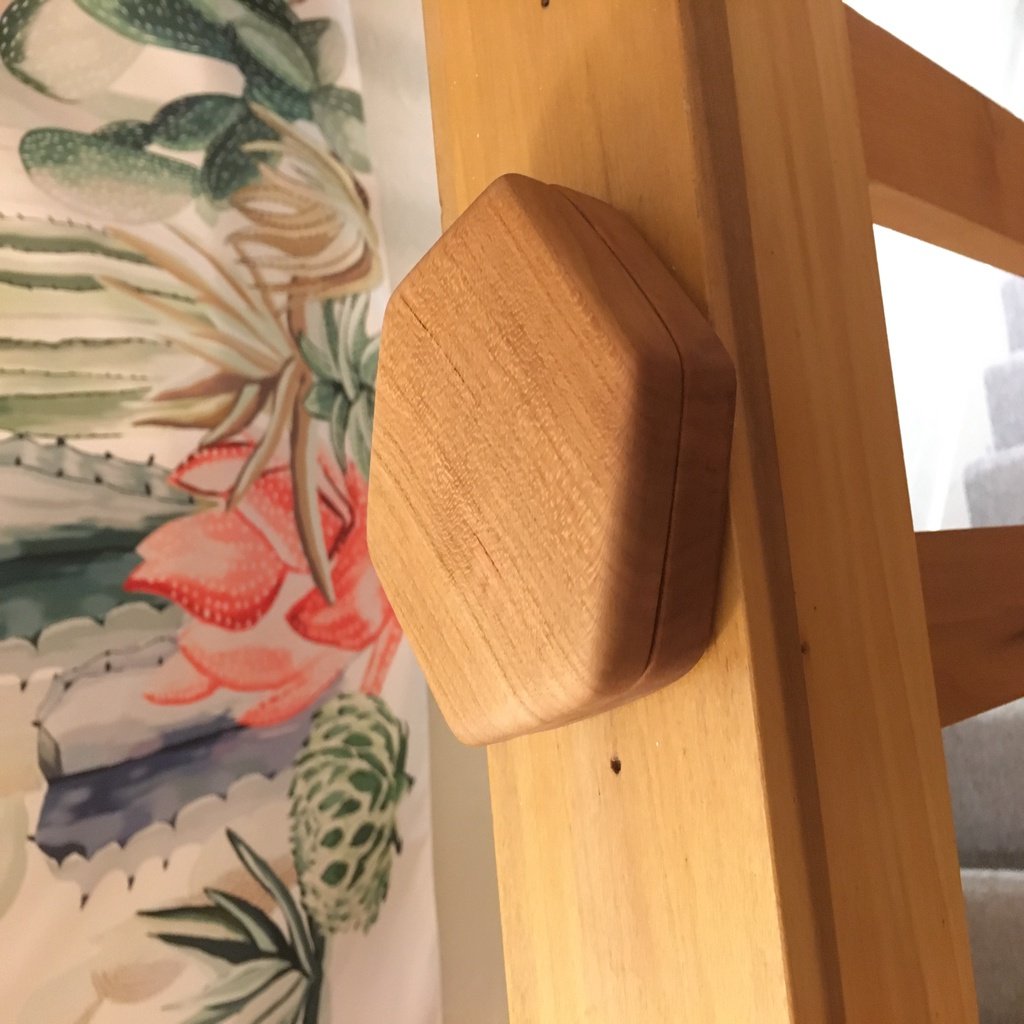
Dice Box router template
thingiverse
Create Your Own Custom Dice Box with a Router - A Step-by-Step Guide Are you tired of using boring, off-the-shelf dice boxes? Do you want to add a personal touch to your gaming experience? Look no further! With a router and some basic woodworking skills, you can create your own custom dice box that's tailored to your unique style. In this guide, we'll walk you through the process of creating a custom dice box using a router. From selecting the right materials to assembling the final product, we'll cover everything you need to know to get started. Materials Needed: * 1/2" thick wood for the top and bottom plates * 1/4" thick wood for the sides and back plate * Router with various bits (e.g. edge guide, rabbet bit) * Sandpaper * Wood glue * Clamps Step 1: Design Your Dice Box Before you start cutting any wood, it's essential to design your dice box. Take some time to sketch out your ideas and consider the following factors: * Size: How big do you want your dice box to be? * Shape: Do you want a rectangular or circular shape? * Style: Do you prefer a modern or traditional look? Once you have a solid design, move on to the next step. Step 2: Cut Out Your Wood Using your router and various bits, cut out the wood for your top and bottom plates. Make sure to use a steady hand and keep your cuts smooth and even. If you're new to woodworking, consider practicing on scrap wood before cutting into your actual materials. Step 3: Assemble the Sides and Back Plate Cut out the wood for the sides and back plate using the same router bits as before. Assemble these pieces together using wood glue and clamps. Make sure everything is securely attached and evenly spaced. Step 4: Attach the Top and Bottom Plates Using your router, attach the top and bottom plates to the assembled sides and back plate. Use a rabbet bit to create a small recess for the edges of the plates to fit into. This will ensure a seamless joint between the two pieces. Step 5: Sand and Finish Your Dice Box Once everything is attached, use sandpaper to smooth out any rough edges or splinters. Apply a finish of your choice (e.g. polyurethane, wax) to protect the wood and give it a glossy sheen. Tips and Variations: * Use different types of wood for the top and bottom plates to create a unique contrast. * Add a small compartment or tray inside the dice box for storing extra dice or tokens. * Experiment with various router bits and techniques to create intricate designs or patterns on your dice box. With these simple steps, you can create your own custom dice box that's tailored to your unique style. So why wait? Get started today and take your gaming experience to the next level!
With this file you will be able to print Dice Box router template with your 3D printer. Click on the button and save the file on your computer to work, edit or customize your design. You can also find more 3D designs for printers on Dice Box router template.
