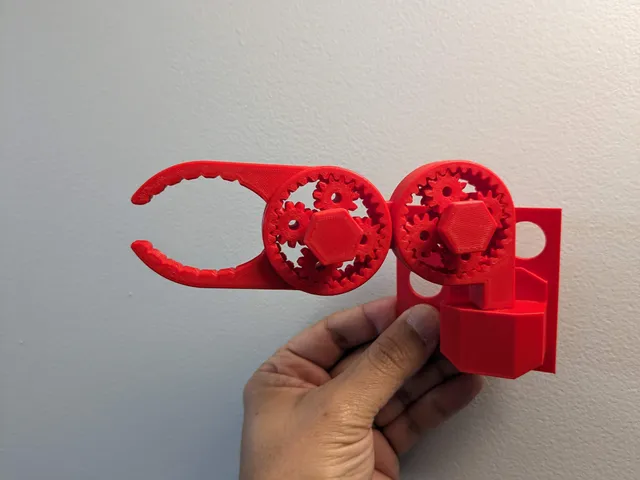
Dial Articulated Swiveling Mantis Clamp (Print-In-Place)
prusaprinters
See it in action in the below video!Print Instructions:Supports required under for the ‘post’ portion of the clamp as well as the Qube500 mount points & post-hole. I recommend organic supports for this.I've place some special voids inside the post to ensure additional perimeters are there for strength. If that isn't enough strength for you, you can also insert a M3x20 screw into the hold at the bottom of the post.Post-Print Instructions:Remove the supports.Slid a thin metal piece (knife/scraper tool) into the groove between the outer ring of the planetary gears connected to the ‘post’. Slide the knife along the joint to separate the two rings as much as possible.Rotate the dial clockwise to move the post away from the clamp gearsRepeat above step 2 for the gears connected to the ‘mantis’ jawsRotate the clamp dial counter-clockwise to free up the clamp gearsWhile slowly inserting the post into the post-hole, twist the parts around the post's axis of rotation so that the two parts work each other smooth..Enjoy!
With this file you will be able to print Dial Articulated Swiveling Mantis Clamp (Print-In-Place) with your 3D printer. Click on the button and save the file on your computer to work, edit or customize your design. You can also find more 3D designs for printers on Dial Articulated Swiveling Mantis Clamp (Print-In-Place).