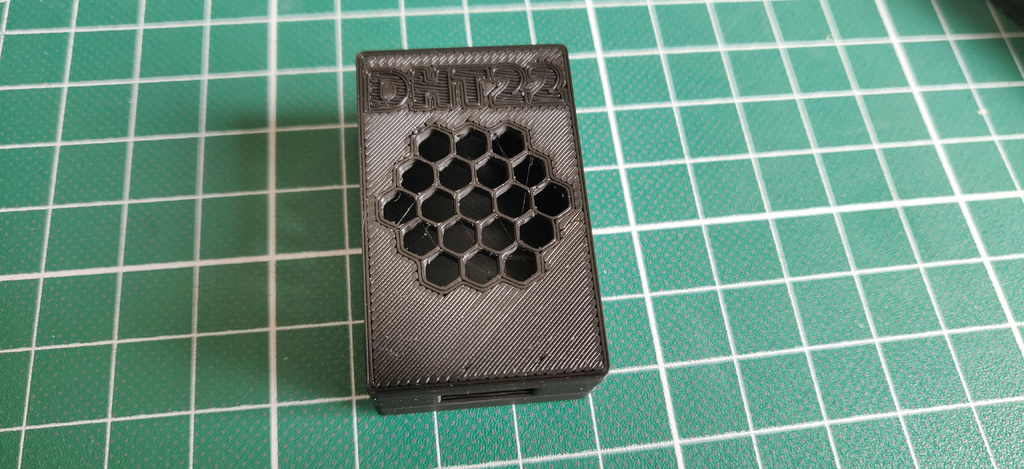
DHT22 enclosure
thingiverse
Simple Housing for DHT22 Sensor To build a simple housing for the DHT22 temperature and humidity sensor, you'll need a small plastic or metal enclosure. Choose one that fits your needs, such as a project box or a waterproof container. Measure and Cut the Material Measure out the material you've chosen to fit the dimensions of the sensor. You can use plastic sheets or cardboard to make it easier to work with. Cut out two identical pieces using a craft knife or scissors. Assemble the Housing Use hot glue or another strong adhesive to attach the pieces together, making sure they are securely joined. If desired, add additional reinforcement with tape or screws. Mount the Sensor Carefully place the DHT22 sensor inside the housing, ensuring it is centered and secure. You can use a small piece of foam or rubber to cushion the sensor if needed. Seal the Housing (Optional) If you're using a waterproof container, you may want to seal the edges with clear tape or silicone sealant to prevent water from entering. Make sure the seal is tight but not too tight, as this could damage the sensor. Attach the Cables Run the cables out of the housing and attach them to your project's main circuit board. Be careful not to bend or damage the wires. Test the Sensor Plug in your project and test the DHT22 sensor to ensure it's working correctly. You can use a multimeter to check the voltage and temperature readings. Tips and Variations You can customize this housing to fit your specific needs by using different materials, shapes, and sizes. Consider adding ventilation holes for improved airflow or using a clear plastic enclosure to showcase the sensor.
With this file you will be able to print DHT22 enclosure with your 3D printer. Click on the button and save the file on your computer to work, edit or customize your design. You can also find more 3D designs for printers on DHT22 enclosure.