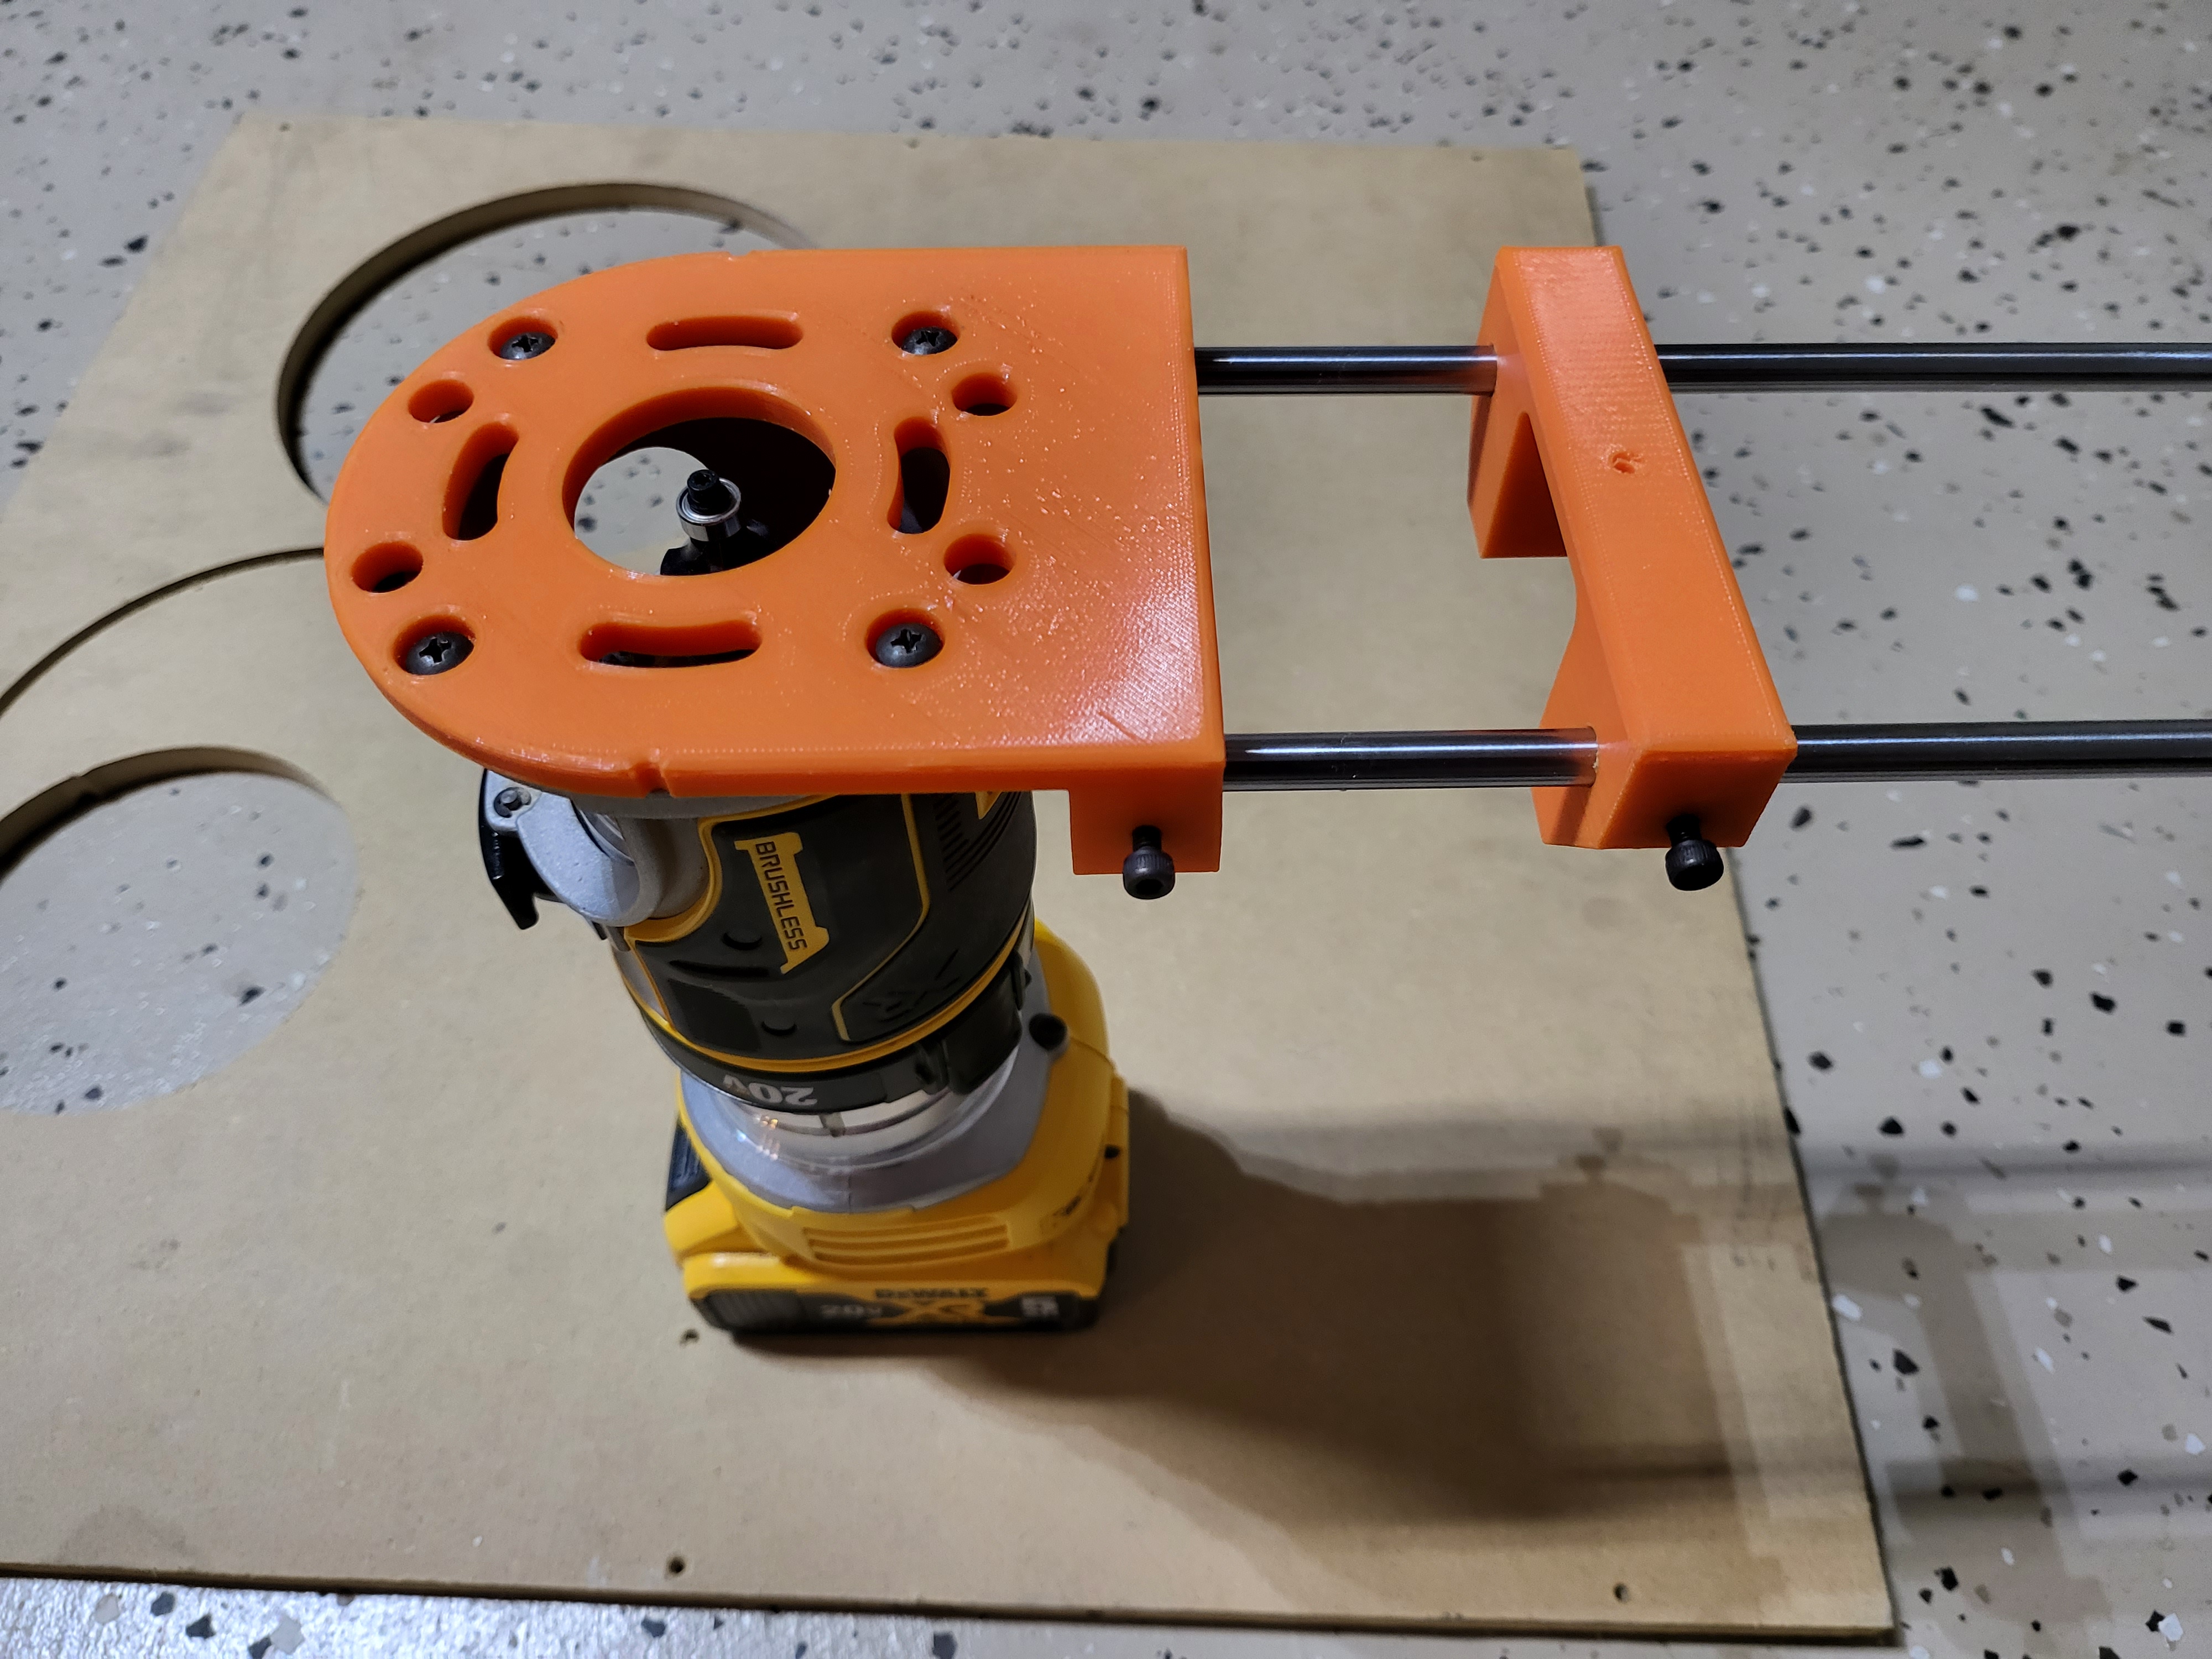
DeWalt Router DCW600 Circle / Edge Tool
prusaprinters
<p>I needed to make some varying sized circle cuts with my DeWalt 20V DCW600 router and found bobmakes awesome model. I am even more thankful that he included some cad files as my made mods so much easier so THANK YOU! </p><p> </p><p>I originally started with the idea of extending the base plate and adding a series of holes at predetermined places but that started to hurt my head. Instead I took inspiration from some of the commercially available ones which used rails/rods. Well heck I thought to myself I've got all sorts of rails from 6mm to 12mm in varying lengths from old printers and upgrades. I closed my eyes and grabbed from the pile and went with 8mm (seriously I figured this would a more common one for people to have) and began adding simple blocks to hold them on the base plate. The blocks on the base plate are closed on the back and go 15mm deep and use 4mm bolts & nuts to secure them. </p><p> </p><p>For the other end of the adapter this was made using the same sketches in fusion so the holes lined up. On this side the 8mm holes go all the way through and also use the same 4mm setup to secure the rods. There is a 2mm hold in the center of the jig to put a nail/screw or what ever you want. Depending on what length rods & bit you use the minimum circle is about 75mm or ~3". The larger the router bit that gap decreases proportionality. I made the hole center jig so it could also do double duty, if you flip it over so the centering hole is on top the “ears” hang down enough so that it can be used as an edge guide as well for straight cuts.</p><p> </p><p>Hope this helps someone else out and again a big thanks to bobmakes for the time put into this and sharing the cad files. Laying my stock base over this one was an exact match so that help immensely.</p><p> </p><p>Some notes after assembly and using:</p><ul><li>The 8mm rod holes are designed at 8mm not 8.1 etc so as is from printing they are gonna be tight on the rods. This was be design because if your using older rods that have worn down over time they'll slide right in with minimal play. Or; you might want a super tight fit and in order to move the jig you need to tap it with a tool to adjust. Or; like me you want to adjust the level of tightness by gently massaging the inside with a drill bit till you get the desired level of slide/bind.</li><li>I did not touch the 8mm holes on the base plate side and tapped them in with a small mallet making sure they were even.</li><li>If you leave the jig holes super tight OR very loose when using as an edge guide make sure both ends are equal distant from the base plate and not skewed.</li><li>Ideally if you plan on using this often and taking the rods in and out I recommend grinding a flat spot on 1 side of the rod where it goes in to the base to better secure it.</li><li>I used a 380mm rod cut in half in my pictures, if your going to do the same and are not aware of it those rods are hardened steel. Doing so with hand tools might take a few minutes, using a cut off wheel works fine or better yet a metal cutting bandsaw is always easier. Just be sure to debur the edges.</li></ul>
With this file you will be able to print DeWalt Router DCW600 Circle / Edge Tool with your 3D printer. Click on the button and save the file on your computer to work, edit or customize your design. You can also find more 3D designs for printers on DeWalt Router DCW600 Circle / Edge Tool.
