Detachable Ikosaeder Xmas Star
pinshape
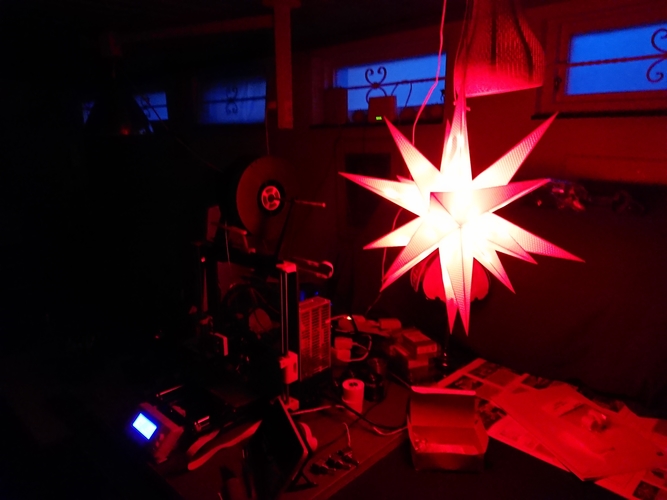
Some amazing craft for your holidays! I used an LCD strip with vibrant RGB colors that really pop. The new FiberFix Total Glue is a game-changer - its thin nozzle and blue light hardener make it a must-have for any project. To get started, you'll need to print 20 beams: one top beam and one bottom beam, six short beams and twelve long beams. Next, attach three beam snaps per beam, for a total of nine beam snaps. Then, glue all the beam snaps facing outwards. Begin assembly by attaching the bottom beam to the lower Ikosaeder and inserting the LCD receiver down into the opening in the beam. Align the beam opening with the attachment inside the Ikosaeder, just like you see it in the rendering. Fasten the control box to the Ikosaeder and attach a string to the top of the control box - make it long enough to reach the ceiling! Attach three long beams next to the bottom one, then alternate between long and short beams every other slot. Repeat this process for the top Ikosaeder, mounting the top beam with the power cable insert facing opposite the bottom beam receiver. Double-check that the short bottom beams are facing an upper long beam before proceeding. Next, glue the three Ikosaeders snaps to the upper Ikosaeders, facing inwards. Insert the control box string through the top of the top beam and thread a LCD strip loop into every beam. Verify that it lights up before connecting the top and bottom Ikosaeders. Now you're ready to enjoy your amazing craft!
With this file you will be able to print Detachable Ikosaeder Xmas Star with your 3D printer. Click on the button and save the file on your computer to work, edit or customize your design. You can also find more 3D designs for printers on Detachable Ikosaeder Xmas Star.