Desktop Power Supply
thingiverse
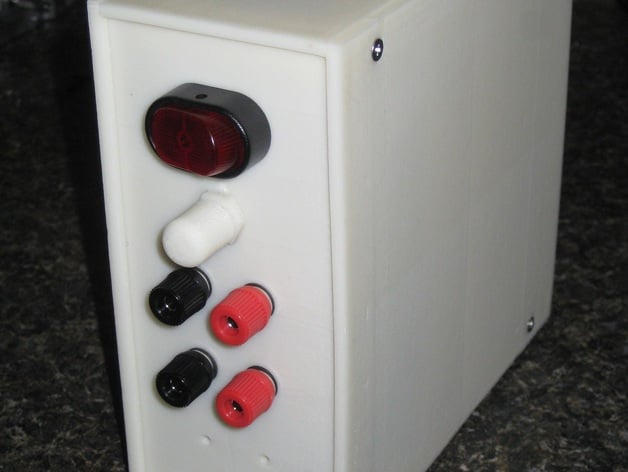
To create a desktop power supply, I utilized an extra computer power supply and constructed an enclosure for it. The supply features 5V, 12V outputs, and an adjustable 0-12V output. To assemble the enclosure, use four 3mm x 10mm flat head screws to mount the power supply, eight 3mm x 20mm bolts and 8 nuts for the sides, and snap the front and back into the grooves of the top, bottom, and sides. For the power connections, link the black and green wires to the switch, yellow wire to a red banana plug post (12V), and a red wire to another post. Connect both black banana plug posts to black wires. The hole beneath the switch is for a potentiometer that connects to a voltage regulator do-it-yourself kit. Three wires from the potentiometer leads should be connected to the small potentiometer's designated spots on the regulator board. Inputs go to the yellow and black wires, while outputs are placed in the bottom two holes of the front panel. Additionally, you will need banana jack plugs (Radio Shack #271-661), a switch (Radio Shack 275-0712), a potentiometer for adjustable power, a power regulator kit (Velleman P1823), a Coolmax Micro ATX 300W Power Supply (http://www.frys.com/product/5841263?site=sr:SEARCH:MAIN_RSLT_PG), and various screws and nuts for assembly.
With this file you will be able to print Desktop Power Supply with your 3D printer. Click on the button and save the file on your computer to work, edit or customize your design. You can also find more 3D designs for printers on Desktop Power Supply.