Desk Name Plate Project 2018
thingiverse
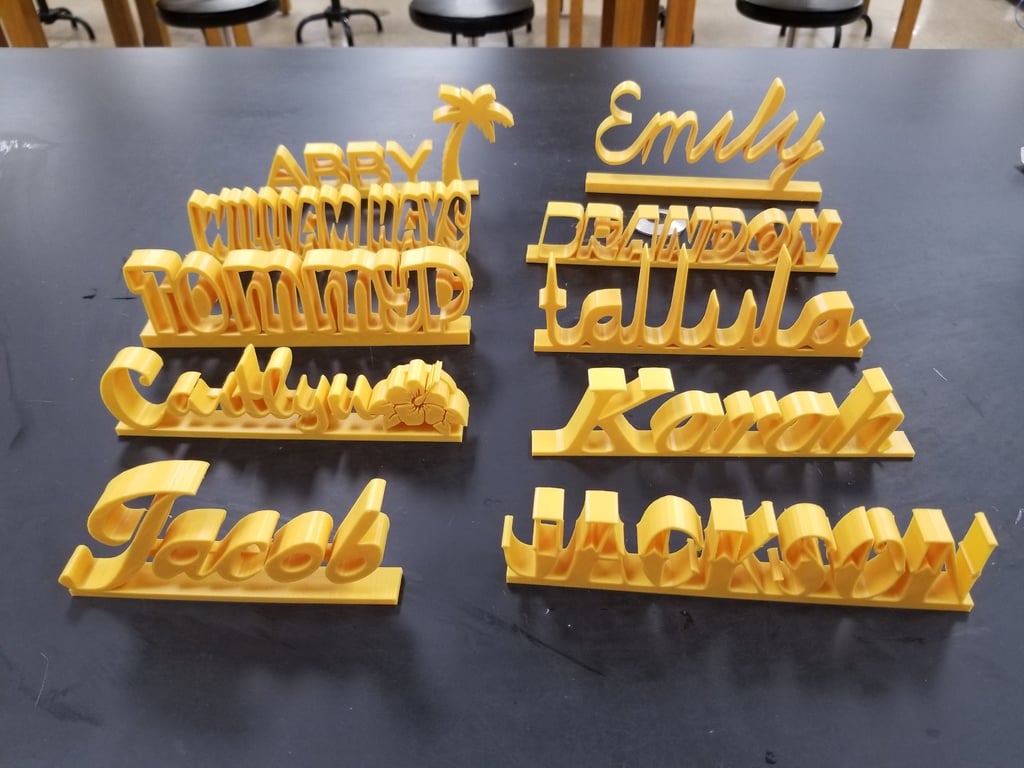
This is Year 2 of a project where students create personalized name plates that can be placed on desks or tables. Last year's project and more name plates can be found here: https://www.thingiverse.com/thing:2346436. The project was completed with an 8th grade class, who designed and created unique name plates to identify their artwork at an exhibition. Students can also create name plates for teachers or parents. Examples of student-created models are included as references. Here's a step-by-step guide on how to make them: First, students create their name in Tinkercad. They have the option to use the text editor within Tinkercad or utilize an external text generator like https://www.font-generator.com/ to design their name. Alternatively, they can draw it and convert it into SVG format for import into Tinkercad. Students can add shapes to their name if desired. These shapes can be created using Tinkercad's built-in shape tools or imported from an external source in the form of a silhouette image that has been converted to SVG and then imported into Tinkercad. Next, students need to add a base to their text and shapes so that it will stand upright on a flat surface. A good starting point is a 20 mm wide base with the text/shapes measuring 15 mm in width. Note that since name plates are printed sideways, these dimensions refer to the z-direction when designing within Tinkercad. Finally, students need to ensure their model is ready for printing by checking that all letters and shapes are securely connected to the base and free-standing elements (such as dots on lowercase i's) are properly attached to the rest of the model.
With this file you will be able to print Desk Name Plate Project 2018 with your 3D printer. Click on the button and save the file on your computer to work, edit or customize your design. You can also find more 3D designs for printers on Desk Name Plate Project 2018.