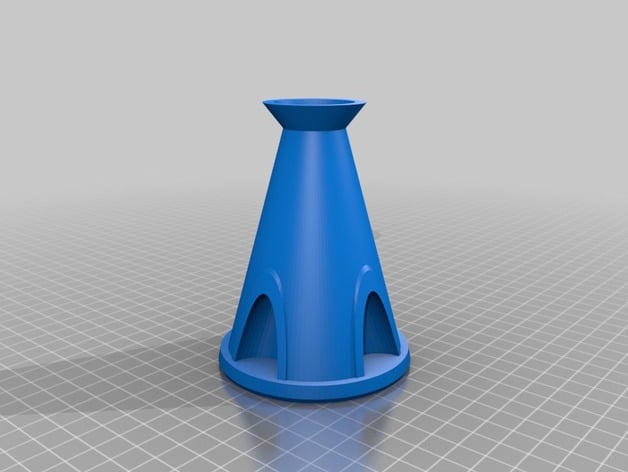
Designer Wasp Trap
thingiverse
This summer brings us a swarm of wasp problems, and it's likely connected to the mild winters we've been having lately. I designed a compact wasp trap to place out of reach from our dining area. To assemble it, you'll need one extra golf ball. You can find that on page two or ask Thomas. Please hit the like button before reusing any content! Below are step-by-step instructions: My 3D printer is currently working at a medium resolution and low density. It will finish in eight hours. Here's how to use it effectively: 1. Place some sweet liquid, like freshly squeezed lemonade or chilled beer inside. 2. Fill a separate compartment with water, and add a splash of dish soap for good measure. 3. Rest the trap securely by placing a golf ball on top. 4. Wait patiently for it to collect living wasps – do not disturb until empty. Before you start building, give Thomas's page a thumbs-up! Visit www.Thomasbreakout.blogspot.com later for more updates and inspiration.
With this file you will be able to print Designer Wasp Trap with your 3D printer. Click on the button and save the file on your computer to work, edit or customize your design. You can also find more 3D designs for printers on Designer Wasp Trap.
