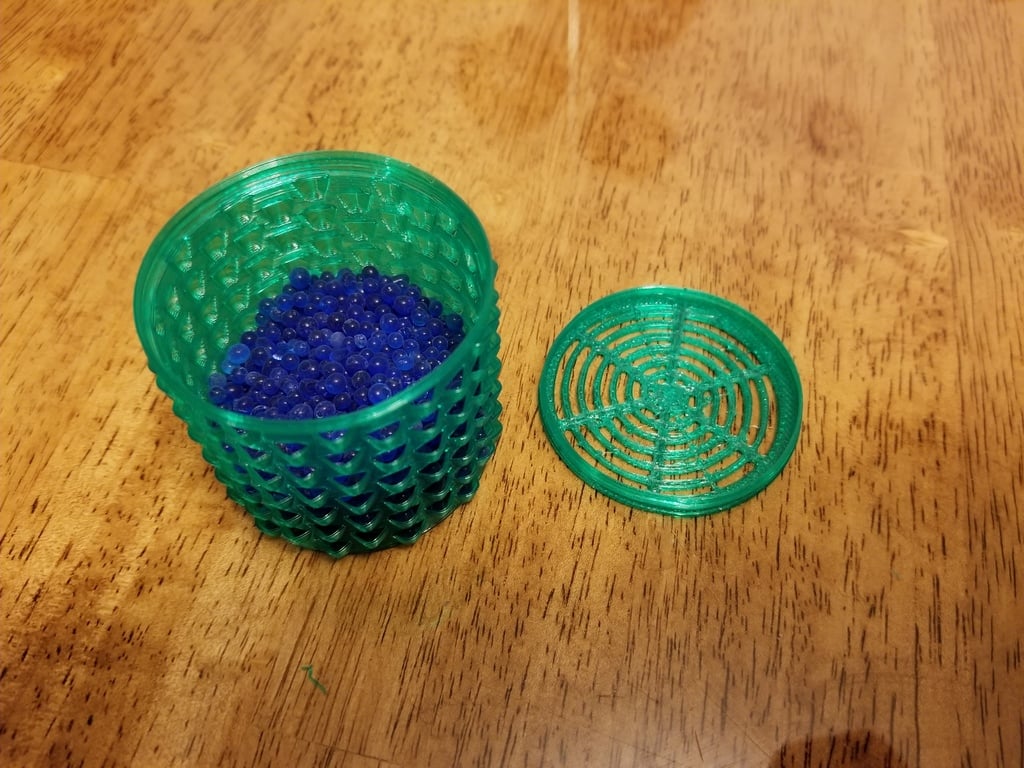
Desiccant Container - Vase Mode
thingiverse
I've been eager to create a functional vase mode printed part that's more than just a decorative piece for a long time, and this project seemed like the perfect opportunity to make it happen. I needed a container for desiccant that didn't have all those fussy little parts that are such a pain to print, so I decided to design one that would be easier and faster to print using vase mode. I also wanted it to have a lid that would snap together seamlessly, without any clips or latches, which is why after a couple of iterations I came up with this. It was also designed to fit snugly in the center of most spools to save some space. It should accommodate desiccant beads that are at least 2 mm in size without leaking, although you may encounter broken pieces falling out of the sides and top initially. Here's the desiccant I use myself, but you might want to go up a size because the tiny broken bits tend to fall out a lot: https://www.amazon.com/gp/product/B019NN1GBG/ If you print it out of ABS or PETG, theoretically you should be able to recharge it without ever needing to open it up again by putting it in the oven for 2 hours at 200 degrees. It also claims that you can recharge it in the microwave, but I'm not sure I'd trust it not to melt. I'll update this as soon as I try both methods or let me know in the comments if it works! The lid has a small ridge that snaps into place and holds it fairly tightly. To open, simply squeeze the container slowly on the sides until the lid pops off. Or, if you prefer having the lid go flying and spilling desiccant beads everywhere, feel free to squeeze it quickly! Let me know what you think!
With this file you will be able to print Desiccant Container - Vase Mode with your 3D printer. Click on the button and save the file on your computer to work, edit or customize your design. You can also find more 3D designs for printers on Desiccant Container - Vase Mode.
