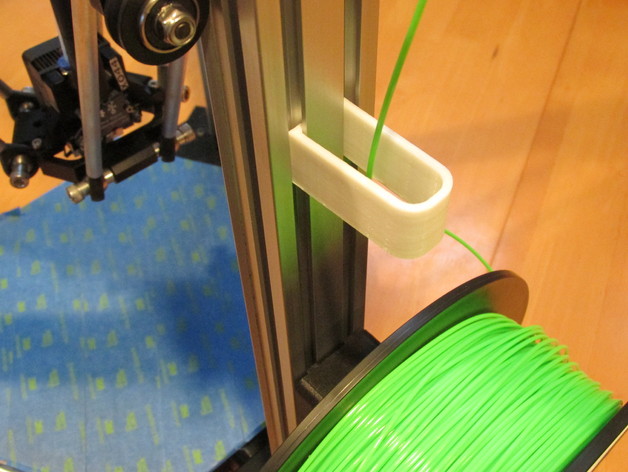
DeltaMaker Filament Guide
thingiverse
Detangling Your Filament with Confidence on Your DeltaMaker 3D Printer Detangling is an essential task to ensure your prints are not marred by knots or tangles that can arise from a tangled up spool. On a DeltaMaker 3D printer, it's easy to maintain optimal filament conditions through this simple technique. Firstly, turn off and unplug the 3D printer as we need it to remain powered off during this process to prevent any accidents or disruptions in its delicate systems. Now that the power source is safely disconnected, carefully pull out your current print head, and detach all cables leading from it including the power and data cables. Place them aside. Locate a secure working space with ample lighting for easy visual assessment. Spread your work on a sturdy table that won't get easily marred by any unexpected movements of objects. This safety protocol allows you to focus entirely on filament management. The next step involves securing your print bed so as not to make it vibrate or shake, and then lay down an ample number of clamps. Be careful, though - over tightening can cause damage. To prevent further tangles in your spool while we are performing detangling operations, grasp the upper half firmly using one hand and hold with another; start carefully unwinding lower layers around uppermost parts but avoid getting any entanglements by taking constant breaks whenever possible! Now place newly wound coils flat upon your well-secured workspace area making sure they won't come untangled throughout our progress.
With this file you will be able to print DeltaMaker Filament Guide with your 3D printer. Click on the button and save the file on your computer to work, edit or customize your design. You can also find more 3D designs for printers on DeltaMaker Filament Guide.