DELTA PIPE PRINTER - STEP 7 - IDLER END
prusaprinters
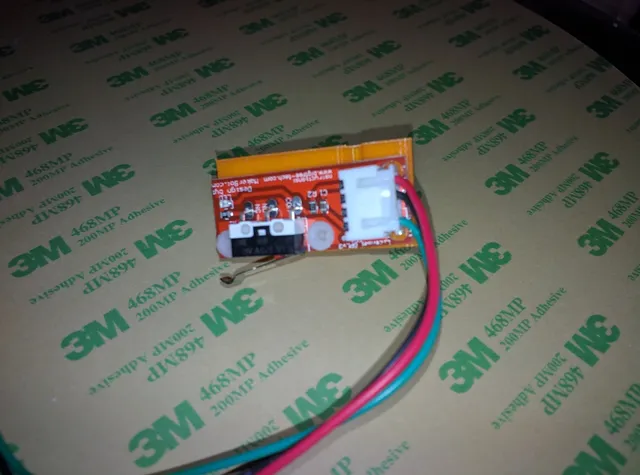
DELTA PIPE PRINTER (DPP) Please see the DELTA PIPE PRINTER STEP 1 TOP FRAME for more references and instructions http://www.thingiverse.com/thing:1344167 Custom Section INTRODUCTIONS This idler end fit directly into the pipe. The location is at 1 inch from the top of the tour pipe. It contain 2 (5 x 11 x 5mm F685zz Shielded Flanged Ball Flange Bearing) and one 25mm M5 screw and one M5 washer. Here where I buy my ball bearing: https://www.aliexpress.com/item/5-x-11-x-5mm-F685zz-Shielded-Flanged-Ball-Flange-Bearing/2031713724.html?spm=2114.13010608.0.0.72fWs6 The end stop will also screw on the back side of the idler end using 2 x 10mm M3 screws and 2 M3 nuts. I used NYLON but I guess metal will not give issue with the electronic but I take no change :). endstop with 2 x 10mm M3 screws and 2 M3 nuts (nylon) PRINTING Use the IDLE END STL I used 20% infill. You need this piece 3 times... Here what it look when installed in a pipe, they go on the tour, but the tour STEP is not yet done. It will be updated shortly... Please note I used a scrap pipe to show the result. The M5 screw screw directly into the plastic no need to have a nut. The washer is outside where the head screw is, the 2 bearing are in the middle of the plastic. Category: 3D Printers
With this file you will be able to print DELTA PIPE PRINTER - STEP 7 - IDLER END with your 3D printer. Click on the button and save the file on your computer to work, edit or customize your design. You can also find more 3D designs for printers on DELTA PIPE PRINTER - STEP 7 - IDLER END.
