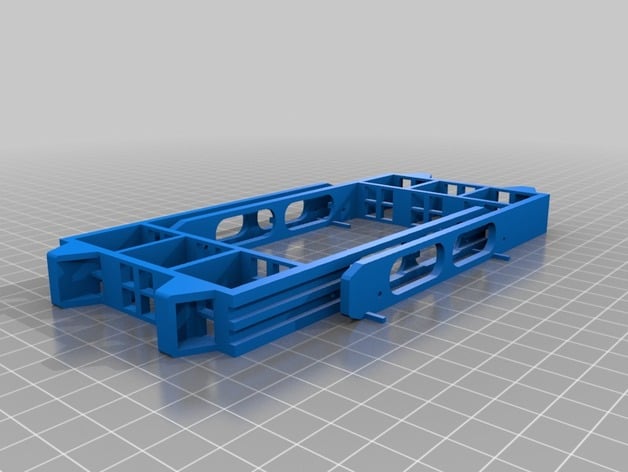
Dell R610 HDD Tray
thingiverse
Trying to install standard (inexpensive) hard drives into an R610 server has proven challenging because Dell only sells them in expensive bundles. Therefore, I decided to design a replacement tray myself. Some 3D printers experience difficulties with long "legs" warping from the bed. My initial model helped resolve this issue by interlocking together, preventing them from moving upwards and coming into contact with the bed's surface. Mounting holes in the design should be regarded as guide-holes for proper placement. To hold a hard drive firmly in place, I drilled them accurately and used small wooden dowels to fit snugly within each HDD's screw-holes. Attaching Hard Drives Once the tray is printed, mounting hard drives involves positioning them according to designated guides that allow secure installation into predefined slots on the HDD casing. Design Development Process To ensure precise measurements for creating this replacement tray, I utilized a measuring tool called calipers and took an initial reading. The remaining steps were fairly free-flowing; minor adjustments have been implemented based upon testing several prototype versions of the designed tray in different settings.
With this file you will be able to print Dell R610 HDD Tray with your 3D printer. Click on the button and save the file on your computer to work, edit or customize your design. You can also find more 3D designs for printers on Dell R610 HDD Tray.
