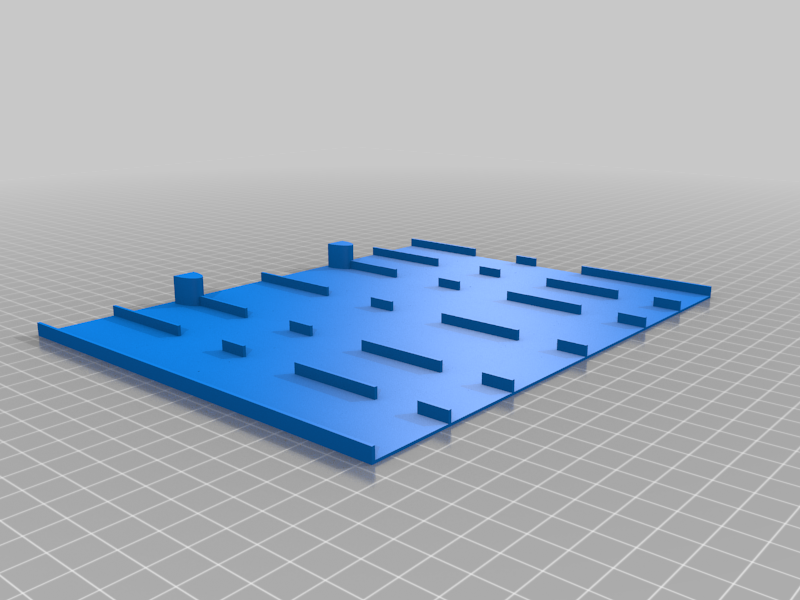
Dell Laptop Air-Intake Spacer
prusaprinters
<p>It’s handy to use my Dell Latitude laptop sitting on its neoprene sleeve (e.g. on my lap) – but the soft sleeve blocks the fan intake. This spacer keeps a gap to let air in.</p><p>The lugs keep it attached to the E/Port connector (so works for Dell Precision E-Series, too), if you pop something like <a href="https://diy.bostik.com/en-UK/products/stationery-craft/removable-glu-dots">this</a> on the top of each lug. When you remove the spacer the dots will stay in the holes ready for next time.</p><h3>Print settings</h3><p><strong>Layer height</strong>: 0.2 mm</p><p><strong>Line width</strong>: 0.6 mm (my nozzle is 0.4 mm)</p><p>For the base, I used 19.9% Triangles infill with X/Y offset to line up nicely, with a single top layer of Lines running front-back (with part fan reduced to 50% to prevent pillowing) and no bottom layers. This gave a pleasing triangular-patterned base covered in a skin of separate (because line width > nozzle diameter) lines that’s flexible (even in PLA), so doesn’t crack if bent a bit.</p><p>I used a <a href="https://support.ultimaker.com/hc/en-us/articles/360013370140-How-to-adjust-print-settings-of-a-part-of-my-model-in-Ultimaker-Cura">cutting mesh</a> in Cura for everything above the base, so that the base’s skin extended under the lugs, and to change the number of top layers for the lugs to a more solid 3 (and to set the unneeded infill there to 0%).</p><h3>How I designed this</h3><p>In Tinkercad. <a href="https://www.tinkercad.com/things/lIabJnjfNzN">Edit it online.</a></p>
With this file you will be able to print Dell Laptop Air-Intake Spacer with your 3D printer. Click on the button and save the file on your computer to work, edit or customize your design. You can also find more 3D designs for printers on Dell Laptop Air-Intake Spacer.
