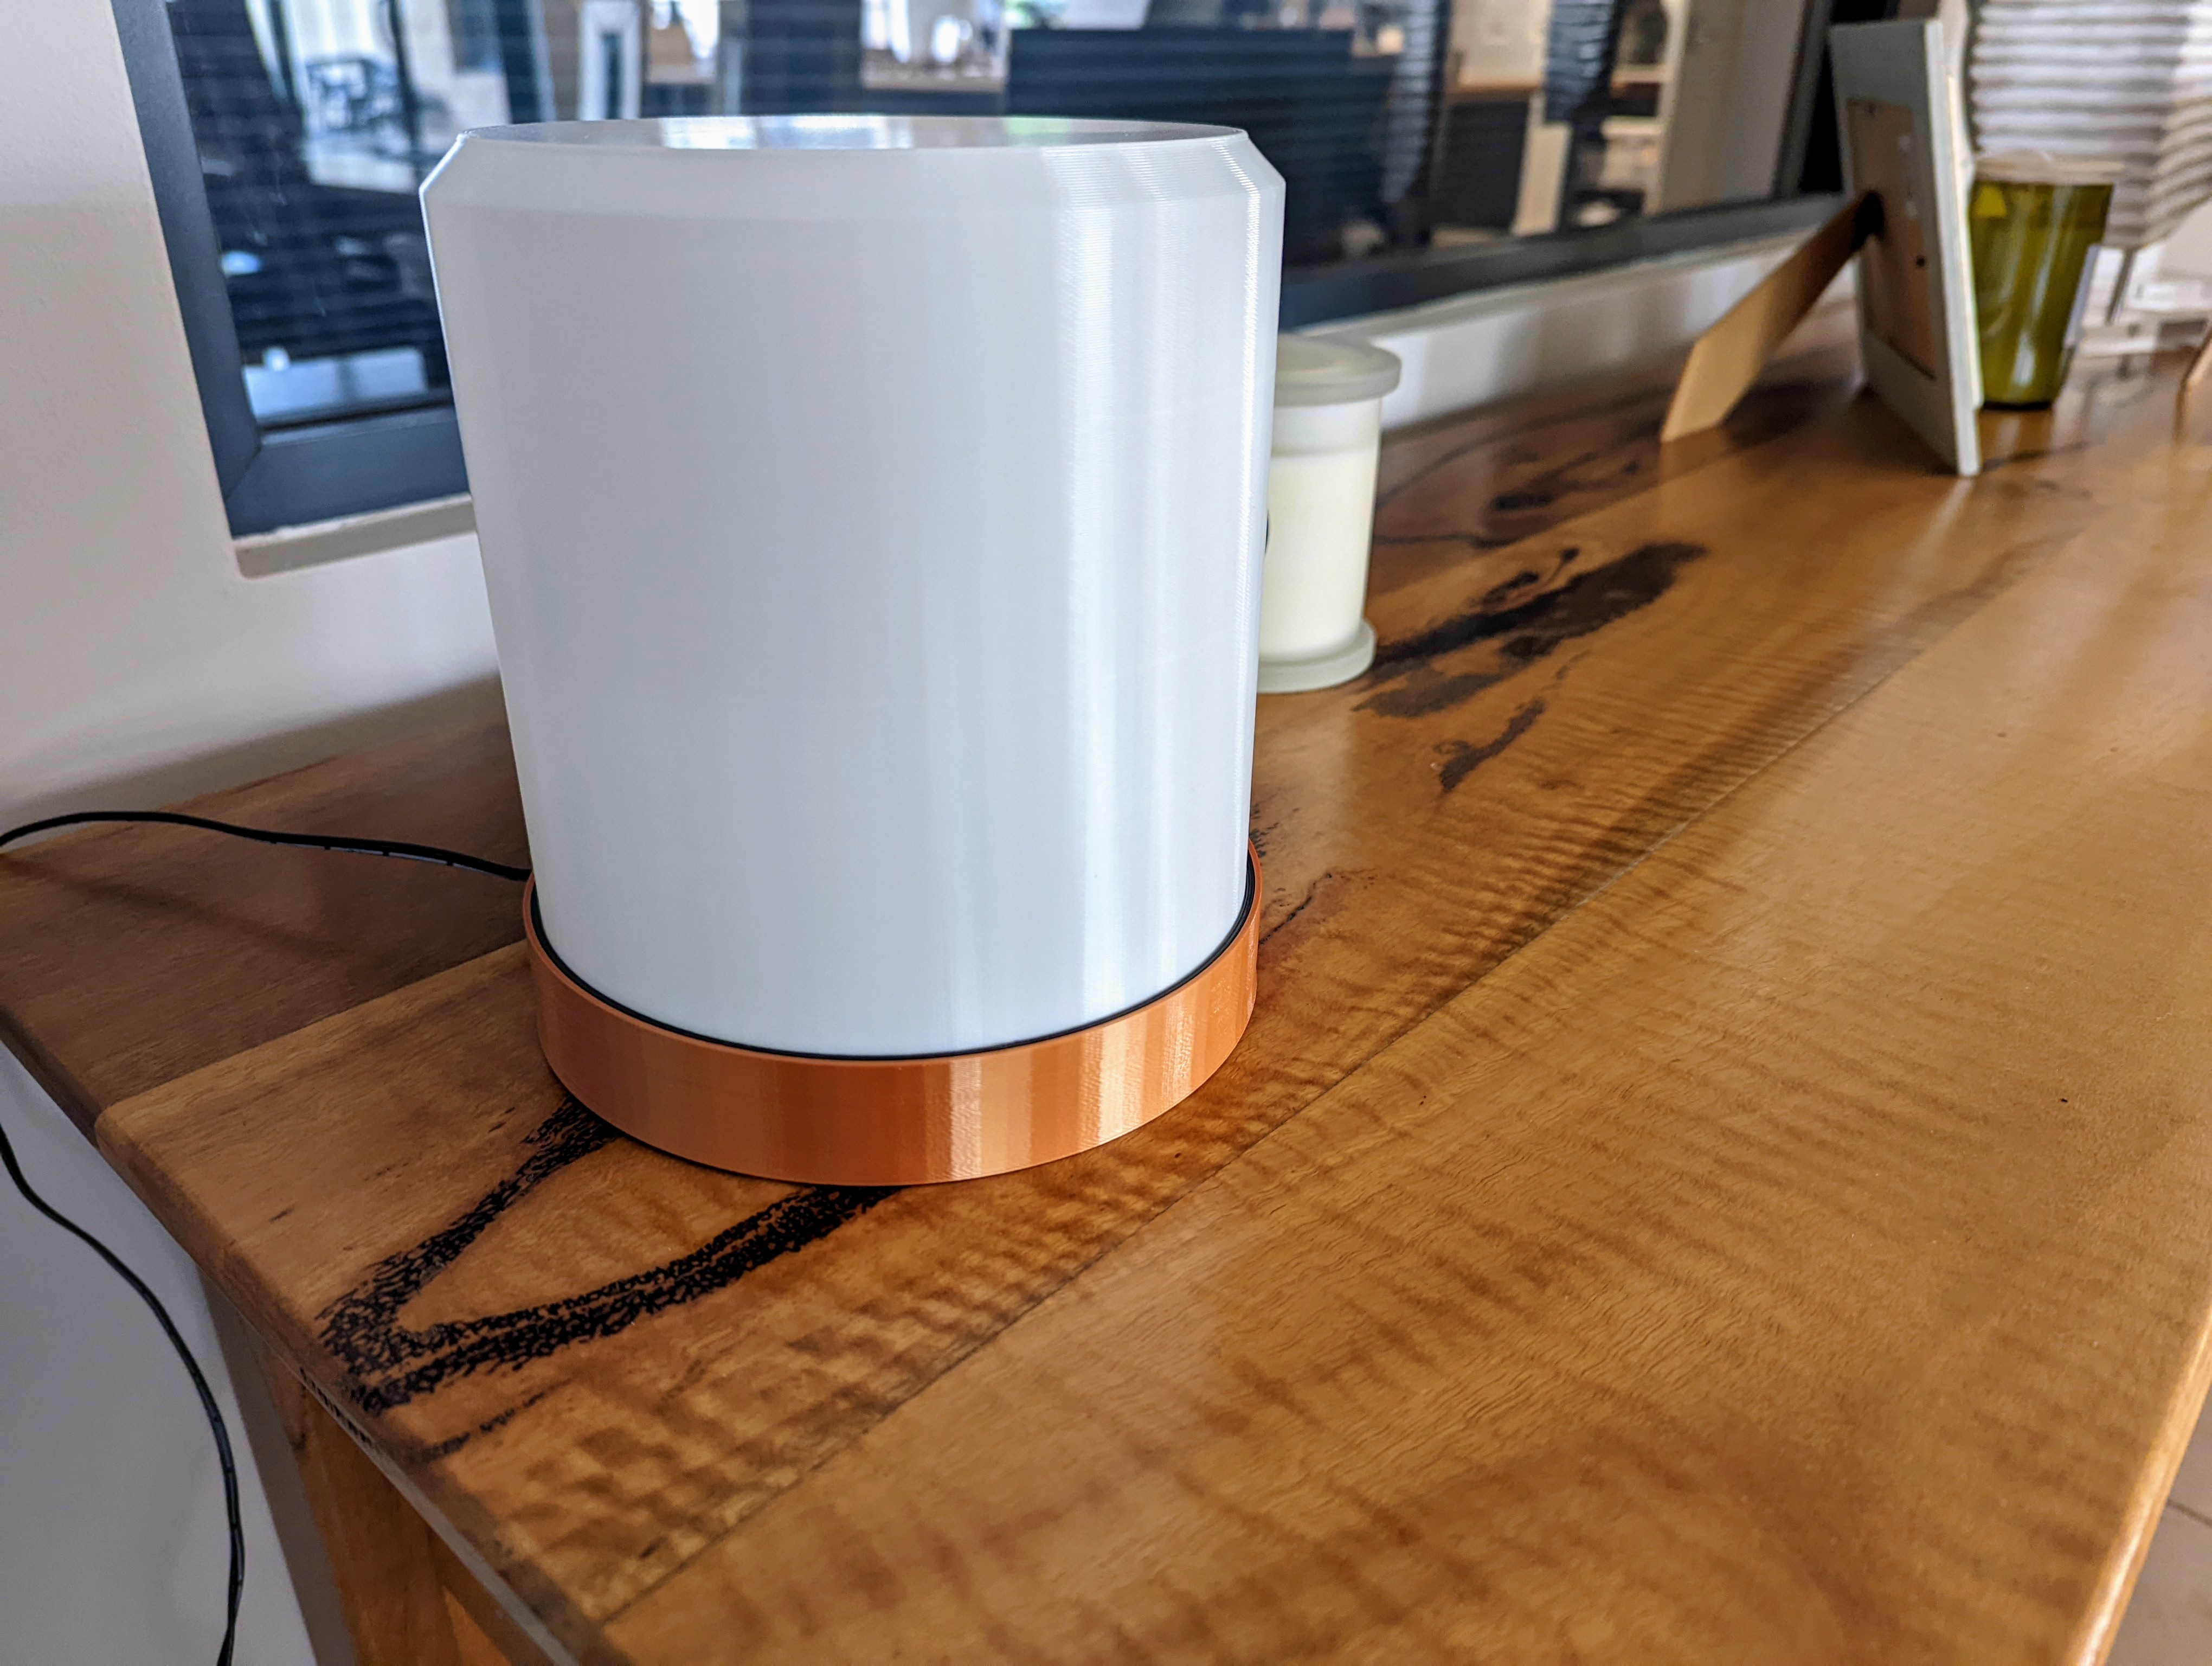
Decorative RGB Lamp
prusaprinters
<p>I recently realised that my room was missing some decorative lighting so I decided to design my own. Here is what I came up with! It is a very basic shape but this allows the LEDs to really stand out. Coding different scenes and effects with the addressable LEDs look especially good, such as rainbow, fireplace, pulsing, etc…</p><p>The lamp is made up of 3 parts and all of them simply fit into each other. i.e. the base part holds the middle part which holds the top part. This is so assembly is kept simple and also it is very easy to access the electronics. </p><p>The total height of the completed lamp is 172mm, with a diameter of 157mm.</p><p><strong>Model Parts</strong></p><ul><li><strong>Top</strong> - I recommend printing this in vase mode to make printing quick and it ensures maximum brightness. Obviously print with white or transparent filament if using RGB LEDs. I have included 2 different models of the top, 1 is solid for vase mode and 1 is already shelled with a 0.8mm wall thickness.</li></ul><figure class="image image_resized" style="width:26.22%;"><img src="https://media.prusaprinters.org/media/prints/124109/rich_content/de6a03be-0a57-4788-9d89-65eedc6e139d/part-top.png#%7B%22uuid%22%3A%2220a4d853-8dca-4286-be63-5a62986c133b%22%2C%22w%22%3A853%2C%22h%22%3A965%7D"></figure><ul><li><strong>Middle</strong> - This is the tray that holds 3 separate LED strips for a total of 9 pixels. There is a hole in the middle for wiring to go into the base. Also, enough space has been left around the edge for the top to fit snugly on.</li></ul><figure class="image image_resized" style="width:25.3%;"><img src="https://media.prusaprinters.org/media/prints/124109/rich_content/da57f009-ac53-4f39-9491-7445cab72708/part-middle.png#%7B%22uuid%22%3A%2235908e09-689a-4cd5-85d3-fde88f1bf297%22%2C%22w%22%3A1190%2C%22h%22%3A576%7D"></figure><ul><li><strong>Base</strong> - Finally, the middle tray will slip into the base. Here there is plenty of room for a LED controller and wiring. The back of the base has 3 holes, 2 large ones for buttons and 1 small one for external power.</li></ul><figure class="image image_resized" style="width:26.15%;"><img src="https://media.prusaprinters.org/media/prints/124109/rich_content/473bfcf8-ee2a-4f33-84be-29517a09c059/part-base.png#%7B%22uuid%22%3A%224cf563af-771c-40ab-ab37-0e7d9f50668b%22%2C%22w%22%3A1260%2C%22h%22%3A761%7D"></figure><p><strong>The electronics I used:</strong></p><ul><li>Arduino Nano<ul><li>This was used as the LED controller</li></ul></li><li>WS2811 LED strip<ul><li>These LEDs require 12V to work so in the future I would probably use WS2812 as these only require 5V</li></ul></li><li>2 latching buttons<ul><li>1 was used as a power switch and the other was used to cycle through the different RGB effects</li></ul></li></ul><p>Please keep in mind that I left plenty of room for other types of electronics. I figured there are probably countless ways to make this lamp work and I wanted to make it as universal as possible.</p>
With this file you will be able to print Decorative RGB Lamp with your 3D printer. Click on the button and save the file on your computer to work, edit or customize your design. You can also find more 3D designs for printers on Decorative RGB Lamp.
