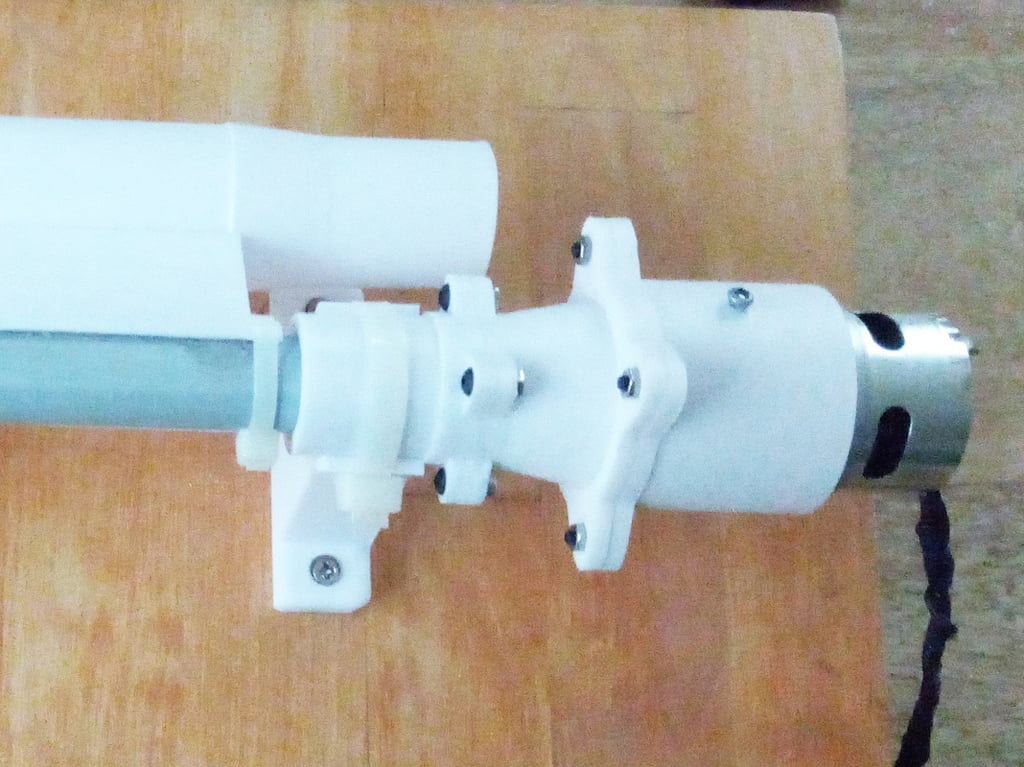
DC Motor Mount
thingiverse
Here's a DIY guide to building a sturdy mount for your trusty 12V DC motor. Step 1: Gather Your Materials First, you'll need some basic materials to get started. Grab the following items: * A metal or plastic plate (depending on your desired durability and appearance) * Screws and nuts (matching the type of material you've chosen) * A drill press (optional but highly recommended) * Safety glasses (don't forget these!) Step 2: Design Your Mount Before you start cutting anything, take some time to sketch out a design for your mount. Consider factors such as motor size, weight, and intended use. You can find plenty of inspiration online or even create your own custom design. Step 3: Cut Out the Plate Use your drill press or a hand saw to cut out the plate according to your design. Make sure it's sturdy enough to support the weight of your motor. If you're using metal, you may want to add some reinforcement for extra durability. Step 4: Assemble the Mount Now it's time to put everything together! Attach the screws and nuts to secure the motor in place. Be careful not to overtighten anything, as this can damage the motor or strip the threads. Step 5: Test Your Mount Before using your new mount, give it a thorough test run. Make sure the motor is securely attached and won't come loose during use. Also, check for any signs of wear or damage that might need attention. With these easy steps, you'll have a reliable and sturdy mount for your 12V DC motor in no time!
With this file you will be able to print DC Motor Mount with your 3D printer. Click on the button and save the file on your computer to work, edit or customize your design. You can also find more 3D designs for printers on DC Motor Mount.
