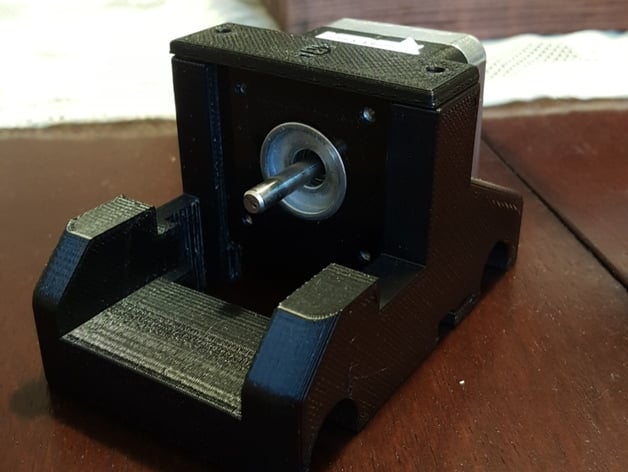
Davinci xyz 1.0 MK9 Carriage MOD
thingiverse
This modification replaces the stock Davinci extruder on the MK9 for optimal performance. It's crucial to note that it functions exclusively with linear bearings, which must be incorporated into the design for seamless functionality. To facilitate proper operation, optical sensors will need flags printed and attached to the carriage, easily sourced from Thingiverse or manually created as a simple box-like structure. When assembling the MK9 carriage, linear bearings perfectly fit without requiring glue. To access detailed installation instructions, follow me on Instagram @bmasterson222 for personalized guidance. Key Print Parameters: Print with ABS for the best results, though PLA hasn't been thoroughly tested. Use layer heights between 0.1mm and 0.2mm to achieve a high-quality finish. To maintain structural integrity, ensure prints receive adequate supports. The nozzle tip should be maintained within the specified range of 0.1mm to 0.2mm. For a smooth installation process: First, print the carriage section of the MK9 modification. Subsequently, create and install the stepper bracket, which must be placed into the slit formed by two pillars. Take note that a pre-existing gap is designed for this specific purpose. Upon successful insertion, use glue or acetone to secure the stepper bracket in its place. The next step involves printing the top component of the modification. Subsequently, integrate and fasten the MK9 extruder to its designated position using M4 screws of length 10mm.
With this file you will be able to print Davinci xyz 1.0 MK9 Carriage MOD with your 3D printer. Click on the button and save the file on your computer to work, edit or customize your design. You can also find more 3D designs for printers on Davinci xyz 1.0 MK9 Carriage MOD.
