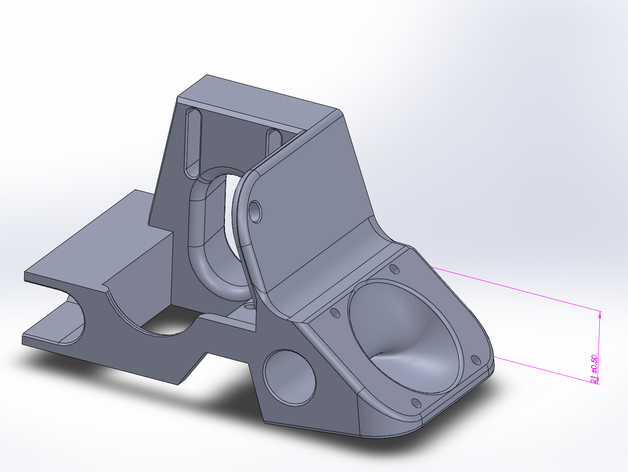
Davinci 1.0 E3D V6 Bowden X Carriage LM8UU
thingiverse
Are you seeking guidance on installing an E3D V6 hotend on your Da Vinci 1.0 printer? If so, you've landed on the right thread! Here are some practical tips and tricks to help you succeed in this undertaking: **Tools required:** * A precision screwdriver set * Torx wrench (optional) * Safety glasses (recommended) * Thermal paste (if not pre-applied) **Preparation is key** 1. **Disassemble the printer**: Begin by disassembling the Da Vinci 1.0 printer's build platform, this will give you unrestricted access to the hotend. Make sure to secure all loose components with rubber bands or string. 2. **Prepare the new hotend**: Remove any packaging materials from your new E3D V6 hotend and clean it using isopropyl alcohol (90% minimum) before proceeding. 3. **Heatbreak removal (optional)**: If your old hotend has a heatbreak, carefully pry it out and discard it; you won't need it for the E3D. **The Hotend Installation** 1. Mounting on Da Vinci: You will notice there are two bolts located just above the x carriage to accommodate mounting the new hotend to the frame of your da Vinci model. Mount one side with a 15mm bolt in this mount hole by simply pushing and rotating, use force for securing firmly Next you should tighten another 30MM T bolt into an unused bracket from which came stock, make sure its perfectly vertical so not loose nor overly tightened - leave about two mm clearance from backside then fasten tight via screw After finishing install remove any leftover tools to avoid any further complications with assembly
With this file you will be able to print Davinci 1.0 E3D V6 Bowden X Carriage LM8UU with your 3D printer. Click on the button and save the file on your computer to work, edit or customize your design. You can also find more 3D designs for printers on Davinci 1.0 E3D V6 Bowden X Carriage LM8UU.
