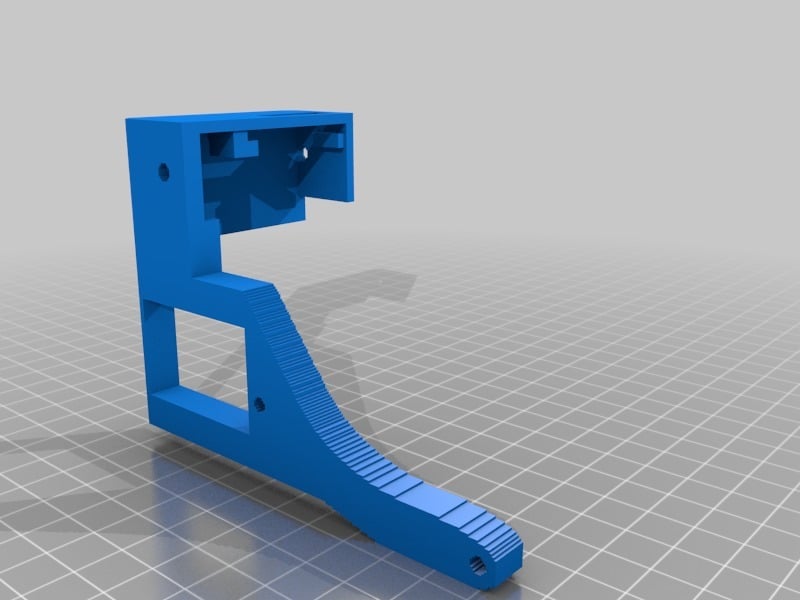
DaVinci 1.0 Blower Mount
thingiverse
It appears you're attempting to implement a fan control system for your 3D printer, specifically using a relay module to control the fan. Here's a step-by-step guide based on your instructions: ### Hardware Requirements * **Relay Module**: This will be used to control the fan. * **JST Connectors**: For connecting the fan and the ground wire. * **Fuse Holder**: To securely connect the 12V power line from the board. * **Wires**: For connecting the relay module, fuse holder, and JST connectors. ### Assembly Instructions 1. **Mounting the Relay Module**: * Connect the +12V from the board to the output side (center Lug) of the relay module. * Connect the 12V fan wire to the NO Lug (the left lug). * Leave the NC Lug empty. 2. **Connecting Power**: * Solder a small 1K resistor to the Collector pin (marked as C on the transistor). * Mount the transistor to the PCB and solder the Emitter pin (marked as E) to Ground. * Connect the Base pin (marked as B) of the transistor to the output of the relay module. 3. **Grounding**: * Connect one end of a 5-inch long wire with a 2.0mm JST connector to the Ground terminal on the board. * Insert this wire into the ground hole on the PCB and solder it in place. 4. **Connecting the Fan**: * Connect the other end of the 5-inch long wire (with the 2.0mm JST connector) to one of the pins on the relay module's NO Lug. * Connect this pin to the fan's positive terminal. 5. **Final Connections**: * Solder a small piece of PCB (the one you cut from the parts list) into the tab below the 2.54mm JST connector opening. * Insert the 2.54mm JST connector and solder it to the PCB. ### Software Configuration * The firmware code has been modified to use ORIG\_FAN2\_PIN (85) as the fan pin when REPURPOSE\_FAN\_TO\_COOL\_EXTRUSIONS is enabled. * To control the fan, you'll need to modify your G-code files to include commands that turn on and off the fan. ### Important Notes * The fan will only work if the 12V power line from the board is connected correctly. * Make sure not to connect the fan's positive terminal to the NC Lug on the relay module, as this may cause a short circuit. If you're unsure about any part of the process, consider consulting online resources or seeking help from an experienced DIY electronics enthusiast.
With this file you will be able to print DaVinci 1.0 Blower Mount with your 3D printer. Click on the button and save the file on your computer to work, edit or customize your design. You can also find more 3D designs for printers on DaVinci 1.0 Blower Mount.