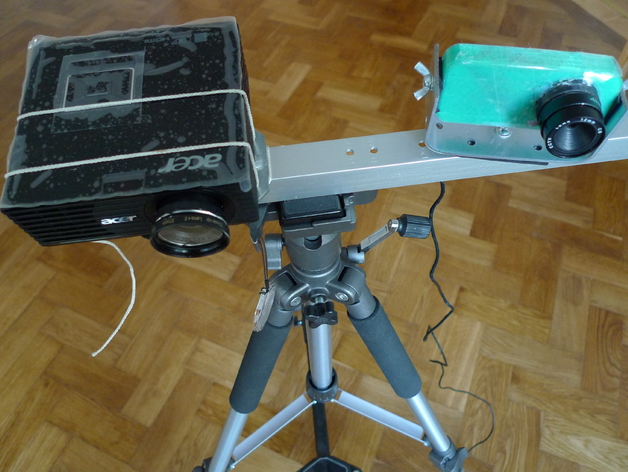
David SLS 3D-Scanner
thingiverse
Create your own David SLS 3D scanner using the following components: an Acer K11 LED beamer, a Logitech Pro 9000 Webcam, a macro lens kit for the beamer, a 12mm lens for the webcam, aluminum U-profile 25x25mm, screws and wingnuts to fix the scanner and webcam on the profile, punched sheets of metal to hold the webcam and beamer, the David Scanner software, and patience. Follow these steps: dismantle the webcam as shown in a tutorial, print webcam box and tube, secure the webcam board in the box with its screws, attach the 12mm lens to the webcam tube, find the optimal distance between the webcam and lens, glue the box and tube together, shape the holder for the webcam, drill holes into the U-profile according to a table provided, mount the beamer on the profile, assemble the scanner on a tripod, calibrate it using instructions, and enjoy your 3D scans. Don't forget to donate if you like VirtuMake, an open-source project.
With this file you will be able to print David SLS 3D-Scanner with your 3D printer. Click on the button and save the file on your computer to work, edit or customize your design. You can also find more 3D designs for printers on David SLS 3D-Scanner.
