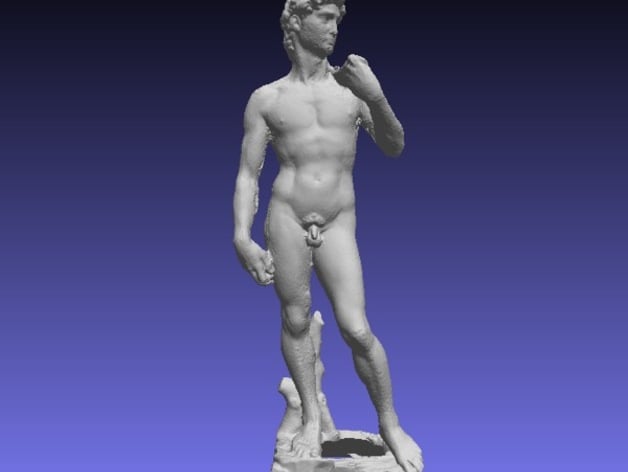
David by Michelangelo
thingiverse
I embarked on a challenging endeavor - replicating Michelangelo's colossal 'David' in 3D format using his exact measurements. At first, David proved to be a tough subject as his dark bronze hue made him extremely difficult to photograph effectively, particularly when trying to capture the intricate details that Michelangelo meticulously crafted. These intricacies include veins in his forearms, pattern of hair and pubic region, toenails, and so forth. The statue's prominent position on a high pedestal posed another issue; certain parts were hard for me to see clearly. I attempted to mitigate this problem by purchasing a telescoping painters pole with a long shutter trigger cable for my Nikon D200 camera. However, despite the 12-foot extension, David's shoulders and the top of his head remained out of range. Several small sections lacked adequate angles for shooting resulting in apparent seams or irregular patches on some areas. During an almost two-hour photography session when wind gusts affected the pole making it wobble slightly, capturing high-quality images proved even more difficult. After obtaining over 400 photos all shot in RAW format to maximize the usable data, I decided to split the task of modeling into several parts so as not to overwhelm my MacBook Pro. These individual segments consisted of his feet and lower legs, legs and upper torso, chest area, back, and finally a comprehensive near-full figure which would allow me to combine all separate point clouds together and hopefully produce an exceptionally detailed model. A 3D modeler is truly only limited by their technical abilities and photo quality. Given my amateur experience, David's resulting model was noticeably of poor quality, mostly due to inexperience. Nevertheless, considering the demanding shooting conditions and enormity of the sculpture, I'm still pleased with this initial result despite recognizing its imperfections. To improve David further, I plan on adjusting certain settings before attempting a new version using Agisoft Photoscan. In addition to working on my model-making skills, I aim to become more familiar with Meshmixer and Meshlab as they seem highly effective tools for the task at hand. As always, anyone wishing to modify or refine this model is encouraged to take their time and put in the necessary effort; after all, sharing knowledge is one of the greatest rewards I can offer!
With this file you will be able to print David by Michelangelo with your 3D printer. Click on the button and save the file on your computer to work, edit or customize your design. You can also find more 3D designs for printers on David by Michelangelo.
