Data Panel Servo Replacement Kit
thingiverse
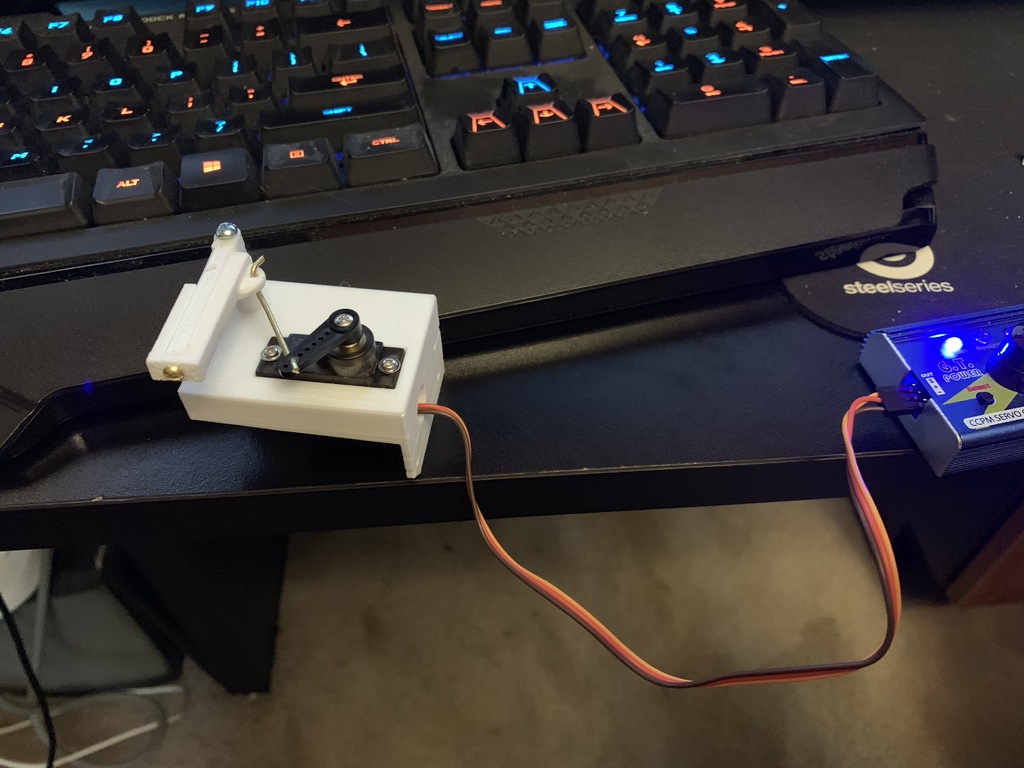
I created a project to install a servo for the Data Panel Door in Mr. Baddeley's R2-D2 design, based on this existing project: https://www.thingiverse.com/thing:2980988. The original project was designed to be installed before rings one and two were attached. If you've already attached those rings or need to replace the servo like I did, these pieces will help you. To assemble the axle inside the body, it's essential to use two jigs that align the arms mounted on top and bottom of the axle. First, put the top arm onto the axle, then use the axle sleeve to get the proper rotation to line up with the bottom arm. The challenging part begins: slide the lower arm into the jig and wiggle it until it sits flush under the axle. Next, using a flathead screwdriver, push from the top until the bottom arm slips onto the axle (make sure this is a snug press fit by doing a fit test beforehand). Once you've attached the upper and lower arms to the axle, remove the axle sleeve to allow the assembly to turn. The next step is to mount the servo and attach the arm sleeve using a small stiff wire, such as a paperclip portion. Now comes the second challenging part: slide the mount into its spot on the droid while sliding the sleeve onto the lower arm. After accomplishing this minor feat, secure the servo mount with three screws and the arm sleeve with one small screw. I also built a test jig to help set up the servo and get the right swing of the axle, which you can see in the photos. These files are for the servo mount test and axle stand.
With this file you will be able to print Data Panel Servo Replacement Kit with your 3D printer. Click on the button and save the file on your computer to work, edit or customize your design. You can also find more 3D designs for printers on Data Panel Servo Replacement Kit.
