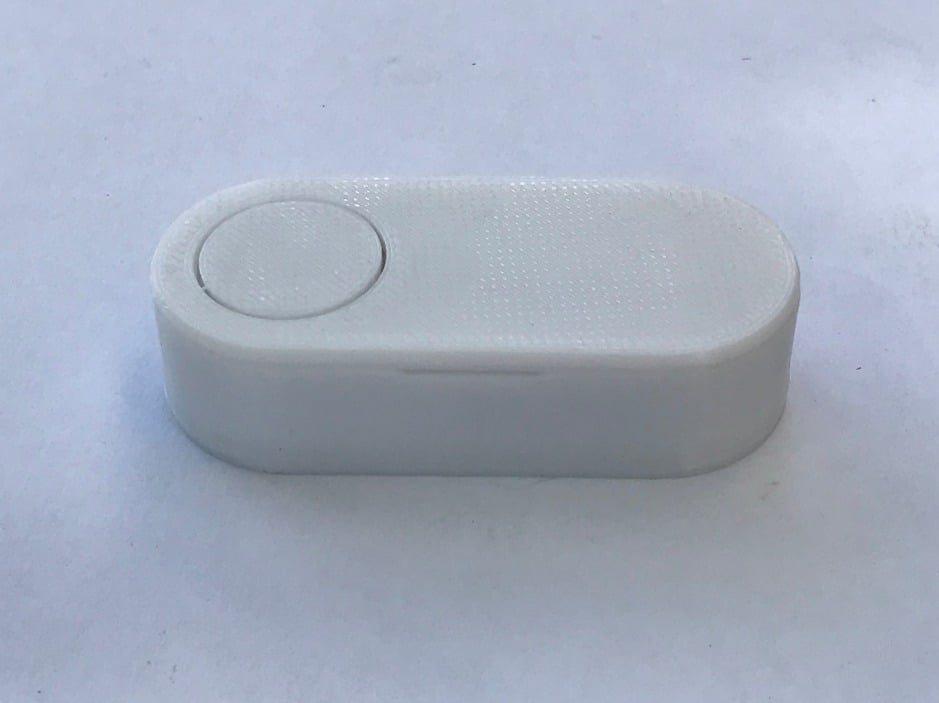
Dash Button DIY with ESP-01
thingiverse
I've been searching for a DIY dash button for my FHEM SmartHome system for quite some time. On Thingiverse, I found this [ESP8266 IoT Wifi] button (https://www.thingiverse.com/thing:2803769) that caught my eye. The design of the case and the ability to operate it via MQTT really appealed to me. Since I had ESP-01 and CR2032 at home, I decided to get started on the project. Here are the components: * [ESP-01](https://de.aliexpress.com/item/32688280601.html?) * CR2032 * [Button 6x6x8](https://de.aliexpress.com/item/32948674770.html?) * [Double-sided PCB](https://de.aliexpress.com/item/32575817684.html?) * [Silver wire](https://www.amazon.de/gp/product/B0043DQ7WK/ref=ox_sc_act_title_1?) First, I cut a rectangle from the PCB (about 56mm x 22mm) and rounded the corners to fit it into the case. I placed the button so that it sits under the movable end of the lid, about 16mm from the head of the inner wall. Since I didn't have a holder for the CR2032 battery, I made one out of silver wire. The circuit is quite simple and should be easy to solder even if you don't have much experience. Before soldering the ESP-01, it needs to be programmed. Make sure to test the ESP-01 before installation, as it can't be reprogrammed after soldering (or only with great effort). Next, remove the red power LED, then the ESP-01 can be wired. It may help to use a piece of perfboard between the spacers and the board installed (as shown in the photos). This brings me to 4mm distance between the ESP-01 and the motherboard. Have fun! Thanks to jepler for translating
With this file you will be able to print Dash Button DIY with ESP-01 with your 3D printer. Click on the button and save the file on your computer to work, edit or customize your design. You can also find more 3D designs for printers on Dash Button DIY with ESP-01.
