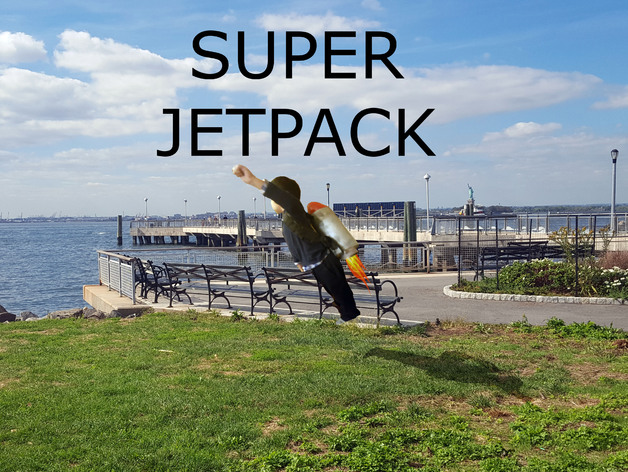
Dany's Jet Pack
thingiverse
With this jet pack, you can reach unprecedented heights previously unimaginable. You can connect multiple jet packs as many as your 3D printer can produce! You have the option to choose between the classic single rocket and the advanced dual rocket jet pack. I am currently printing the jet pack and will post images soon. **UPDATE** Quick update: "Hollow" files have been added, reducing filament use by approximately 50%. Post-Printing Print each piece individually. I printed at a layer height of .4 with an infill of 5%. My print failed due to a broken 3D printer, but I fixed it by gluing another piece cut at the exact height where the print failed after repairing my 3D printer. Glue the bottom of the rocket to the tank. Ignore the hot glue lines, as I used them to make the print more stable and they will be cleaned up later. Before gluing the top part, thread a string or rope through the straps. This makes it much easier than threading them when the pieces are assembled together. Don't glue the two parts yet. Thread the straps to the bottom piece first, then glue them in place. This is how it should look like once assembled (sorry about the orientation changes). Connecting the Packs After adhering the parts together, you can glue on the connector and another jet pack if desired (be sure to use 2 straps for a single jet and 1 strap for each pack when connecting two jets). I used Aluminum Tape to add strength and fill any dents or holes. Later, I used After sanding, paint it with your preferred color scheme. I chose silver and red and applied a gloss finish. At this point, you can also use stickers or paint on any details.
With this file you will be able to print Dany's Jet Pack with your 3D printer. Click on the button and save the file on your computer to work, edit or customize your design. You can also find more 3D designs for printers on Dany's Jet Pack.
