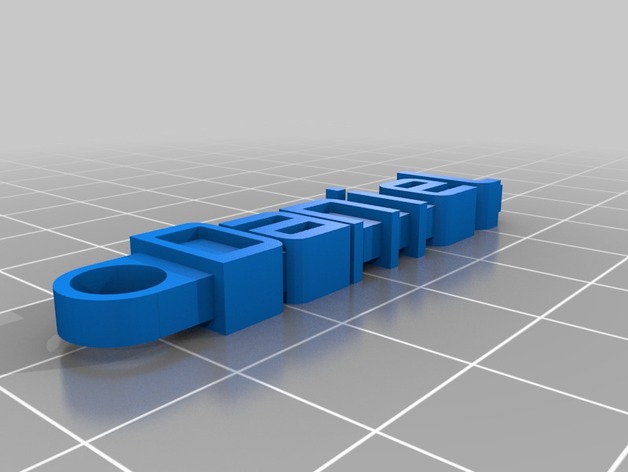
Daniel
thingiverse
Here are a custom set of instructions to bring this amazing project to life. You will need the following things to get started: stick width is at 8 units, the message to be printed says Daniel in a sleek font, and font size is at 10 units with a sturdy thickness of 5 units for added support. Next, you have a few choices for the look and feel - we've included two custom options to make it your own: choose between "write" and "orbitron" fonts for that perfect visual style. **Getting Ready to Print** 1) Grab all materials necessary: we suggest high-quality PLA or ABS for maximum detail, along with a sturdy printer and glue. 2) Adjust settings to your liking. You can alter any aspect of this print using the following controls: stick width, message text (Daniel), font size (10 units), hole radius, flat bottom, and font thickness. Choose between the included fonts, 'write' and 'orbitron.dxf', for a truly one-of-a-kind piece. **Step 1 - Download Customized Model** Click this link to get your custom version of this model: <http://www.thingiverse.com/apps/customizer/run?thing_id=52734>. We're super excited to see how you bring this to life! Next Steps: A) Assemble printer. B) Slice model using preferred slicing software (e.g., Cura, Slic3r). C) Begin printing at high temperature with quality settings.
With this file you will be able to print Daniel with your 3D printer. Click on the button and save the file on your computer to work, edit or customize your design. You can also find more 3D designs for printers on Daniel.
