Damper and link balancer
pinshape
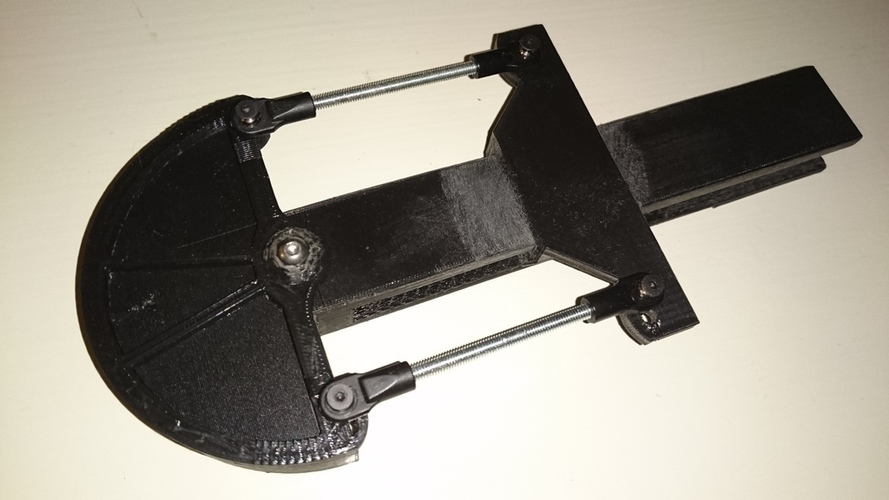
After getting some inspiration from an rc forum, I created this tool to help you fine-tune your rc car's links and shocks. Simply mount the links in the device and the angle indicator will show how close or far they are from being at the right length. To check your shock mount, insert it into the device and push down on the slider - if there's a difference in spring rate, the angle indicator will move towards the side with the softer spring. This device has been tested with soft crawler shocks, but I'm not sure how well it will work with on-road or buggy shocks. I designed it without extra markings to make it easy to read, and there's plenty of space for you to add your own markings if needed. After printing, simply attach the "brick" to the angle indicator using an M4 screw, then mount everything to a ruler as shown in the picture - just tighten the nut on the underside of the ruler. If you have any questions, feel free to ask and I'll do my best to help. Also, don't mind the rough surface in the picture; my print bed has some dents in it. Print Settings: Printer: Wanhao i3 V2 Rafts: Not required Supports: Yes Infill: 20% Notes: I printed mine with PLA and used whatever settings worked best for my filament - you should do the same. Since there will be some weight from the shocks, make sure to use at least 20% infill, possibly more. To ensure accurate readings, set your printer to high-resolution mode, as the slider fittings are designed to be snug. I managed to print all the parts on my bed by flipping it upside down and printing the brick and ruler that way - you know your printer best, so feel free to experiment with different orientations.
With this file you will be able to print Damper and link balancer with your 3D printer. Click on the button and save the file on your computer to work, edit or customize your design. You can also find more 3D designs for printers on Damper and link balancer.
