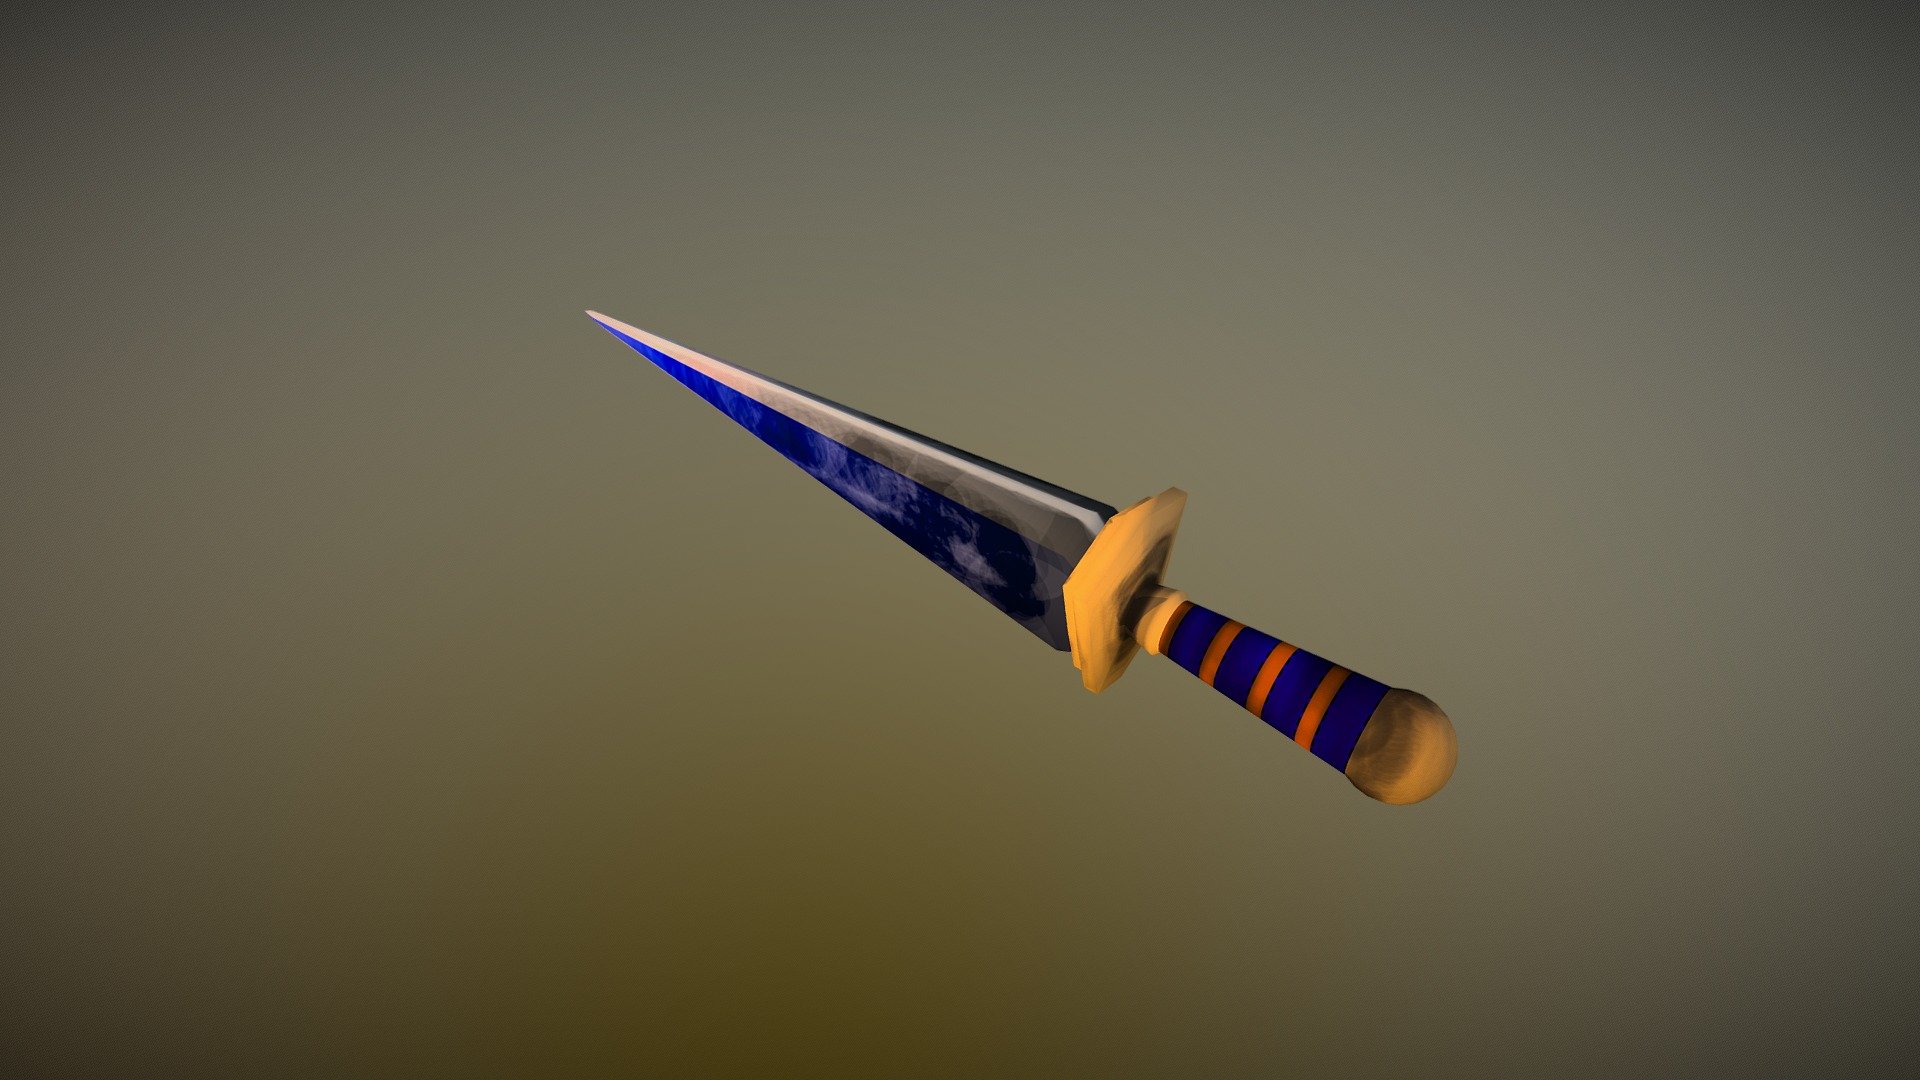
Dagger Saphire
sketchfab
Crafting Your First Dagger in 3D Studio Max Tapping into the vast array of creative tools at your fingertips in 3D Studio Max can be a daunting task, especially for those just beginning their journey. One of the most fundamental assets to create is the humble dagger, an object that has been etched into the very fabric of various cultures and civilizations throughout history. In this tutorial, we will delve into the realm of modeling, texturing, and rendering, as we bring this ancient relic to life within the confines of 3D Studio Max. Step 1: Setting Up Your Scene To begin, launch 3D Studio Max and navigate to the Create panel. From here, click on the 'Cube' button, which will serve as the foundation for our dagger's blade. Adjust its dimensions to approximately 1 unit in length and 0.2 units in width. Next, right-click within the viewport and select 'Edit Poly.' This will allow us to manipulate the cube's vertices, edges, and faces with greater precision. To achieve a more realistic shape, select all of the faces on the cube and use the 'Extrude' tool to create a series of linear segments along its length. Step 2: Modeling the Dagger With our initial blade in place, we can now focus on refining its form. Utilize the 'Loop Cut' tool to create a series of curved edges that will give our dagger a more organic appearance. To achieve this effect, select all of the edges and use the 'Smooth' option under the 'Tools' menu. Step 3: Adding Textures and Materials Now that we have our blade taking shape, it's time to add some texture and depth to its surface. Create a new material by clicking on the 'Materials' tab within the Materials panel and naming it "Dagger Blade." Under the 'Diffuse' color channel, select a dark grey or black color to give our dagger a sense of menace. Next, click on the 'Normal Map' button and load an image that captures the intricate details found on ancient daggers. Step 4: Rendering Your Dagger With our texture in place, we're now ready to render our dagger within the confines of 3D Studio Max. Navigate to the Render Settings panel and select a high-quality rendering option such as 'Antialiasing' or 'Motion Blur.' Click on the 'Render' button to bring your dagger to life in all its glory. Adjust the camera's position and rotation to capture the perfect angle, and voila! Your first dagger is now complete. Tips and Tricks To enhance your dagger's realism, consider adding a subtle sheen effect by applying a slight gradient to its surface. This can be achieved using the 'Gradient Map' tool under the Materials panel. When rendering, make sure to use high-quality textures that accurately capture the intricate details found on ancient daggers. This will ensure that your final product looks nothing short of breathtaking. In conclusion, creating your first dagger in 3D Studio Max is a journey that requires patience, creativity, and practice. With these steps and tips under your belt, you're well-equipped to tackle even the most complex projects that come your way.
With this file you will be able to print Dagger Saphire with your 3D printer. Click on the button and save the file on your computer to work, edit or customize your design. You can also find more 3D designs for printers on Dagger Saphire.