Cyclonic Filter
prusaprinters
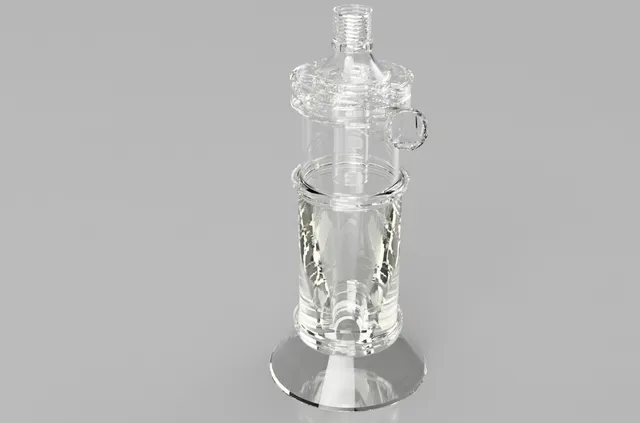
A cyclonic dust filter I use for extracting dust on my homebrew CNC milling machine. I was surprised how efficient it is, I don't need any additional filtering! :)It is based on the excellent Bill Pentz's plans.The design has 5 parts: the cylindrical part of the cyclone, the conical part of the cyclone, the dust collecting receptacle, the vacuum connection with grille to insert a filter mat and adapter for flexible vacuum hose (you need 2 of these). All parts are connected together using bayonett-type connectors so you can take them apart and clean everything.I included the STEP file for the connectors, so you can adapt to your own hoses.You could also use a plastic bucket instead of the receptacle - in this case, print the bucket adaptor instead of the receptacle and screw it on the bucket lid.The parts are designed to be printed on any 3D printer with 20x20x20 cm build area and the clearances are big enough for fast printing.Print SettingsPrinter:Extremely modded CraftbotRafts: NoSupports:YesResolution: 0.25 mmInfill:10% or 0% (the conical piece)Notes:Print one part of each of the larger pieces and two flexible hose adapters.If you trust your printer, the cylindrical part, the receptacle and the vacuum connection can be printed with 1mm walls and minimal (10% or less) infill. If you usually have problems with print quality and/or strength, use 1,5mm walls and some more infill (not more than 15%, though). Turn the cylindrical part on it's head to save on supports. The conical part can be printed with zero infill. These measures will save you a lot of material and print time.The vacuum hose adaptor should be printed using normal infill and medium quality (0,2mm).Supports are needed for all parts.You can use any material that prints well. You might use transparent PLA or PET to see if there are material blockages, but it's not really needed, it never happenned to me.Post-PrintingClean up prints, pay special attention to the the bayonett parts, they won't fit otherwise. The bayonetts will be a bit hard to use in the beginning, but once you connect them a few times, it works wonderfully.If you need it (I don't), you can cut a filter mat and place it on the grille on top of the cylindrical part. The vacuum connection with it's grille should hold it in place properly.Buy some flexible vacuum hose, cut to size and screw it in the adapters. Connect adapters, turn on your vacuum and that is it.The receptacle holds a lot of material and if you use a transparent material, you can see when it is full. When full, just unlock the bayonett and empty it. If you want to use a bucket instead, you have to take a plastic paint bucket (it is critical that the lid seals well, otherwise the filter will not work) and screw the bucket adapter on the lid using 8 screws. You could use either M6 screws with nuts or self-tapping screws. After screwing it on, use a sharp knife to cut the hole in the lid under the adaptor and seal the outside of the adapter with some silicone to ensure a good seal.Category: DIY
With this file you will be able to print Cyclonic Filter with your 3D printer. Click on the button and save the file on your computer to work, edit or customize your design. You can also find more 3D designs for printers on Cyclonic Filter.
