CW1 - funnel tray underneath
prusaprinters
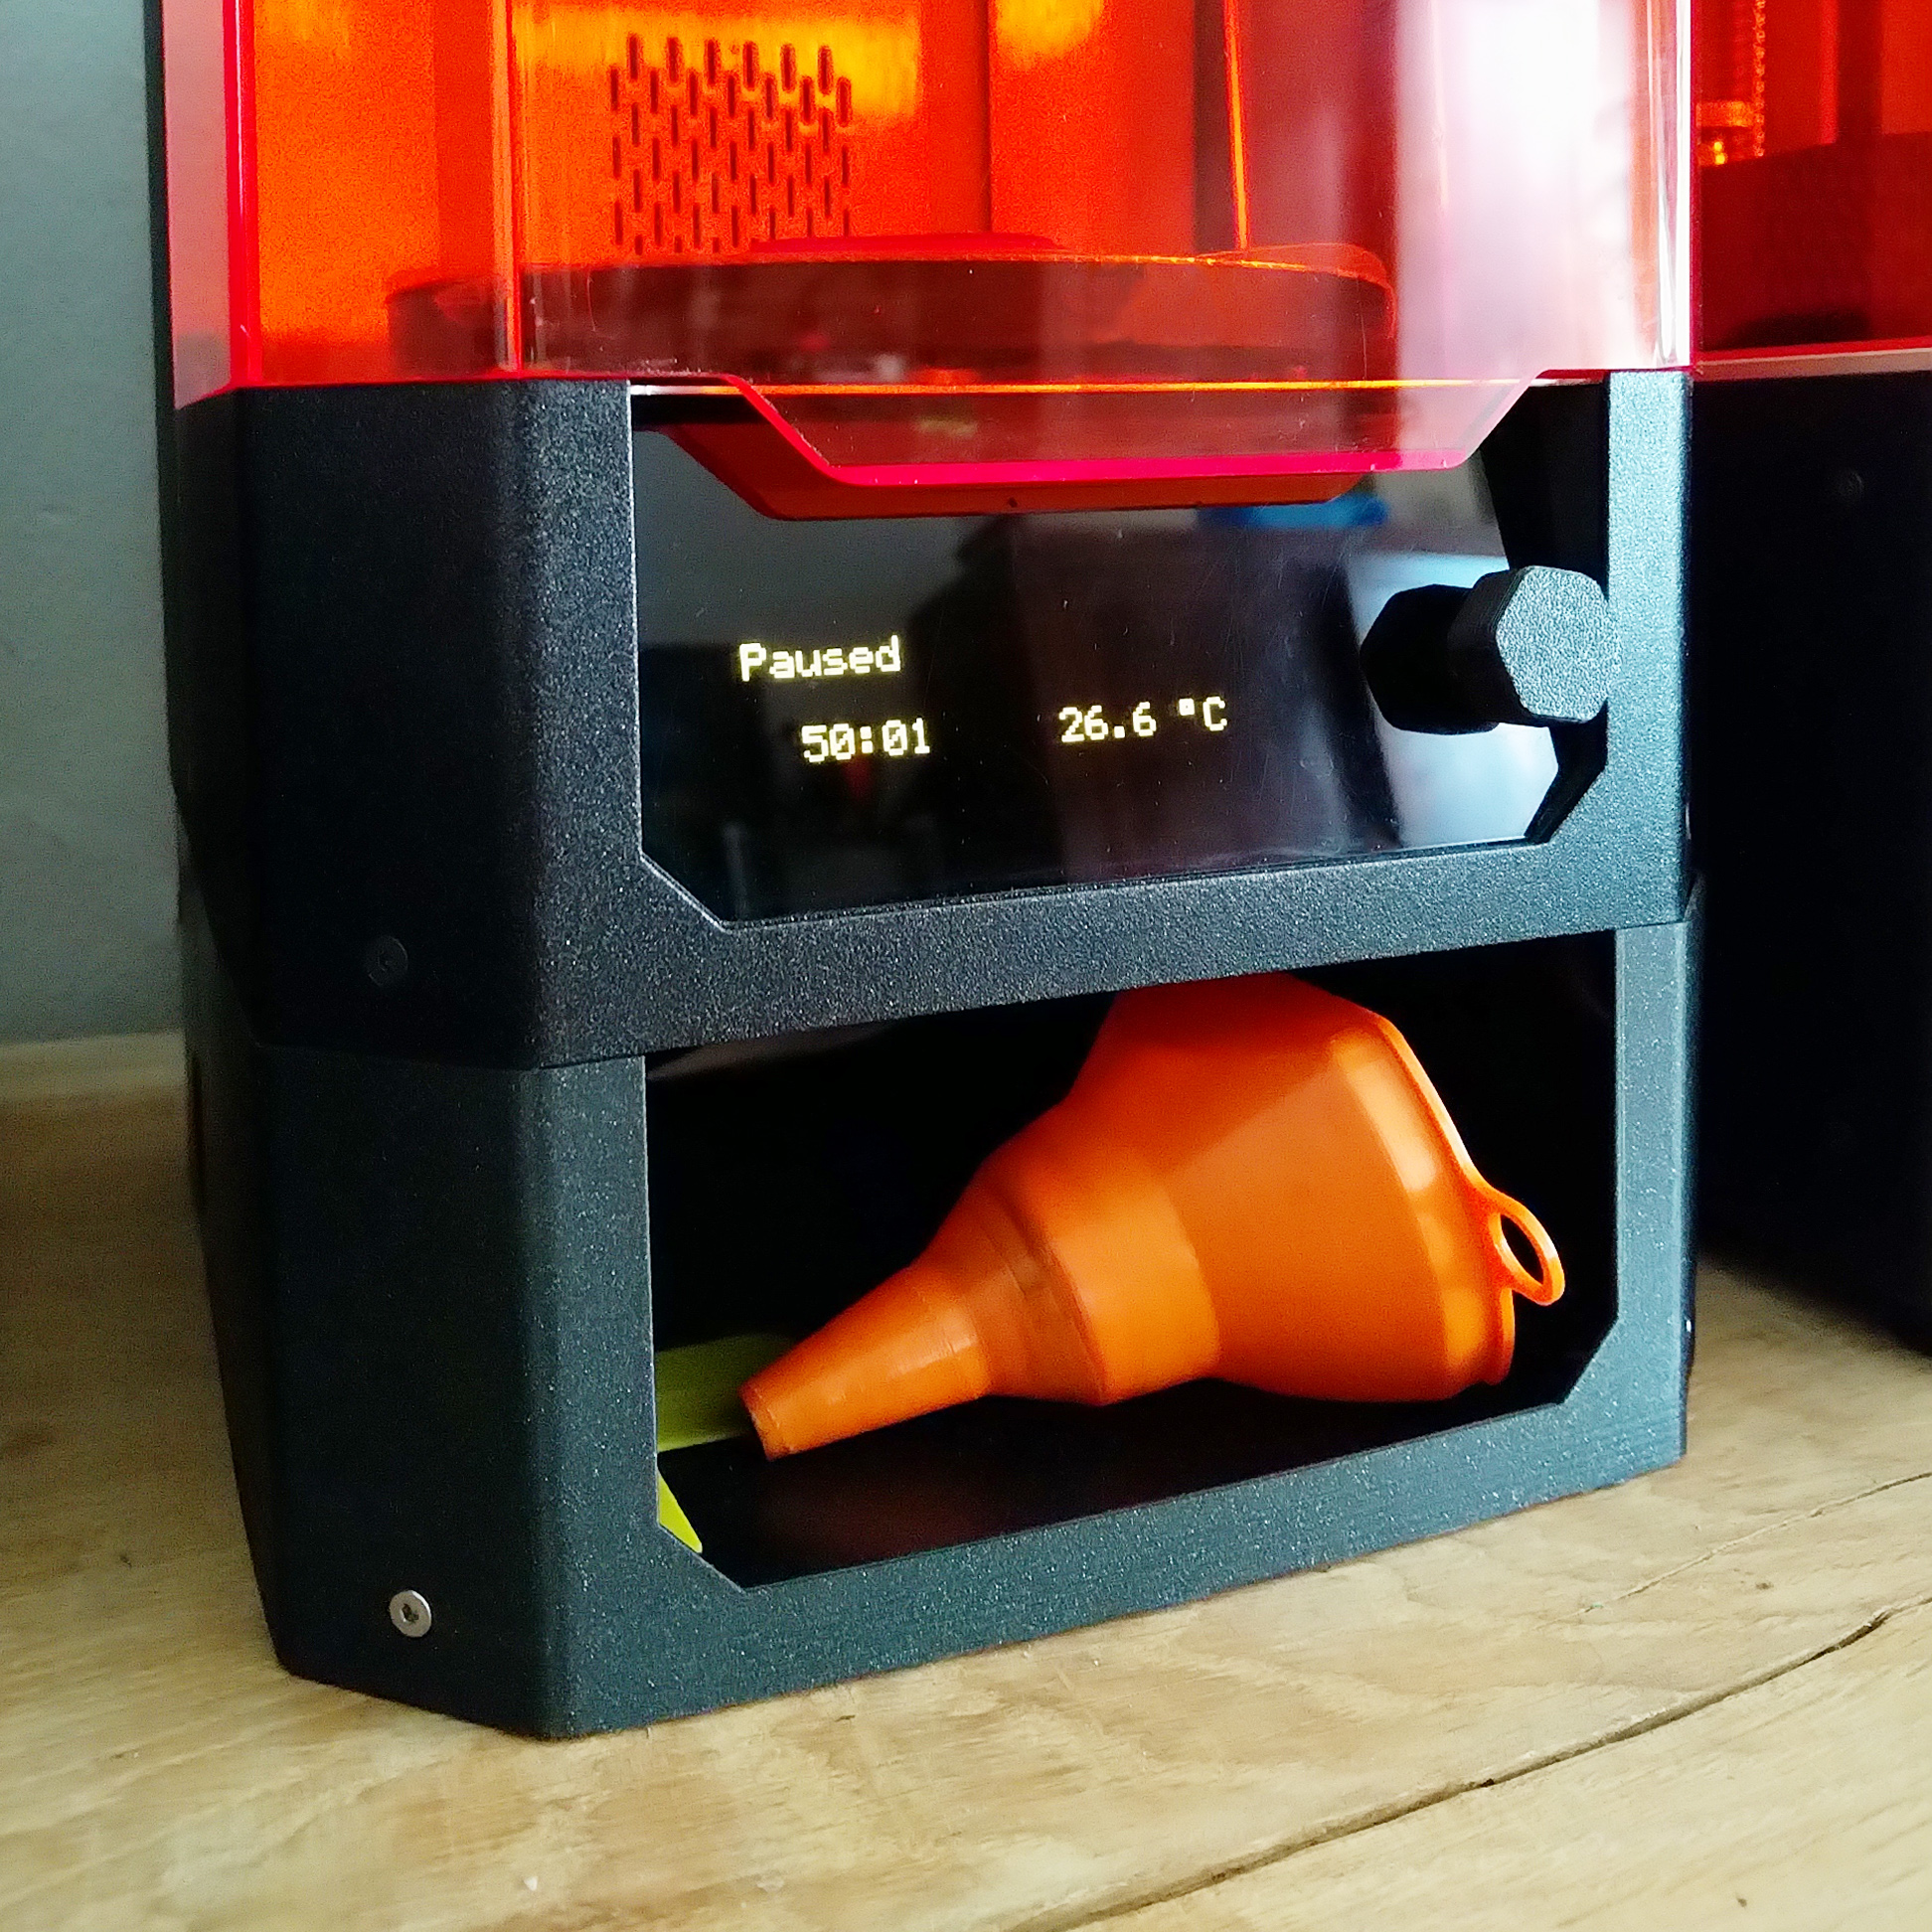
<ul><li>The <strong>tray </strong>(podstavec) gives your CW1 the same height as an SL1. Oh god! How this has always bothered my OCD!</li><li>you can store mess in it. Spatulas, gloves, the funnel etc.</li><li>you can either put the PSU inside or attach it onto the back side of the tray with zip-ties so no longer it dangles around. There are side holes to guide the PSU cables through.</li><li>sort of works under the SL1 too and possibly enables it to cool more efficiently.</li><li>you can stack more of these onto themselves, if you use the the legs (NOHa) printed from a flexible material. But higher it gets, more unstable the whole array might be.</li><li>Use the SPARE SL1 screws to attach the cover onto the tray body.</li><li>When printed from the Galaxy black filament, it looks fairly similar to the original CW1 surface.</li><li>Printable on MK3-sized heatbed, you just might have to re-orientate the objects.</li><li>Use brim and possibly even supports for the COvER. Use a lot of cooling, it tends to warp up even when printed from PETG. PLA works fine for this.<br><br> </li><li><strong>Funnel </strong>(trichter) is compatible with the bundled SL1 funnel filter. Fits 8 times onto the MK3 bed, or fits the SL1/SL1S platform.</li><li>Funnel filter mesh density can be set by the infill density percentage in Slicer, see the trichter_SL1_sitko 3MF file.<br> </li></ul>
With this file you will be able to print CW1 - funnel tray underneath with your 3D printer. Click on the button and save the file on your computer to work, edit or customize your design. You can also find more 3D designs for printers on CW1 - funnel tray underneath.