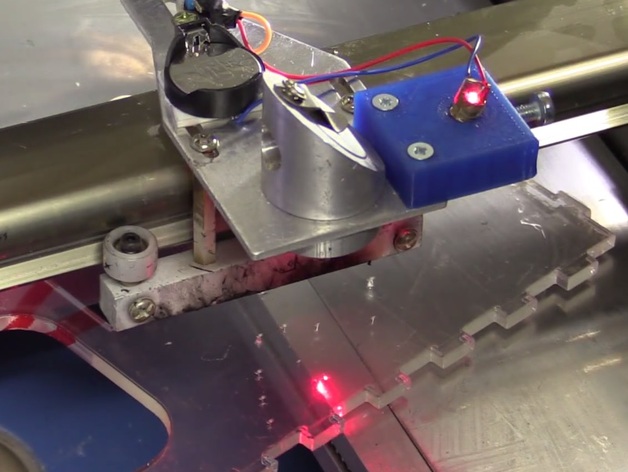
"Cut indicator" for 40W Laser Cutter
thingiverse
This jig will securely position the red laser diode at the precise angle to demonstrate exactly where the laser beam will cut. In some cases, a 6mm drill-bit must be carefully threaded through the angled hole if it becomes too narrow. To further secure the jig, tap a small set screw into the side-mounted hole measuring 4mm in diameter. I found that applying glue to the lens threads on the diode provides stability by eliminating any unnecessary movement.
Download Model from thingiverse
With this file you will be able to print "Cut indicator" for 40W Laser Cutter with your 3D printer. Click on the button and save the file on your computer to work, edit or customize your design. You can also find more 3D designs for printers on "Cut indicator" for 40W Laser Cutter.
