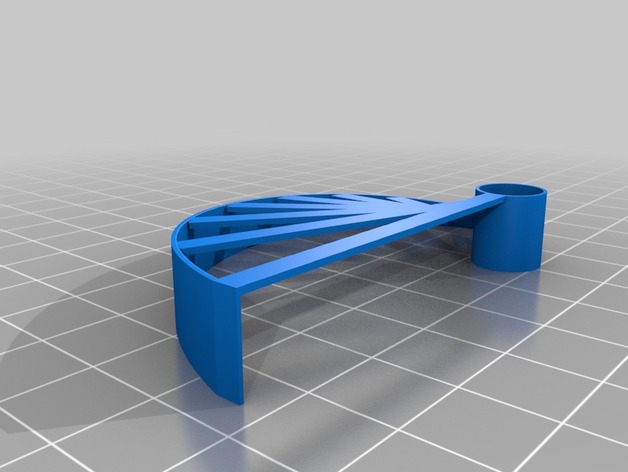
Customized Bridging Test (small, for micro3d)
thingiverse
This item was made from a design found on Thingiverse. You can modify this object using the Customizer tool, located at www.thingiverse.com/apps/customizer/run?thing_id=476845. To assemble and print your item: You have control over various settings. To change these, follow these steps: 1.) Choose the bridge size increment, making sure it is set to 5. 2.) Determine the maximum length of each bridge, setting this value to 50 or below. 3.) Decide on a height for all bridges within your item. This measurement is .8 units. 4.) Decide the wall thickness, choosing .5 as this option. 5.) Alter the angle at which bridges connect. Selecting 18 as the chosen option will be the standard angle for these parts in the print model. 6.) Set a width of three for all bridges in your custom piece. 7.) Change the smallest allowed length on any bridge. Set this number to no lower than 3. 8.) Calculate a gap, measuring 0.2 units in height at the end points of each individual bridge. Determine what diameter is required within any circular section known as a hub in this model and decide whether to alter it before moving forward.
With this file you will be able to print Customized Bridging Test (small, for micro3d) with your 3D printer. Click on the button and save the file on your computer to work, edit or customize your design. You can also find more 3D designs for printers on Customized Bridging Test (small, for micro3d).
