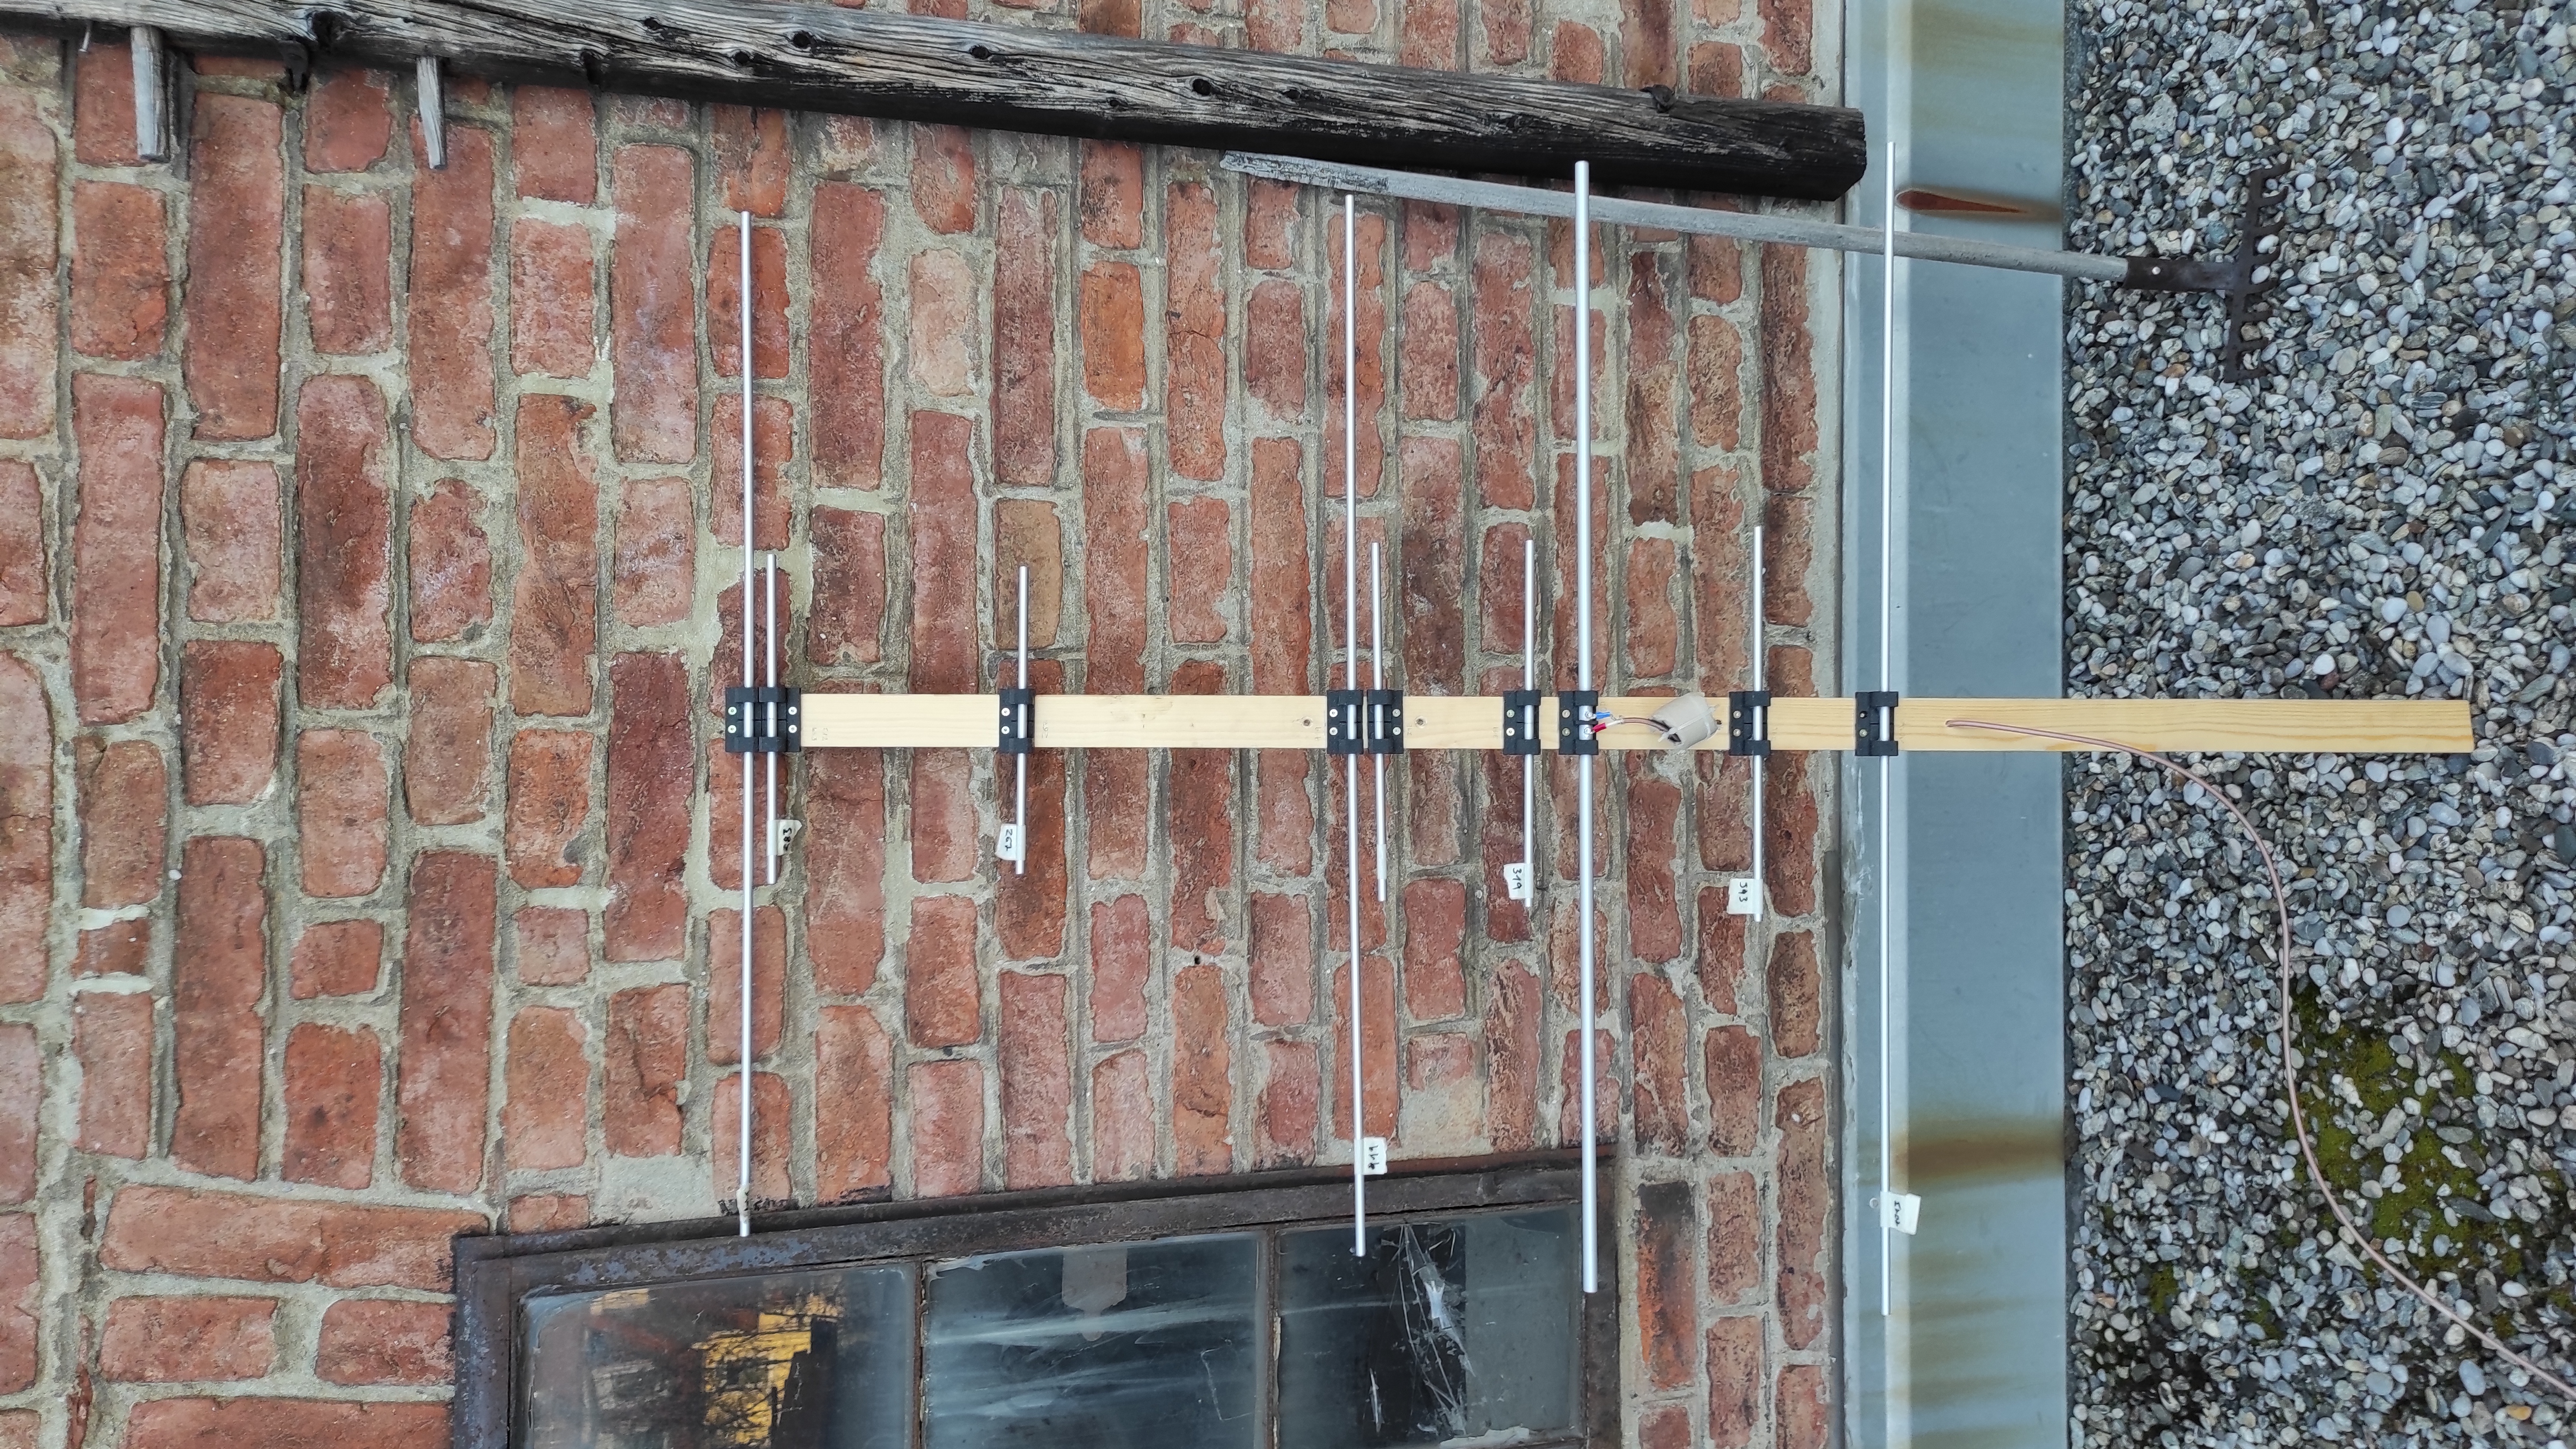
Customizable Yagi Element Clip
prusaprinters
<p>Simple clip I made for my 2m & 70cm band yagi antennas.</p><p>The uploaded STLs are made for a 45mm wide bar. If you want to customize them for your measurements use the OpenSCAD file and the built in customizer. I do not recommend making clips for bars less than 30mm wide with these files.</p><p>If you are looking for Yagi measurements, use the very resourceful website of DK7ZB:<br><a href="https://www.qsl.net/dk7zb/start1.htm">https://www.qsl.net/dk7zb/start1.htm</a></p><p><strong>What you need:</strong></p><p><i>For the Yagi:</i><br>- Bar to mount the clips on. attached files are for 45mm wide bars<br>- Coax with connector of your choice</p><p><i>For each clip:</i><br>2x 3,5x16mm Wood Screws</p><p><i>For the dipole clip:</i><br>2x M3 Screws (length: at least 4mm longer than diameter of element<br>2x M3 Nut<br>2x cable shoes<br><br><strong>Construction:</strong><br>It is easier to align the edges of the clips than the center of the elements. If you need to flip an element due to the proximity of another clip (see second picture), just subtract/add 27mm.</p><p>Mark the center of your elements with a pencil. The marks in the clips help you with centering. I use superglue to keep the elements in place. The best way to do this is to slid the elements a bit off center, drop the super glue on the edge of the elements. Then realign the element while turning it. This ensures that the glue is smeared on a larger surface.</p><p>The dipole elements can be a bit tricky. If you do not drill straight down, you'll end up with tilted nuts that won't fit properly into the space below. File the surfaces of the dipole elements a bit so that you get a better contact.</p>
With this file you will be able to print Customizable Yagi Element Clip with your 3D printer. Click on the button and save the file on your computer to work, edit or customize your design. You can also find more 3D designs for printers on Customizable Yagi Element Clip.
