Customizable Window Frame
prusaprinters
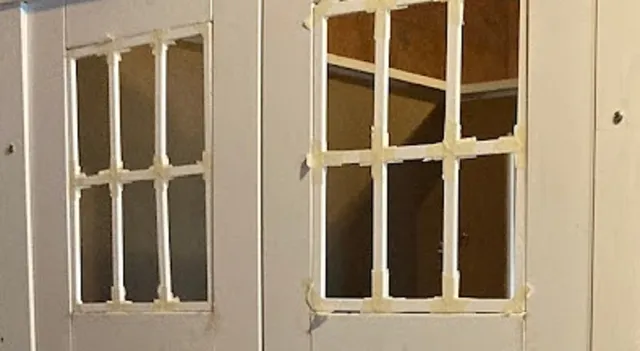
This is a snap together design to print your own window grid.Parts are divided to easily fit on your printer bed.Use the parameters to configure to match your window size.I originally designed this to make window frames for my tardis. Instructions:If you want dovetails, download JointSCAD and place in your working folder. https://github.com/HopefulLlama/JointSCADEnter your window dimensions and parameters below.Horizontal measurement of openingVertical measurement of openingNumber of Panels in each rowNumber of Panels in each columnExport stl and use your slicer to divide into individual objects to print.In PrusaSlicer, click the "Split to Objects" button. (not the Split to Parts button).Press the A key to arrange parts to best fit your bed.Print your first tray, then delete the printed parts, and press A again to arrange the remaining parts to print.Assembling, the joint fits are tight. Use a hammer to lightly tap the parts together.Only the outer frame parts use joints. The inner parts need super glue.Fast Draft Print Settings:These speed settings reduce my print times by half and still print flawless shapes. The only thing I turned down the speed on was the First Layer Speed to 30 mm/s (default).
With this file you will be able to print Customizable Window Frame with your 3D printer. Click on the button and save the file on your computer to work, edit or customize your design. You can also find more 3D designs for printers on Customizable Window Frame.