Customizable Tool Holder
prusaprinters
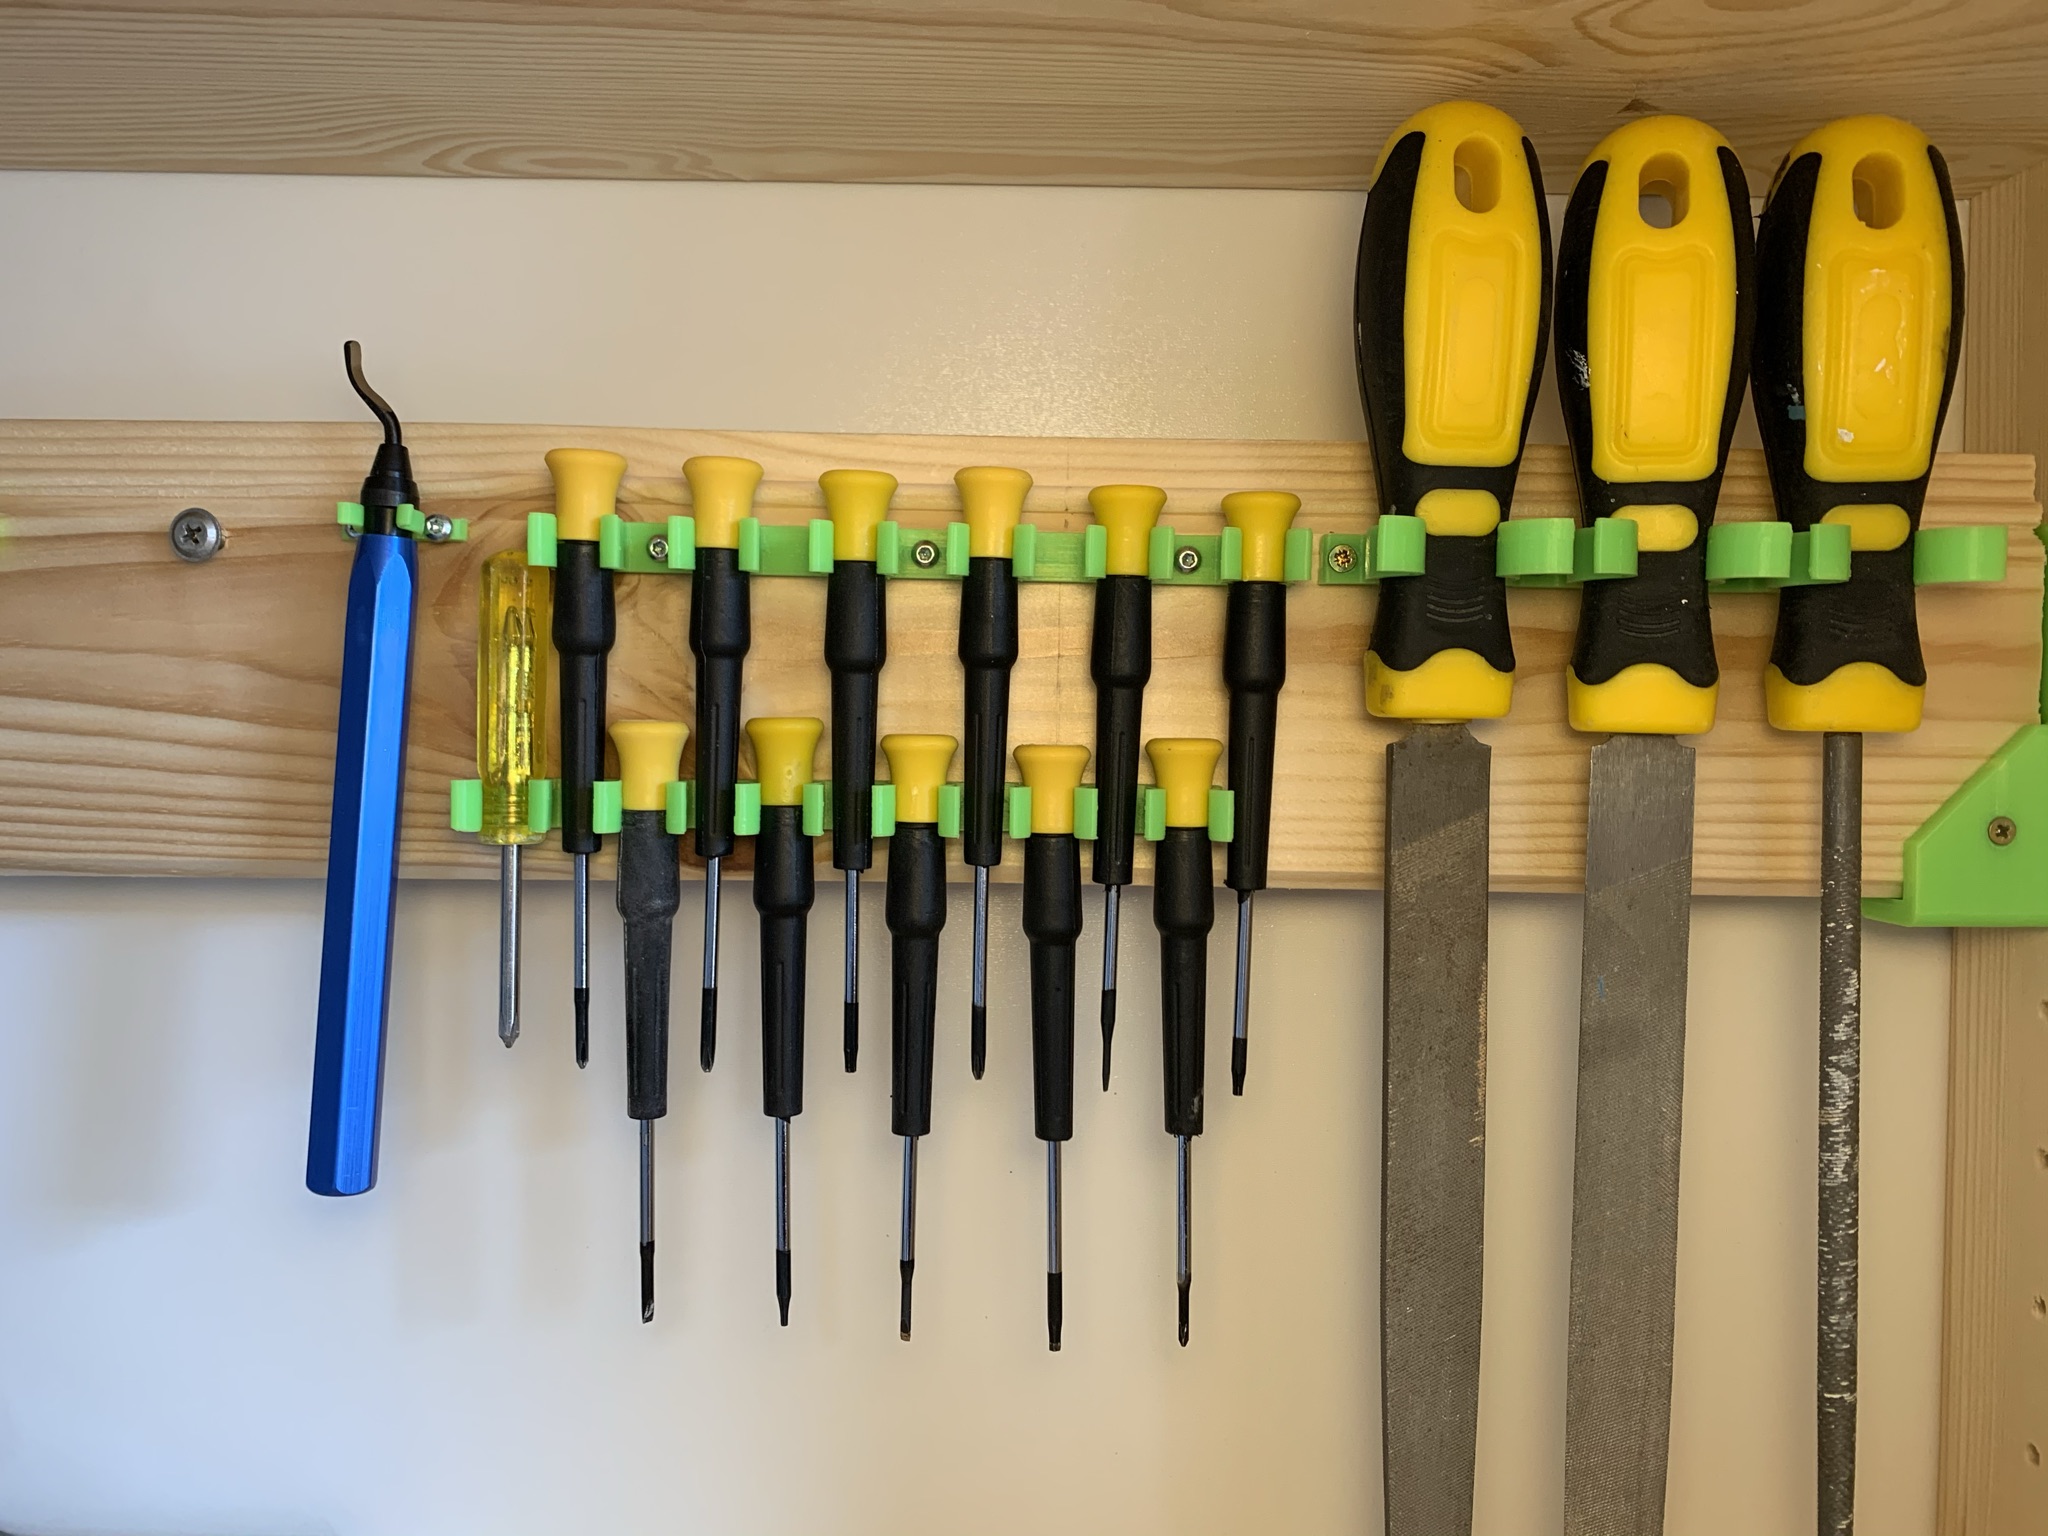
<p>A tool holder that you can customize to your specific set of tools. You can tailor it to fit your tool as loose or snug as you see fit and it is very quick to print.</p><p>For now you need Fusion 360 to edit the file. I haven't had time to remake it in OpenSCAD.</p><p> </p><h4>How to customize your tool holder</h4><p>First measure the diameter of the tool. Choose a place on the tool where it is narrower than the rest. Most tools have a thicker part on the top, measure below that so the tool don't slip through the tool holder.</p><p> </p><h5>Parameters</h5><p>Go into fusion 360 and open the parameters dialog (MODIFY→Change parameters). Most parameters have a brief description in the comment column but below follows a more in depth description. Do not change any parameter starting with “Calculated_”</p><ul><li><strong>ToolDiameter </strong>- This is where you should enter the diameter of the tool you want to hold.</li><li>Tollerance - This value is added to crucial dimensions to account for printer inaccuracy.</li><li><strong>Thickness </strong>- The thickness of the claws. <strong>This is a very important parameter</strong>. This value should be your extrusion width multiplied with the number of shells you want to have on the claws. Using this formula will ensure that the claws will be printed with consistent lines for optimal strength.<br>A good value for the number of shells depends on the size of the tool. For small tools like 5mm diameter i go with 3 shells. For 10mm diameter tools i go with 5 shells.<br>This parameter will affect the tension the claw will have and how easy or hard it will be to open them.</li><li>BackPlateThickness - Thickness of the backplate. I usually go for 5mm except for really small tools then i use 3mm</li><li>NumberOfHolderClaws - the number of holders you want.</li><li>Height - the height of the entire object. This depends on the tool, measure the height where the diameter is the value you typed in “ToolDiameter”</li><li>ScrewHoleDiameter - Diameter of the screw hole you want</li><li>ScrewHeadDiameter - If you want countersink screw holes this is where you enter the diamter of the screw head.</li></ul><p>Once you enter the parameters press OK. There are four different versions of the tool holder as you can see in the object browser. </p><ul><li>NormalHole - This model has screw holes between each claw.</li><li>CountersinkHole - Same as NormalHole model but with countersink holes instead.</li><li>NormalHole on the sides - This model has two screw holes one at each end of the model.</li><li>CountersinkHole on the sides - This model has two countersink screw holes one at each end of the model.</li></ul><p>Select the type you want and save it as a mesh.</p><p> </p><h5>Print instructions</h5><p>Once you have your mesh import it into prusaslicer. It is important to make sure is that the extrusion width you used when calculating the Thickness parameter is the same as the one you use with your printer. Also make sure you have enough shells specified so the claws do not have infill in them but only perimeters. This is crucial otherwise the claw will not be as bendy as it should.</p><p>This is how the slice preview should look:</p><figure class="image image-style-align-center"><img src="https://media.prusaprinters.org/media/prints/85128/rich_content/41013768-db55-4a28-8ecb-68dfb28197ca/goodslice.png#%7B%22uuid%22%3A%2290eb1931-812b-489c-b12e-fda53aa48b71%22%2C%22w%22%3A295%2C%22h%22%3A375%7D"></figure><p>This is how the slice preview should <strong>NOT </strong>look:</p><figure class="image"><img src="https://media.prusaprinters.org/media/prints/85128/rich_content/fdaeeab8-5fc1-4e04-978d-5af88aa40bee/badslice.png#%7B%22uuid%22%3A%22dc09c314-6449-4db4-826f-d2db5f8aada3%22%2C%22w%22%3A372%2C%22h%22%3A463%7D"></figure><h5>Filament</h5><p>I have used PLA for all my prints and they still maintain the tension on the tool. If tension becomes a problem use PETG instead.</p>
With this file you will be able to print Customizable Tool Holder with your 3D printer. Click on the button and save the file on your computer to work, edit or customize your design. You can also find more 3D designs for printers on Customizable Tool Holder.