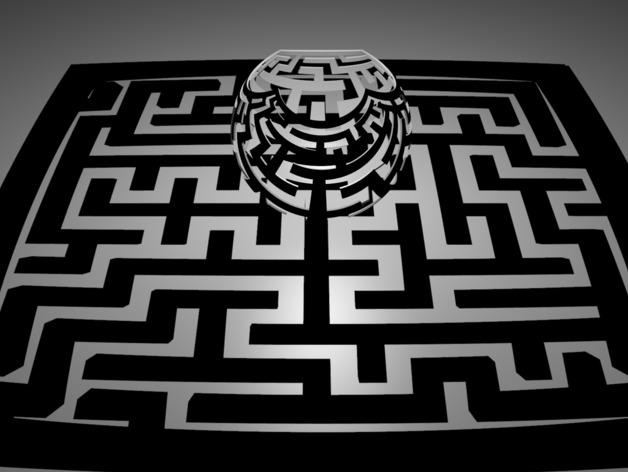
Customizable stereographic projection
thingiverse
Create a personalized version of HenrySegs innovative design that uses stereographic projection to project a grid from a sphere onto a plane at <a href="http://www.thingiverse.com/thing:202774">this link</a>. To use the design, simply upload an image with dimensions 75x75; it will then be projected onto a sphere and back again once a light source is added to the north pole. There are some considerations when using this tool. Ensure that diagonally touching pixels lie in just one point, as this can result in a non-manifold mesh. Black pixels indicate where material should be added, while white ones represent holes. Uploaded inputs and rendered results are available in the gallery for reference. Thingiverse resizes images, so zipped versions have been uploaded to preserve detail. The level of detail is dependent on wall thickness - thinner walls show more detail, particularly in the center. The examples may be fragile, but they demonstrate the concept effectively. For more information about stereographic projection, visit <a href="http://en.wikipedia.org/wiki/Stereographic_projection">this link</a>. A revised version of the design that incorporates HenrySegs tip and produces cleaner projections can be found at <a href="http://www.thingiverse.com/thing:295281">this link</a>. This version also uses 75x75 pixels, as 150x150 doesn't work with the customizer. For larger versions, use OpenScad and this script: <a href="http://jsfiddle.net/threonin/3j2c2pwe/">this link</a>.
With this file you will be able to print Customizable stereographic projection with your 3D printer. Click on the button and save the file on your computer to work, edit or customize your design. You can also find more 3D designs for printers on Customizable stereographic projection.
