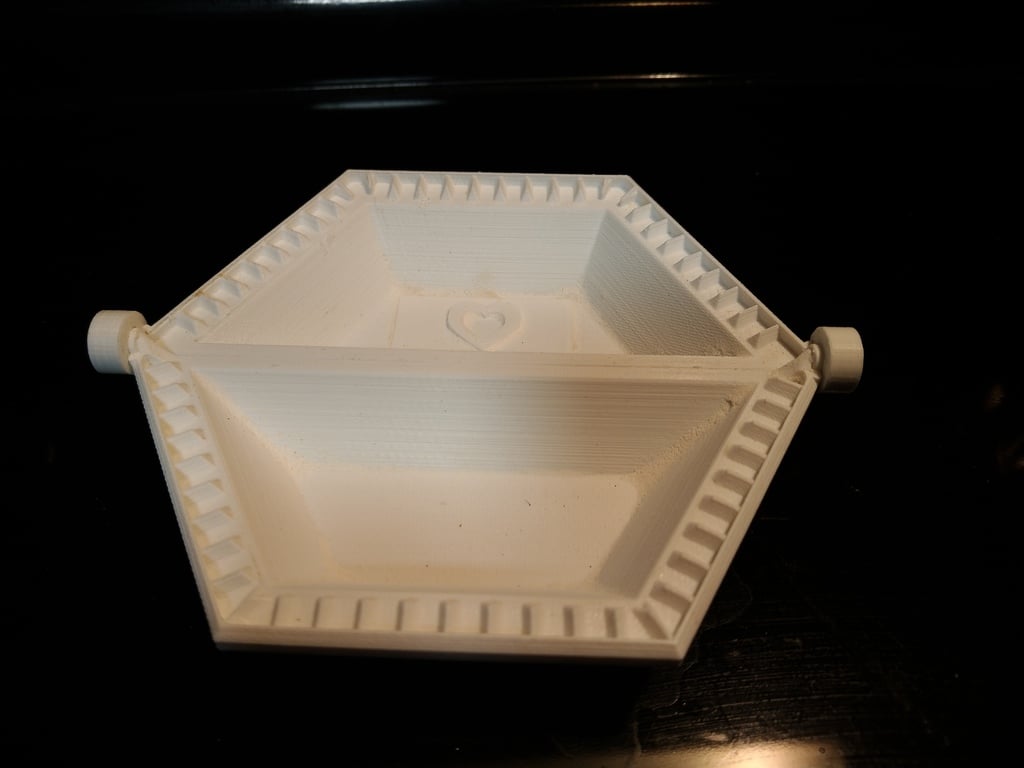
Customizable Samosa & Empanada Press
thingiverse
NOTE: I make no claims about the safety of using 3D printed cooking tools. Be aware that many filaments are not rated for use in food preparation and additives vary greatly. Ridges/crevices on 3d printed parts could harbor bacteria if not cleaned properly, and most filaments would deform badly if run through a dishwasher. USE: This is a press for making samosas or empanadas (filled pastry). Place 1/8" thick dough over the press*, add filling just up to the top brim of each half. Firmly close the press and it will seal the edges and cut off excess dough. Remove the pastry, maybe poke small holes in the dough to allow steam to escape, and bake or fry it as you normally would. I've included a version of each part which allows you to place a custom 'stamp' on one or both sides of the dough. Make a 40mm x 20mm x 1mm plate, and raise your design 2mm above the plate. Large, simple designs work best. *You could cut the dough into 5.5" squares or circles, or just drape the whole dough sheet over the press and it will cut the dough automatically. If dough is too thin or dry it may not seal. Wetting half the inside surface and/or doubling the dough over the 'teeth' of the press may help seal the dough. PRINTING & ASSEMBLY: You will need to use supports for the two main pieces. If available, I also recommend using features like 'ironing' (in Cura) to smooth out the upper surfaces and make cleaning slightly easier. Put the top and bottom pieces together at the hinge and lock them together with a 'cap' ring on each side. When disassembled, the top & bottom can nest for more compact storage.
With this file you will be able to print Customizable Samosa & Empanada Press with your 3D printer. Click on the button and save the file on your computer to work, edit or customize your design. You can also find more 3D designs for printers on Customizable Samosa & Empanada Press.
