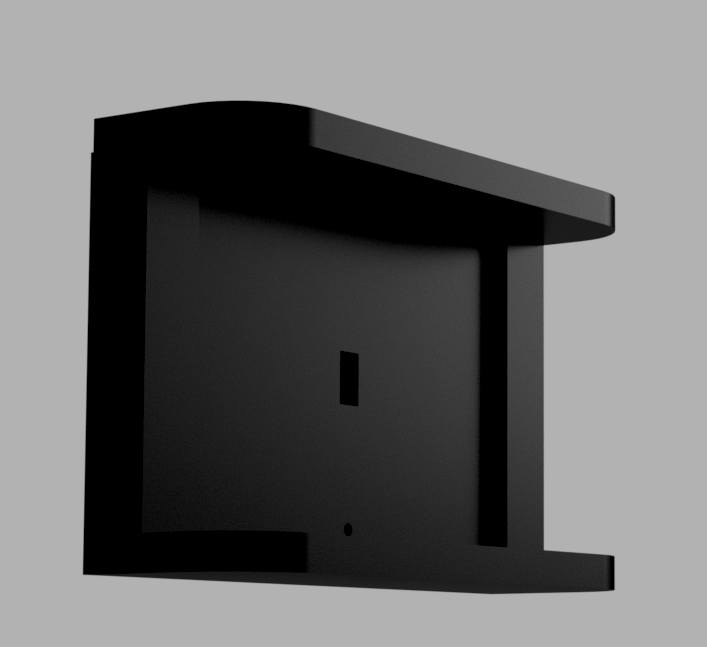
Customizable Lithophane Holder Frame or Nightlamp
prusaprinters
<p><strong>ATTENTION PLEASE: Provided STLs are just example. To create your own you must open F3D file in Fusion360 and open the “Parameters Dialog”</strong></p><figure class="image image-style-align-center image_resized" style="width:50%;"><img src="https://media.printables.com/media/prints/211757/rich_content/adfd21ec-ab93-4ade-9a70-7c3c6cfaf8be/captura-de-ecra-2022-05-23-024020.png#%7B%22uuid%22%3A%2254d346d0-df5f-472b-90c0-4e467e03856d%22%2C%22w%22%3A686%2C%22h%22%3A1048%7D"></figure><p><strong>Instructions: </strong></p><p>I got tired of looking for curved lithophane holders that would fit, and that could be customized - because each lithophane created is different - and decided to create my own.</p><p>I used as much as possible the <strong>Parameters tab in Fusion360</strong>, so all you need is to take <strong>4 measures</strong> of your curved litho, and the model should adapt itself to the new measurements. </p><p>Check the picture for the explanation on <strong>ArcHeight</strong> and <strong>ArcChord </strong>for the litho. Measures are taken from <strong>inside the arc</strong></p><figure class="image"><img src="https://media.printables.com/media/prints/211757/rich_content/75461738-1926-4d12-b6f2-2af74273eb14/captura-de-ecra-2022-05-23-013601.png#%7B%22uuid%22%3A%2299e7e332-ea7f-493c-8c25-b8d7966679e4%22%2C%22w%22%3A955%2C%22h%22%3A413%7D"></figure><p>The remaining measurements are simply the <strong>Thickness </strong>and <strong>Height </strong>of the litho, and it should generate the correct stand and optional lid.</p><p>You can further customize the <strong>wires </strong>and <strong>switch</strong> hole parameters, and the<strong> lid screws</strong> to your taste to fit the material you'll use, or set them to zero if you don't want them. </p><figure class="image"><img src="https://media.printables.com/media/prints/211757/rich_content/2b99bc87-380e-4563-a09b-1153b352f927/captura-de-ecra-2022-05-23-021012.png#%7B%22uuid%22%3A%22aab4df46-9a6e-4f90-9bd9-ddb11f9c50fa%22%2C%22w%22%3A1105%2C%22h%22%3A501%7D"></figure><p>Be aware the this Frame “grabs” some 3 to 5mm around the lithophane, so If you are creating a new lithophane just add a border, or if you don't want to mess with the lithophane editor, just edit the picture with a black bar around the outside of the image</p><figure class="image"><img src="https://media.printables.com/media/prints/211757/rich_content/b65c1555-b208-440f-b33c-507f94f3ef9a/captura-de-ecra-2022-05-23-021717.png#%7B%22uuid%22%3A%229866a034-cc98-441d-b4d1-2591b1a1a571%22%2C%22w%22%3A1592%2C%22h%22%3A567%7D"></figure><p><strong>To finalize, you'll need some soldering skills. </strong></p><p>How you do the lighting is up to you, but normally I set 4 cut-to-lenght strips of <a href="https://www.amazon.de/-/en/gp/product/B0798SNC6P">5V LEDs</a>. I set them vertically, 2 just beside each side of the switch, the other 2 are set ⅓ of the center side, placed to the center. Avoid putting strips too far out to the edges, as the closeness to the lithophane can cause the single LEDs to stand out. While losing light in the center.</p><p>I buy <a href="https://www.amazon.de/-/en/gp/product/B07NSMN2W7">male-male (USB-A to USB-A) wire</a>, that way I have 2 USB plugs I can use. There are 2 holes for wires in the model, as you can put the wire where it's most convenient for the end use.</p><p>I connect the Strips in parallel and then connect the + to the <a href="https://www.amazon.de/-/en/mmtrade-Rocker-Switches-Lockable-Self-Locking/dp/B07P769WDV">on/off switch</a>, and then to the wire. The negatives are all sent to the wire directly.</p><figure class="image image_resized" style="width:50%;"><img src="https://media.printables.com/media/prints/211757/rich_content/f35dcd9f-1b99-4906-8202-3071ef84c9fc/sem-titulo.png#%7B%22uuid%22%3A%22c810dfc0-d439-4210-aad0-f35b6e73116c%22%2C%22w%22%3A676%2C%22h%22%3A867%7D"></figure><p>Try to keep the <strong>wiring harness</strong> as <strong>close as possible to the center and back</strong> of the piece, since any wires too close to the Lithophane can cause it to show shadows in the lithophane or even light leak from colored wires. Some <strong>zip-ties</strong> should do the trick</p><p>Then I use <a href="https://www.amazon.de/-/en/1191010350155-Universal-Countersunk-Threaded-Galvanised/dp/B00M1SQNIW">2 self-tapping screws</a> to mount the lid to the lithophane.</p><p>And Voilá, your lithophane lamp should be done.</p><p><strong>BOM</strong></p><ul><li><a href="https://www.amazon.de/-/en/gp/product/B0798SNC6P">5V LEDs</a></li><li><a href="https://www.amazon.de/-/en/gp/product/B07NSMN2W7">male-male (USB-A to USB-A) wire</a></li><li><a href="https://www.amazon.de/-/en/mmtrade-Rocker-Switches-Lockable-Self-Locking/dp/B07P769WDV">on/off switch</a></li><li><a href="https://www.amazon.de/-/en/1191010350155-Universal-Countersunk-Threaded-Galvanised/dp/B00M1SQNIW">2 self-tapping screws</a></li></ul>
With this file you will be able to print Customizable Lithophane Holder Frame or Nightlamp with your 3D printer. Click on the button and save the file on your computer to work, edit or customize your design. You can also find more 3D designs for printers on Customizable Lithophane Holder Frame or Nightlamp.
