Customizable Lithophane Box - Any size!
prusaprinters
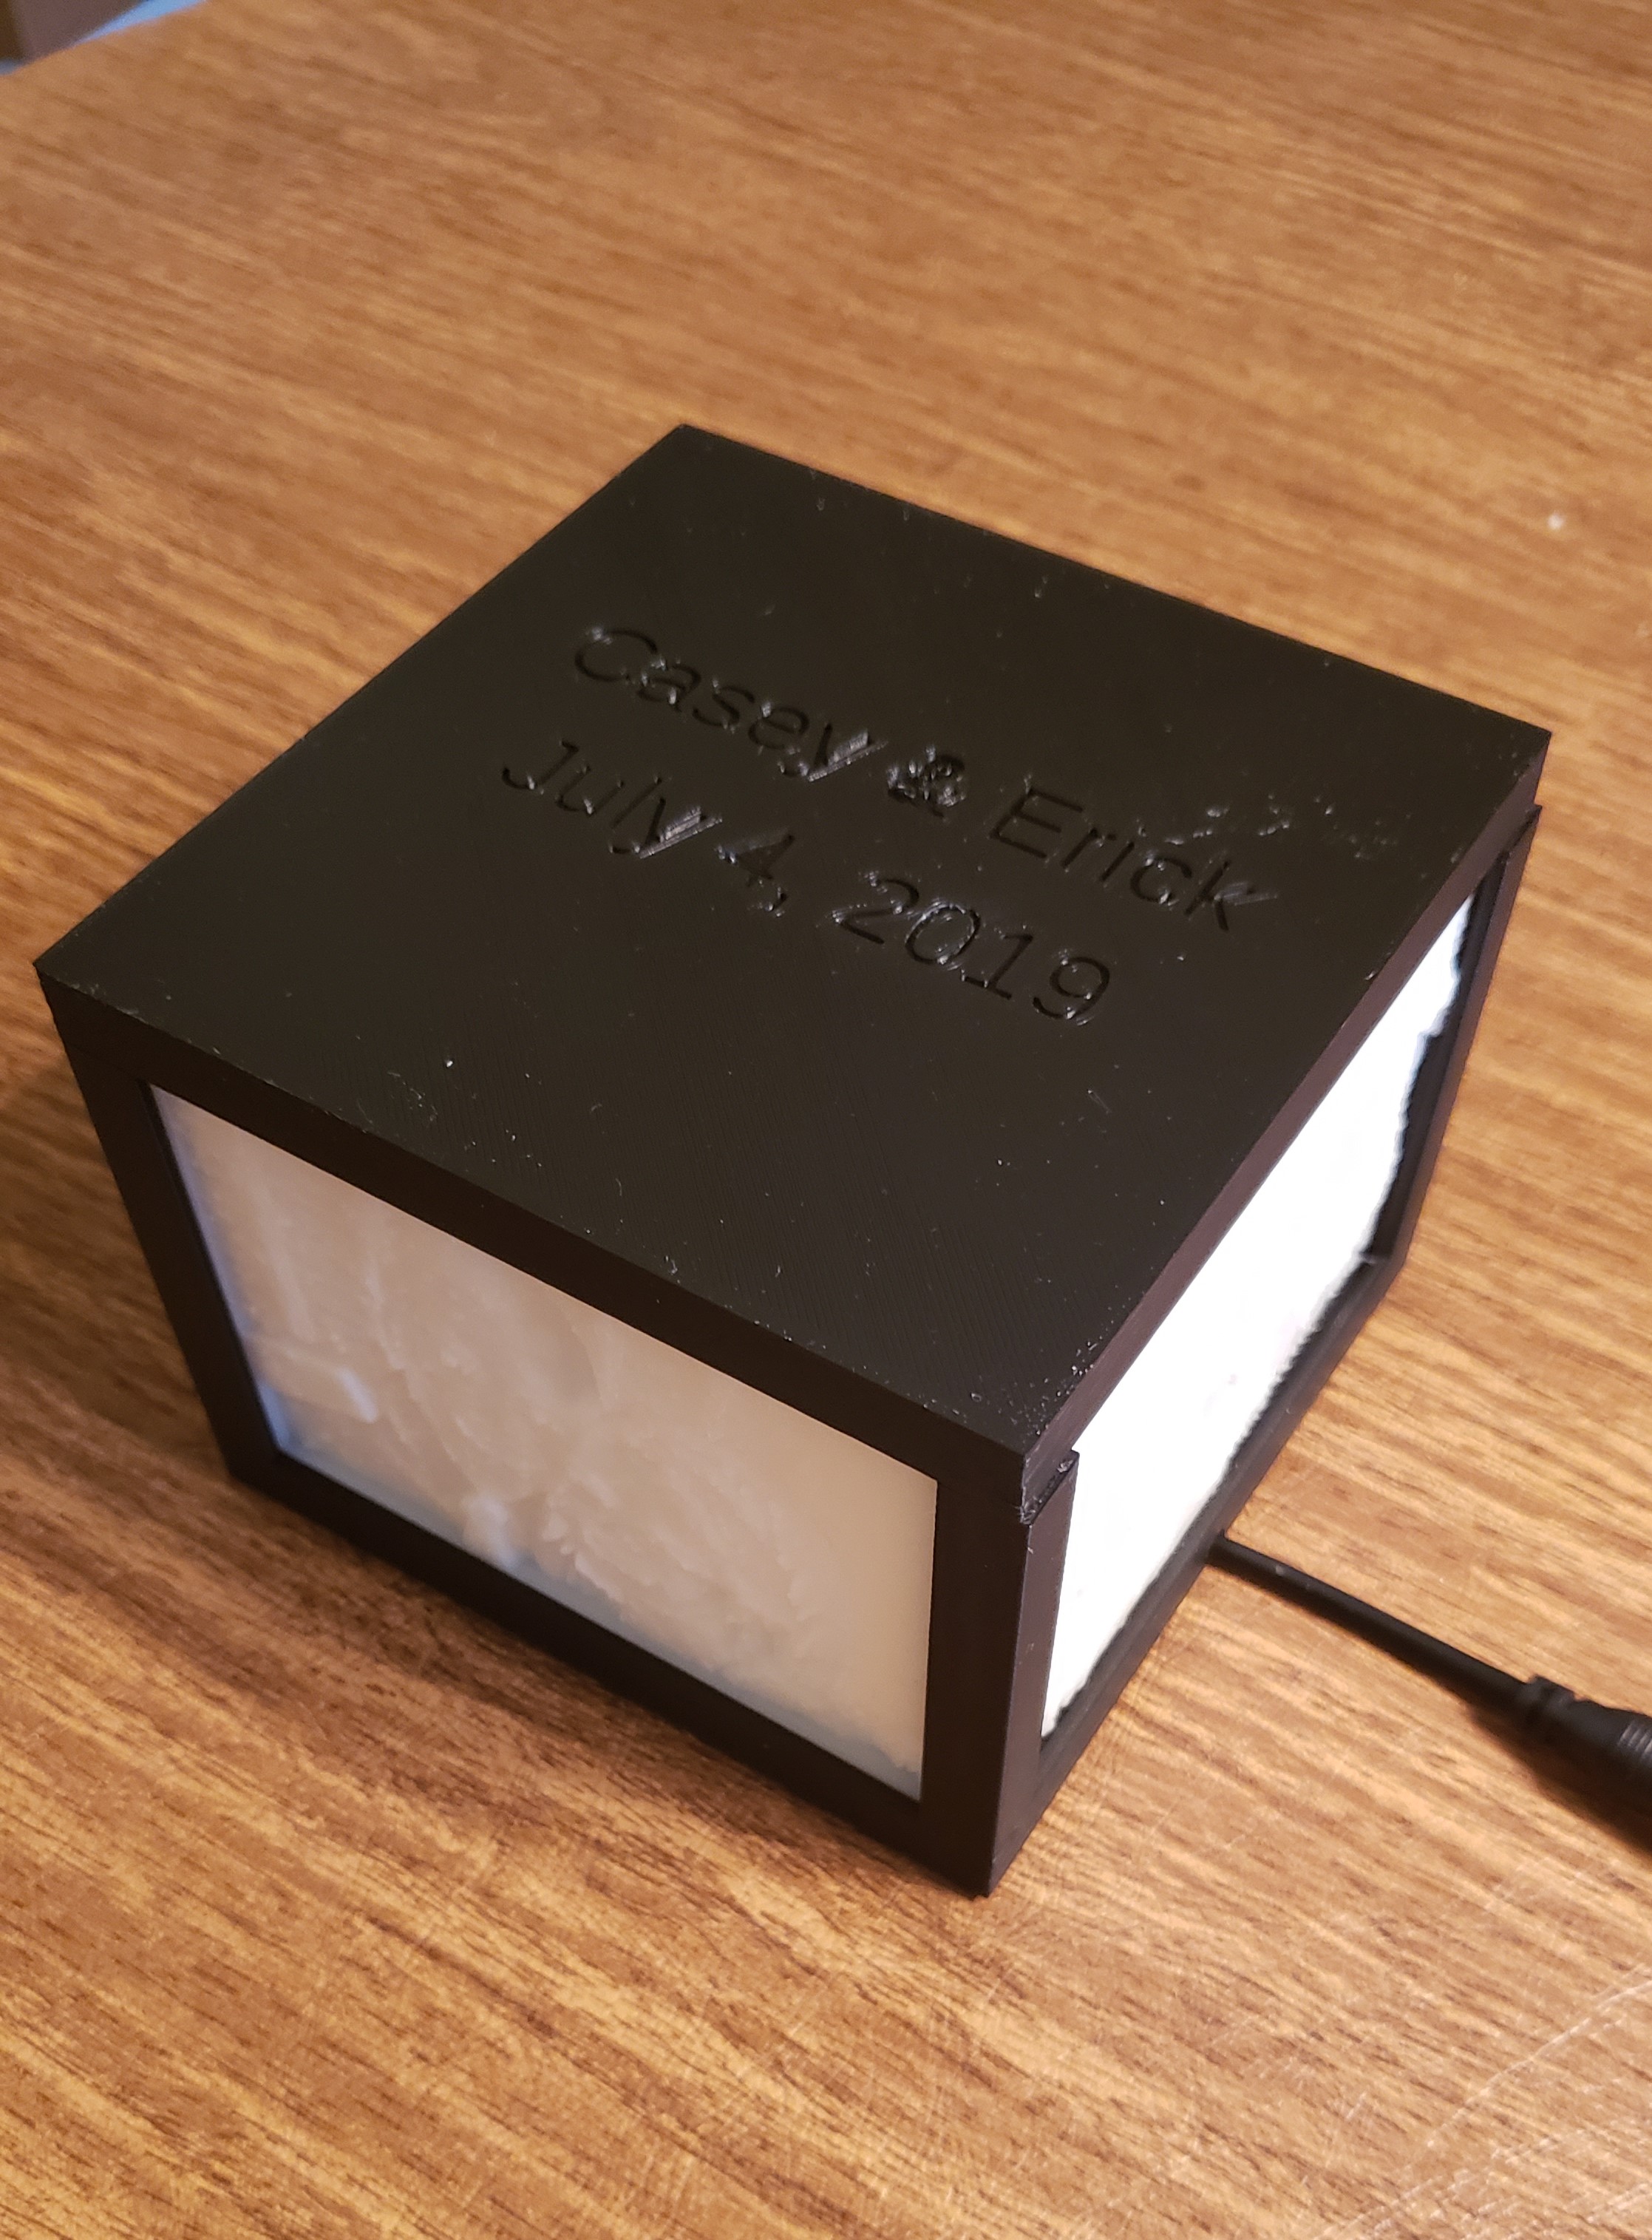
<p>**Updated 13-MAR-2020. Lithophane Holder for custom sized lithophanes. Includes options for cable management and custom text on the holder lid.</p> <p>You can print lithophanes any size you want, and then use this Thing to customize a holder for them.</p> <p>The photos show a holder sized for original 5x7 photos, scaled to 100mmx72mm by the lithophane maker (see below).</p> <p>Need a 150x150 frame? Or 100x200? or 100x80? This is the holder for you.</p> <p>*** 13-MAR-2020: uploaded newest version (2.5). Changes are:</p> <ul> <li>Can now generate TEXT as separate object. Allows text to be in another color for users with an MMU. Just output the TOP and the TEXT as separate objects and import them at the same time into PrusaSlicer - and answer "yes" to make them parts of the same object.</li> <li>Ability to pick any google font (customizer) or any installed font (local openSCAD registered) for the top.</li> <li>Added snap connectors to the lid using the pin connector library from Tony Buser [www.thingiverse.com/thing:10541/ & <a href="https://spolearninglab.com/curriculum/lessonPlans/hacking/resources/software/3d/openscad/openscad_libraries.html">https://spolearninglab.com/curriculum/lessonPlans/hacking/resources/software/3d/openscad/openscad_libraries.html</a>]</li> <li>uploaded additional photos that show the multi-color text on the top and the latching mechanism to hold the top on. Note, some pictures still show version 2.3 without the latching top.</li> </ul> <h3>Print instructions</h3><p>This is an OpenSCAD file. You need run it in OpenSCAD, change the parameters, and generate your STL files.</p> <p>I got most of my inspiration from this Instructables post: <a href="https://www.instructables.com/id/Lithophane-Lamp-3D-PRINTING-YOUR-PHOTOS/">https://www.instructables.com/id/Lithophane-Lamp-3D-PRINTING-YOUR-PHOTOS/</a></p> <p>However, I wanted to make it even easier and needed to support my custom sized lithophane.</p> <p>Here are the parts you need:</p> <p>12V Power Supplies: <a href="https://www.amazon.com/gp/product/B00FEOB4EI">https://www.amazon.com/gp/product/B00FEOB4EI</a><br/> LED Strip (cutable): <a href="https://www.amazon.com/gp/product/B00HSF64JG">https://www.amazon.com/gp/product/B00HSF64JG</a><br/> Clip on power cords: <a href="https://www.amazon.com/gp/product/B07JBY8KJD">https://www.amazon.com/gp/product/B07JBY8KJD</a></p> <p>NO SOLDERING NEEDED!</p> <p>Put the power cord through the hole in the base, connect the LED strip, and thread through the channel on the bottom of the display.</p> <p>Wrap the LED strip around the central column using the adhesive on the back of the strip. Cut LED strip as needed at the marked cut points. Note: I added a rubber band at the top to keep strip from peeling off. See photos.</p> <p><strong>Where do I get a lithophane stl file?</strong></p> <p>I used <a href="http://3dp.rocks/lithophane/">http://3dp.rocks/lithophane/</a> to generate my lithophanes. There are a lot of articles on the internet about how to use it. For me, the problem wasn't the lithophanes, it was finding a holder sized for the way I generated my lithophanes.</p> <p>When uploading a 5x7 photo and setting the 3DP tool to a max size of 100, you get a 100x72 lithophane. (100 * 5/7 = 71.4)</p> <p>If you started with a square photo, 3DP will output a 100x100 size lithophane (with max size=100).</p> <p>If you start with an 8x10 image, you will get out a 100x80 lithophane.</p> <p>Here are the values I used for the 3DP lithophane generator:</p> <p>IMAGE SETTINGS:<br/> POSITIVE IMAGE (This is the MOST IMPORTANT. No idea why it defaults to NEGATIVE:</p> <p>MODEL SETTINGS:<br/> Max Size: 100(mm)<br/> Thickness: 4mm<br/> Boarder: 2mm<br/> Thinnest Layer: 0.6mm<br/> Vectors Per Pixel: 6<br/> Base/Stand Depth: 0<br/> Curve: 0</p> <p>I then print the lithophanes in ABS at:</p> <p>0.15 layer thickness (first layer 0.2)<br/> Parameters: 1<br/> Solid Layers Top: 0, Bottom: 1<br/> 100% infill, rectilinear<br/> Fill Angle: 30.<br/> (print temp 255, bed 100)</p> <p>I also dial back the print speed to 80% of normal.</p> <p>Just make sure all your photos are scaled (cropped) to the same ratio before you upload them to 3DP or you will get different sized lithophanes.</p> <p><strong>Hints for OpenSCAD Customizer settings:</strong></p> <p>Most people will just set the Width, Height and Depth (thickness) and that is all you need.</p> <p>Since I started with 5x7 photos, with a max size of 100, my values were: 100 & 72.</p> <p>I print my lithos 4mm deep.</p> <p><strong>SUGGESTION:</strong><br/> I strongly recommend you print your lithophanes with a 2mm boarder so they sit nicely in this holder. If you use a different value, adjust "lithopane boarder size" it accordingly.</p> <p>If you set the jackwidth or jacklength to zero, the hole in the bottom will not be created.</p> <p>If you want one line of text on the lid, use "TEXTB" and blank out the other two.<br/> If you want two lines of text, use TEXTA and TEXTC for nice spacing.<br/> Obviously use all three if you want three lines of text.</p> <p><strong>Whats next?</strong></p> <p>This is very much a work in progress! I hope to make an option to customizing the number of sides (3 to 12), instead of just 4.</p>
With this file you will be able to print Customizable Lithophane Box - Any size! with your 3D printer. Click on the button and save the file on your computer to work, edit or customize your design. You can also find more 3D designs for printers on Customizable Lithophane Box - Any size!.
