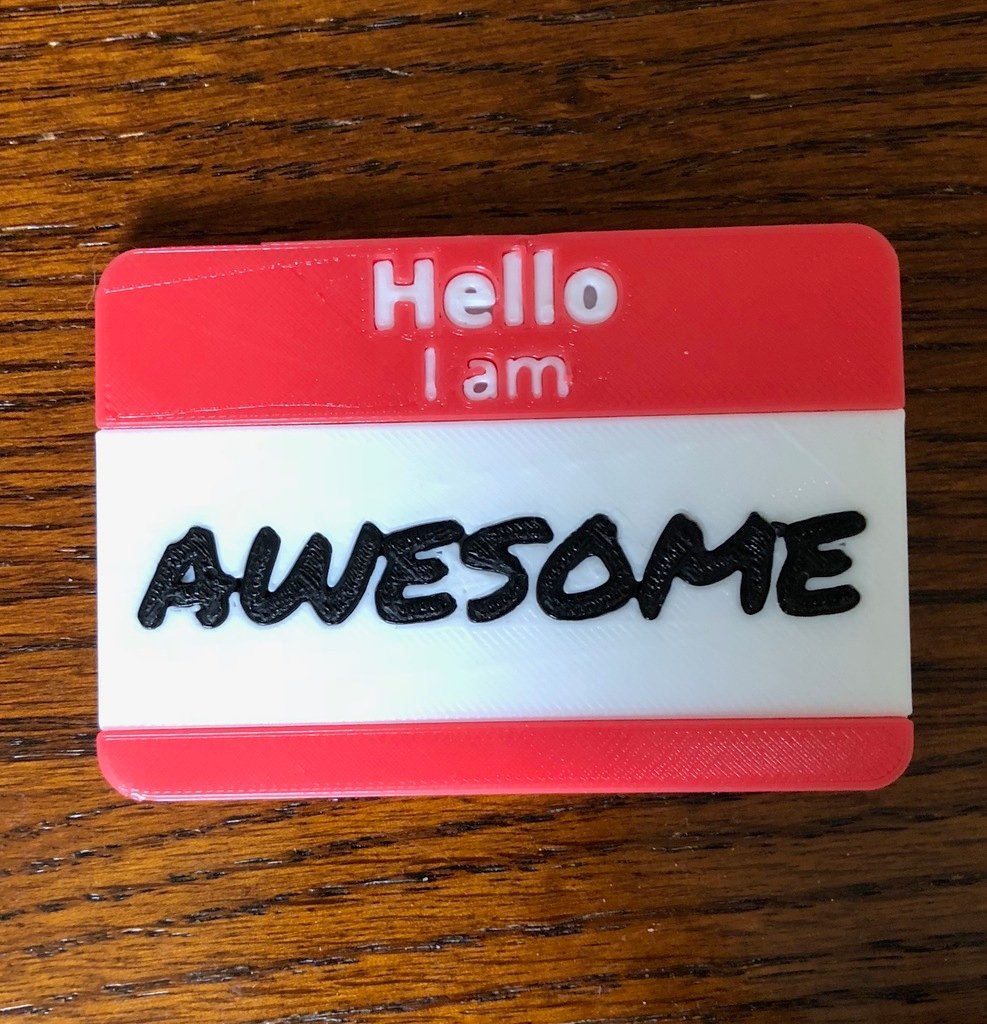
Customizable Hello Name Tag
thingiverse
<h2>Craft Your Own Personalized Name Tag</h2> A classic "Hello" name tag is designed to be printed in 3 vibrant colors: red, white, and black. You can skip the black part if you print a blank white section and write your name on it using a marker. <h3>Make It Yours</h3> <ul> <li>Personalize your text and font size.</li> <li>Choose from two options for the second line: "my name is" or "I am".</li> <li>Add some extra space around your text for a more polished look.</li> </ul> <h3>Tips for Assembly</h3> <ol> <li>Select a red part to print: either "red-my name is.stl" or "red-I am.stl", depending on the second line of text you want.</li> <li>Choose a white part with a blank area to write your name, or customize one with your desired name.</li> <li>Create a black part with your name, making sure to use the same text and scale for both white and black parts.</li> <li>The parts should fit together easily; if not, try using vise grips if the "allow" parameter was too small.</li> <li>For added security, you can use glue between parts.</li> </ol> <h3>Important Notes:</h3> <ul> <li>To compensate for the tiny red details inside the e, o, and a that will get lost during printing, use a red Sharpie on the back of the white part to add contrast to the white text, as shown in the third photo.</li> <li>It's best to attach your name tag to clothing using magnets.</li> <li>After printing the black name part, carefully remove the letters from the bed and immediately place them on a piece of tape for safekeeping.</li> </ul>
With this file you will be able to print Customizable Hello Name Tag with your 3D printer. Click on the button and save the file on your computer to work, edit or customize your design. You can also find more 3D designs for printers on Customizable Hello Name Tag.
