Customizable fursuit glasses: Rectangular style
prusaprinters
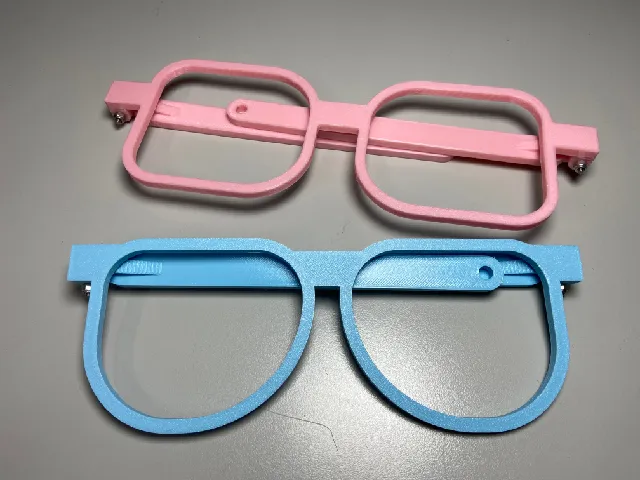
Introduction:This is a rectangular style glasses frame designed for fursuit heads with lots of customizable options!Upadte (2024/9/17): Added a new version that has a curved nose bridge instead of a flat nose bridge.How to customize using OpenSCAD:Download OpenSCAD at https://openscad.org/.Open the .scad file (Top left corner, File→Open File).Turn on the Customizer Window (Top left corner, Window→Customizer).Adjust the parameters in the customizer window.In order to view how the glasses frame looks like after your adjustments, in the top left corner of the program, press the Preview (F5) button, then press the Render (F6) button.When you are satisfied with the result, press the Export as STL (F7) button in the top left corner of the program.Parameters:LensWidth: The width of rectangle rim.LensHeight: The height of rectangle rim.InnerUpperRadius: The radius of the inner upper corner of the rectangle rim.InnerLowerRadius: The radius of the inner lower corner of the rectangle rim.OuterUpperRadius: The radius of the outer upper corner of the rectangle rim.OuterLowerRadius: The radius of the outer lower corner of the rectangle rim. PupillaryDistance: The distance between the centers of the two octagons.FrameThickness: The thickness of the frame in the front-back axis.FrameWidth: The “line width” of the frame.HingeSpacing: The distance between the frame hinge and the octagons.HingeHeight: The vertical location of the hinge.BridgeHeight: The vertical location of the bridge.BridgeWidth: The “line width” of the bridge. LegLength: The length of the leg.$fn: The resolution for the round surface objects, keeping it at 100 should be fine.Additional parameters in the curved bridge version:BridgeDiameter: The curvature of the bridge, with higher the number the flatter the bridge is.BridgeCutOffHeight: Depending on how the parameters are set, the shape of the bridge might appear to be a ring or a partial ring. In these cases, adjust the BrideCutOffHeight to cut off the bottom part of the ring.Assembly:Requires two M3*18mm screw, and two M3 nut, preferablly a nyloc nut, for the hinges.In order for the frame to stay on the fursuit head, there are two options:There are 6mm diameter holes at the end of the legs, string an elastic cord through the holes.Add 6mm diameter*5mm thick magnets in the holes with super glue, then add magnets to your fursuit head at the matching location, so the frame magnetically snaps onto your fursuit head.Notes:I don't personally own a fursuit head yet, so I might have missed some details, feel free to ask for changes or additional features in the comment section :)
With this file you will be able to print Customizable fursuit glasses: Rectangular style with your 3D printer. Click on the button and save the file on your computer to work, edit or customize your design. You can also find more 3D designs for printers on Customizable fursuit glasses: Rectangular style.