Customizable Dual Extrusion Nozzle Offset Calibration Tool
thingiverse
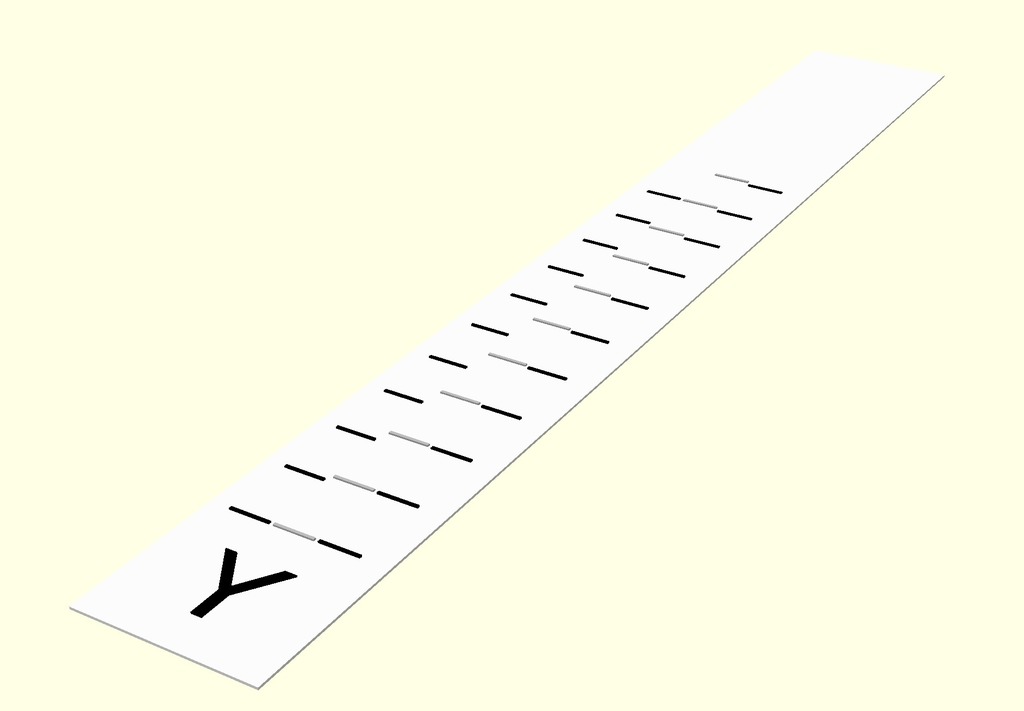
A calibration tool to determine the exact positioning of two nozzles in a multi nozzle printer is a monumental task. Most articles on this topic suggest that it's an incredibly challenging undertaking. Once the multi nozzle print head is installed, you can start printing these precision scales–aligned to each axis–to measure the nozzle offset in that direction. Once you've determined the offsets, you can update the printer's firmware with the final measurements and reset the slicer settings to 0. [Vernier scales](https://en.wikipedia.org/wiki/Vernier_scale) allow for incredibly precise measurements well below the nozzle diameter and likely down to the movement precision of the X/Y axes themselves. The base and fixed scale are printed with the fixed nozzle (usually 0). The axis label and vernier scales are printed with the second nozzle. Any offset in the second nozzle will cause the vernier scales to align differently with the fixed scale, providing a precise measurement of the offset. The large version has vernier scales for 1mm (left) and 0.1mm (right). The small version has vernier scales for 0.1mm (left) and 0.01mm (right). Unless you have more than two nozzles, you should only need to print the large scale for one axis. Using a smaller nozzle size or contrasting colors for the base, fixed scale, and vernier scale may help improve accuracy. ### Procedure for a two nozzle printer Depending on the offsets already in firmware, you may not need to print the large scale at all. #### Gross Adjustment 0. Measure (with anything... within 1cm is good enough) the offset between the nozzles along the large offset axis (most likely X). 1. Configure slicer settings to include this offset. For Ultimaker Cura 4.0.0: a. Go to _Settings_ -> _Printer_ -> _Manage Printers..._. b. Click _Machine Settings_. c. Switch to the _Extruder 2_ tab. d. Enter the offset in the _Nozzle offset [X|Y]_ field for the axis measured. 1. Print the large scales. 2. Adjust the offset in the slicer configuration with this new reading. 3. Repeat 3-4 until within 1mm. #### Fine Adjustment 0. Print small scales. 1. Adjust settings based on new measurement. 1. Repeat 1 and 2 until within 0.01mm. 2. Repeat 1-3 for the other axis. Most likely–for the highest accuracy–this process will require a total of 6 prints on a dual nozzle printer: four for the axis with a large offset (two large, two small), and two for the smaller axis offset. For most purposes, one print of the large scale on one axis and one small scale on each axis may be enough. If you have enough space on your print bed, you can print scales for each axis at the same time.
With this file you will be able to print Customizable Dual Extrusion Nozzle Offset Calibration Tool with your 3D printer. Click on the button and save the file on your computer to work, edit or customize your design. You can also find more 3D designs for printers on Customizable Dual Extrusion Nozzle Offset Calibration Tool.
