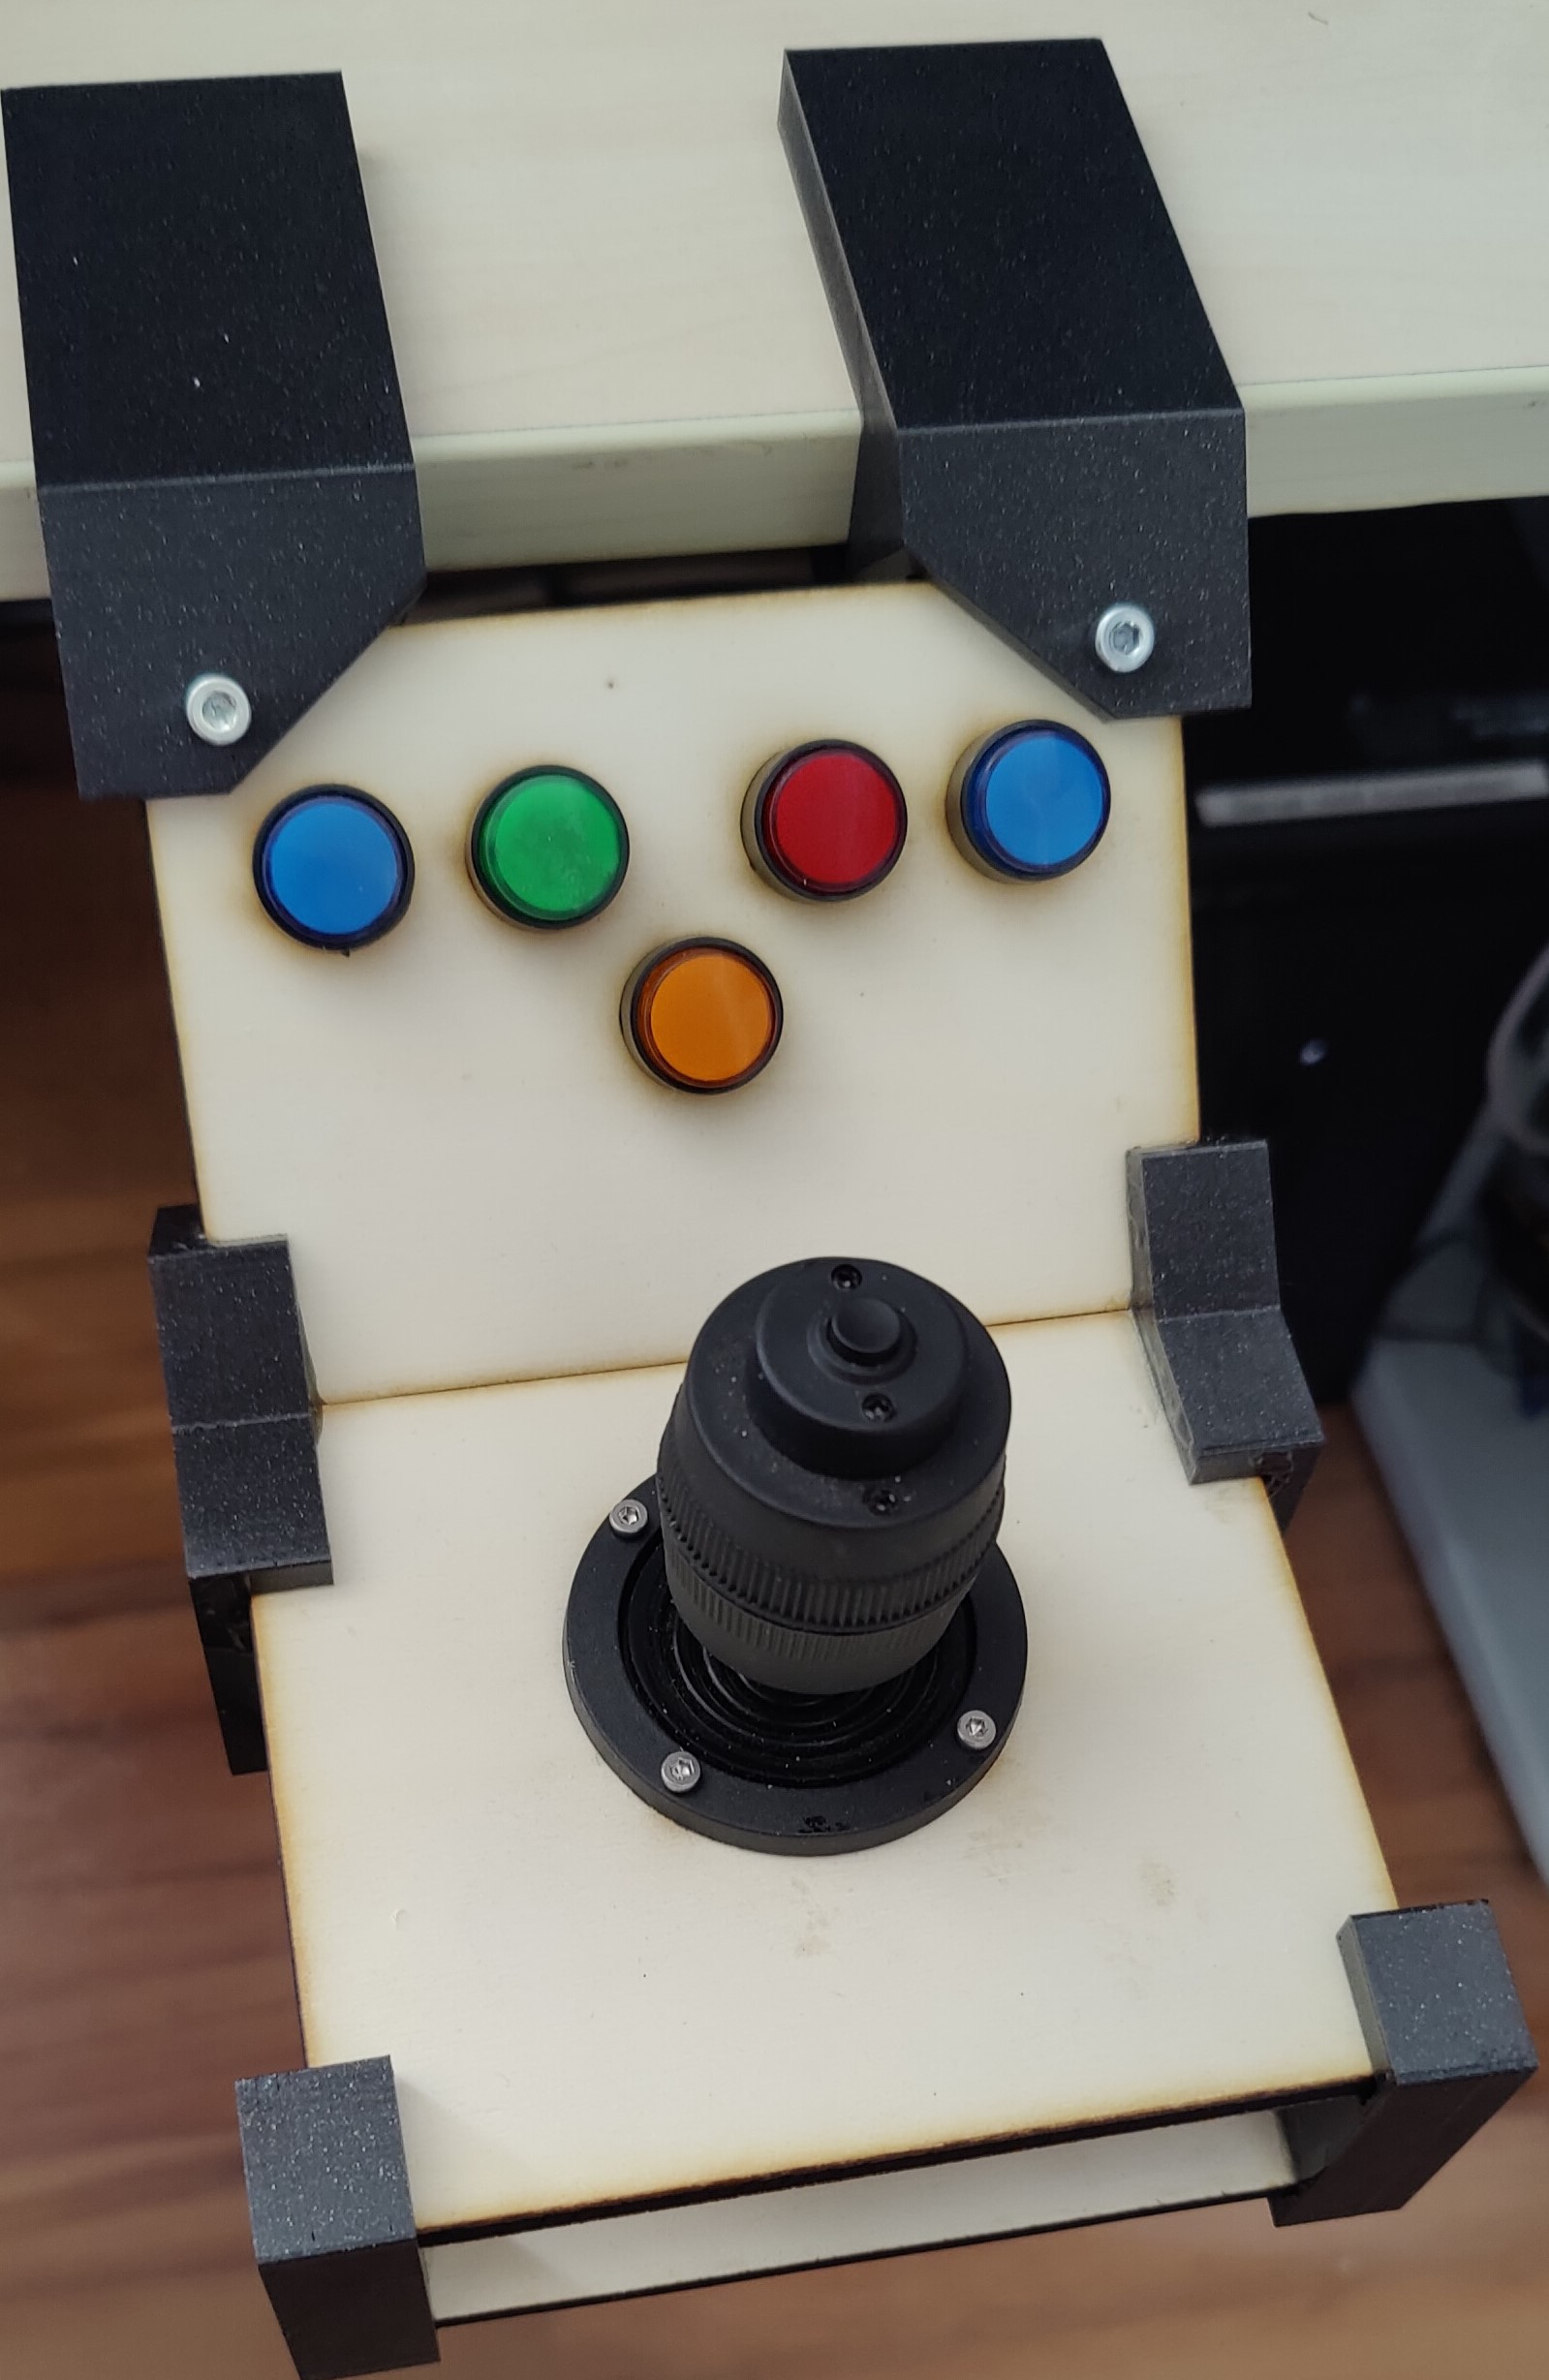
Custom desk mounted Game controller
prusaprinters
<p>Hi i created this Custom Game controller, i use mainly for simulator games like Kerbal Space Program or Farming Simulator, from some parts i had laying around.</p><p>Its based on a Teensy 3.2 and the programming and wiring was done by following this guide: (<a href="https://www.kobakant.at/DIY/?p=2497">Guide</a>).</p><p>Buttons are these 16mm arcade buttons (<a href="https://www.amazon.de/heschen-Momentary-Button-Switch-orange/dp/B076X3374F/ref=sr_1_10?__mk_de_DE=%C3%85M%C3%85%C5%BD%C3%95%C3%91&crid=180ZB9EIAFX00&keywords=button+16mm&qid=1664970867&qu=eyJxc2MiOiIwLjAwIiwicXNhIjoiMC4wMCIsInFzcCI6IjAuMDAifQ%3D%3D&sprefix=button+16mm%2Caps%2C74&sr=8-10">link</a>)</p><p>and the Joysticks is this one (<a href="https://www.amazon.de/Onmancy-Potentiometer-Tastensteuerung-Versiegeltes-Wipppotentiometer/dp/B09P54KHYD/ref=sr_1_9?__mk_de_DE=%C3%85M%C3%85%C5%BD%C3%95%C3%91&crid=1MBS6UHXGP6TF&keywords=3+axis+joystick&qid=1664970932&qu=eyJxc2MiOiIwLjk4IiwicXNhIjoiMC45MiIsInFzcCI6IjAuMDAifQ%3D%3D&sprefix=3+axis+joystick%2Caps%2C71&sr=8-9">link</a>)</p><p>I used a Lasercutter to cut the plates from 6mm plywood, but i also included the .3mf files if you want to use a printer or customize the layout.</p><p>For mountiung to the table i used M8 t bolts and washer nuts that are used for 40mm aluminum t-slot:</p><figure class="image image_resized image-style-align-left" style="width:37.14%;"><img src="https://media.printables.com/media/prints/289310/rich_content/e15d84e5-f8cd-4699-b2b2-5dc7e609cd10/img20221005131239.jpg#%7B%22uuid%22%3A%227c013765-c2b8-482d-ad6b-016cd3548552%22%2C%22w%22%3A2100%2C%22h%22%3A824%7D"></figure><p> </p><p> </p><p> </p><p> </p><p>I installed the buttons and the joystick with the provided mounting hardware and then i glued the parts together using epoxy in these positions on each side:</p><figure class="image"><img src="https://media.printables.com/media/prints/289310/rich_content/5fa78a06-a197-46ff-912a-4bbf27289986/img20221005130444.jpg#%7B%22uuid%22%3A%22555f0637-cb19-43f7-9465-db9f24511e60%22%2C%22w%22%3A3354%2C%22h%22%3A1161%7D"></figure><p>then i marked the top corner piece screw hole and drilled a 4mm hole, after that i secured the top plate to the table holder with two M4x20mm screws.</p><p>one Teensy 3.2 has enough inputs to run two of these controllers, i plan on making a “patch” cable to connect one to the other.</p><p> </p><p>Needed Parts:</p><p>(1x) Joystick (<a href="https://www.amazon.de/Onmancy-Potentiometer-Tastensteuerung-Versiegeltes-Wipppotentiometer/dp/B09P54KHYD/ref=sr_1_9?__mk_de_DE=%C3%85M%C3%85%C5%BD%C3%95%C3%91&crid=1MBS6UHXGP6TF&keywords=3+axis+joystick&qid=1664970932&qu=eyJxc2MiOiIwLjk4IiwicXNhIjoiMC45MiIsInFzcCI6IjAuMDAifQ%3D%3D&sprefix=3+axis+joystick%2Caps%2C71&sr=8-9">link</a>)</p><p>(5x) Buttons (<a href="https://www.amazon.de/heschen-Momentary-Button-Switch-orange/dp/B076X3374F/ref=sr_1_10?__mk_de_DE=%C3%85M%C3%85%C5%BD%C3%95%C3%91&crid=180ZB9EIAFX00&keywords=button+16mm&qid=1664970867&qu=eyJxc2MiOiIwLjAwIiwicXNhIjoiMC4wMCIsInFzcCI6IjAuMDAifQ%3D%3D&sprefix=button+16mm%2Caps%2C74&sr=8-10">link</a>)</p><p>(2x) M4x20mm bolts</p><p>(2x) M8 t-bolt (10mm) min. 15mm long</p><p>(2x) M8 washernuts</p><p>2 part epoxy</p>
With this file you will be able to print Custom desk mounted Game controller with your 3D printer. Click on the button and save the file on your computer to work, edit or customize your design. You can also find more 3D designs for printers on Custom desk mounted Game controller.
