custom base for testing 4x18650 + 4xZB2L3
thingiverse
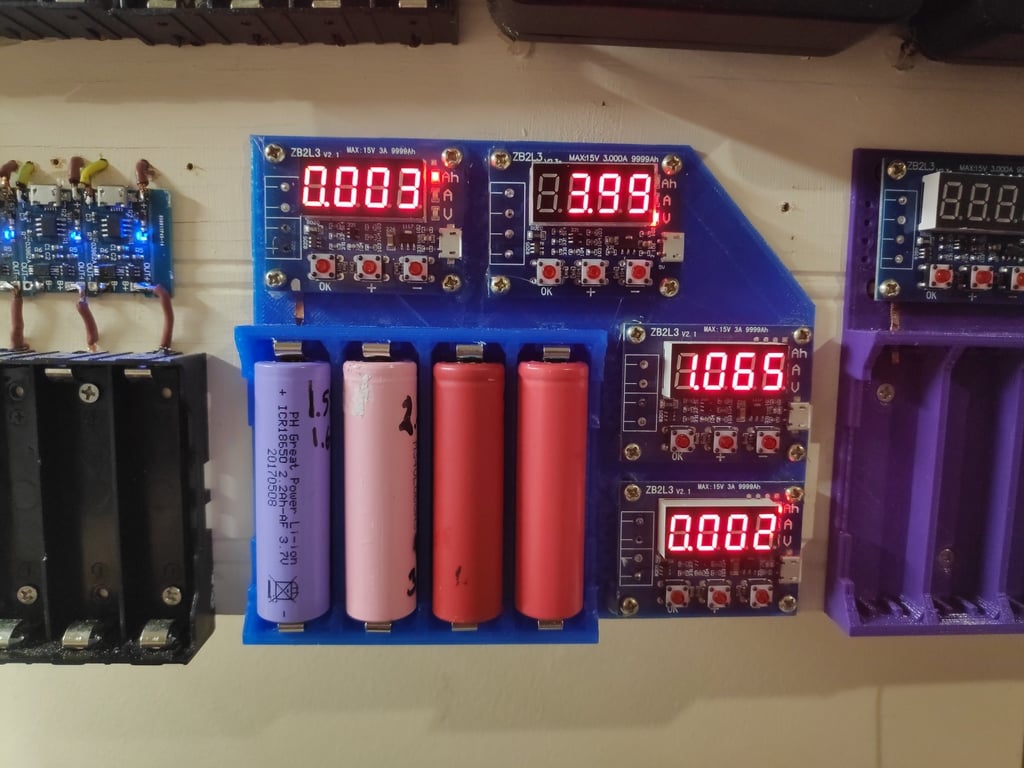
First setup of single 18650 cell + connected ZB2L3 board was completed in a hurry as I needed to quickly move on to testing many cells. Now that I have more time, I've developed a more suitable and organized solution. You can decide for yourself how it performs. Initially, I bought an inexpensive 4x18650 holder, but as you can see from one of the photos, after fully loading the cells, it began cracking. The metal connectors were too stiff, and the plastic was too weak. So, I created a better holder with stronger joints and walls, making it impossible to crack. I removed the metal connectors from that flimsy holder and reused them in my version. In the final design, I also eliminated the blue connector from the ZB2L3 board and soldered wires directly onto the bottom through the base. It required more work, but it looks cleaner. I had foreseen this, so for each ZB2L3 board, I designed additional holes depending on the wiring configuration. This way, you can keep using that blue connector with the wires running alongside the board. For the 5V supply, there are also two versions of holes directly below and beside the board, in case you plan to use a microUSB. All holes for ZB2L3 boards do not go completely through the base; instead, there is a 0.25mm layer for easy cutting based on your wiring preferences. The load resistors are positioned behind the board because I have this entire charging "station" mounted on the wall with all the wiring hidden from view. Using two 7.5R resistors achieves approximately 1A of discharge.
With this file you will be able to print custom base for testing 4x18650 + 4xZB2L3 with your 3D printer. Click on the button and save the file on your computer to work, edit or customize your design. You can also find more 3D designs for printers on custom base for testing 4x18650 + 4xZB2L3.