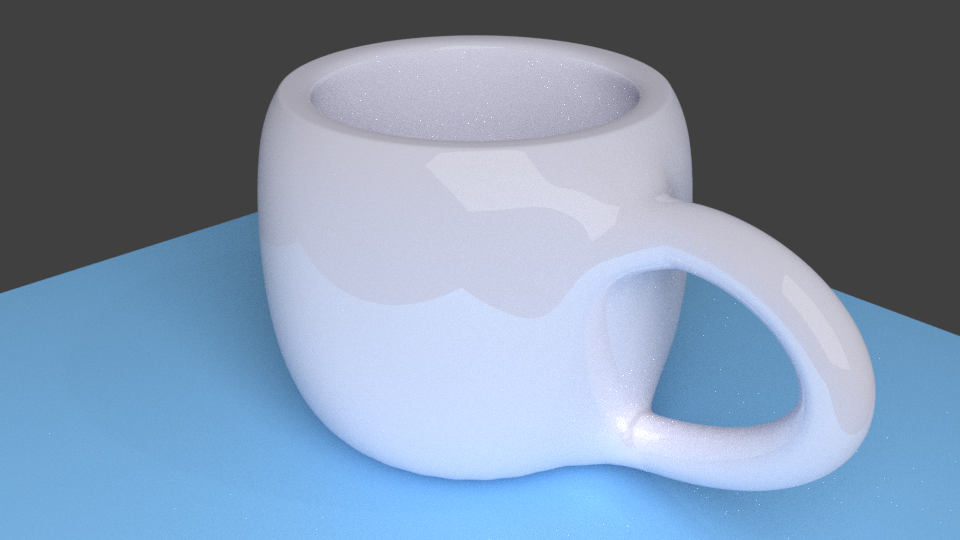
Cup (Blender)
grabcad
Crafting a Cup in Blender: A Beginner's Tutorial As you venture into the world of 3D modeling with Blender, one of your first projects is likely to be creating a simple cup. This tutorial will guide you through the process step by step, from setting up your workspace to finalizing the design. Step 1: Setting Up Your Workspace Begin by launching Blender and selecting the default cube as your starting point. Step 2: Creating the Cup Base Press the 'Ctrl + Shift + C' keys on your keyboard, or navigate to Edit Mode > Delete > Faces in the menu bar, to remove the top face of the cube. Next, select the bottom face by right-clicking on it and then press the 'Shift + R' keys twice to duplicate the selected face. Step 3: Shaping the Cup To start shaping your cup, navigate to Edit Mode > Loop Cut in the menu bar and place a loop cut just below the top edge of the duplicated face. Select both faces by holding down the Ctrl key while left-clicking on each face, then press the 'Shift + R' keys twice to duplicate these selected faces. Step 4: Finishing the Cup Now that you have your cup shape, it's time to finalize its design. To do this, navigate to Object Mode > Scale in the menu bar and scale down both sides of the cup equally until they are even. To smooth out any rough edges, select all vertices by pressing 'Ctrl + A' on your keyboard, then press 'Shift + R' keys three times while holding Ctrl key to move all vertices up. Step 5: Adding a Handle With your cup design complete, it's time to add a handle. To do this, navigate to Object Mode > Extrude in the menu bar and create an extrusion from the center of the top edge of the cup. Select both edges by right-clicking on them and then press 'Ctrl + R' keys twice to duplicate these selected edges. Step 6: Final Touches Once you've added your handle, it's time to give your cup a final polish. To do this, navigate to Object Mode > Subdivide in the menu bar and subdivide the top edge of the cup to create more detail. Finally, select all vertices by pressing 'Ctrl + A' on your keyboard, then press 'Shift + R' keys twice while holding Ctrl key to move all vertices up.
With this file you will be able to print Cup (Blender) with your 3D printer. Click on the button and save the file on your computer to work, edit or customize your design. You can also find more 3D designs for printers on Cup (Blender).