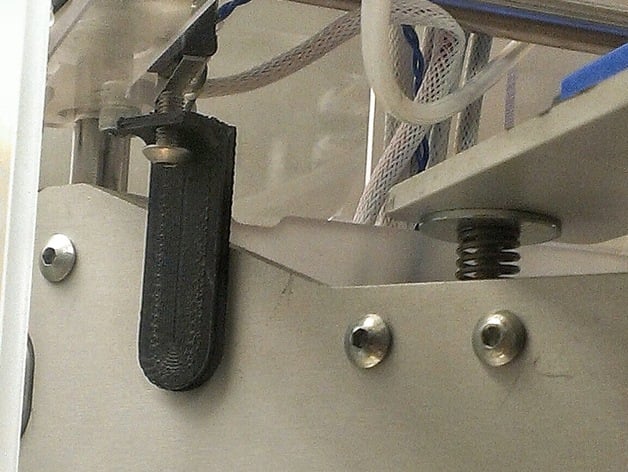
CubeX Z Endstop Adapter
thingiverse
These mounts allow you to add an adjustable Z-endstop switch to a rebuilt CubeX, and they would also fit the Duo and Trio. Using a screw from the CubeX and a standard microswitch, anyone setting up open-source firmware such as Marlin can bypass the built-in magnetic Z-endstop. This allows for mechanical z-gap adjustment. Instructions are provided outlining the assembly steps and components used. To assemble the screw holder: 1. Print parts A and B and glue them together. 2. Insert two pins into holes of a metal bracket at the back-left corner of the build plate. 3. Use an inner floor screw from the CubeX to hit the endstop switch, which came with the Azteeg X3 controller used to rebuild the CubeX. To assemble the switch holder: 1. Fit short segments of 1.75mm filament through holes of the switch and into those of the holder. 2. Glue these pegs into place. 3. Place the switch at the back-left corner of the printer and attach it by replacing plastic spacers with screws through printed holder holes. 4. You may want to tape it to a plastic bar holding a black cable chain above the new screw holder. 5. Line up this placement so that the screw strikes the microswitch consistently every time the plate rises. Both parts were printed on a Solidoodle 2 with no support and ~80% infill (Slic3r).
With this file you will be able to print CubeX Z Endstop Adapter with your 3D printer. Click on the button and save the file on your computer to work, edit or customize your design. You can also find more 3D designs for printers on CubeX Z Endstop Adapter.
