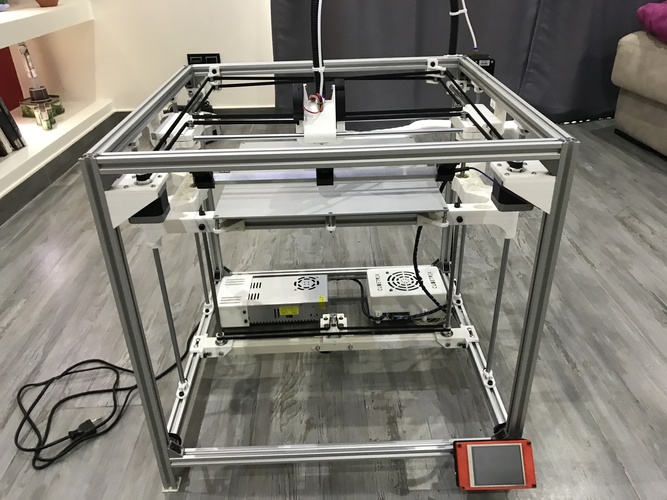
CUBETRIX diy corexy 3D PRINTER
pinshape
3D Printing is a revolutionary manufacturing process that brings digital designs to life by creating physical objects layer by layer. This additive technology has multiple methods and materials, but all share one fundamental principle: turning a digital blueprint into a solid three-dimensional object. Every 3D print begins as a digital design file - the blueprint for a physical creation. Trying to print without this file is like trying to print text without a document. This file is sliced into thin layers, which are then sent to the 3D printer. Chuck Hull invented the first 3D printing process called "stereolithography" in 1983 and laid the foundation for additive manufacturing (AM), also known as 3D printing. Like any ambitious project, creating a 3D printer from scratch is a dream turned into reality. I successfully designed and built my own 3D printer, called CUBETRIX, with open-source technology allowing me to program it to create almost any object. Many of you may be familiar with the Prusa i3 clone, but I was determined to create something better at a similar price. CUBETRIX boasts an impressive printing area of 330x330x300, powered by a 32-bit processor and 32 steps per motor for precise control. It features a 3.2-inch touchscreen display, Wi-Fi and Wi-Lan connectivity, and can achieve speeds ten times faster than the Prusa i3 clone. Additionally, it comes equipped with six points of auto-leveling, ensuring stable and consistent prints. One of the most exciting aspects of CUBETRIX is its versatility - you can easily upgrade to any board or LCD controller, such as Duet or Ramps. Without further ado, I present my project: a comprehensive guide for building and customizing your own CUBETRIX 3D printer. The files provided include detailed instructions on how to build the structure and a Bill of Materials (BOM) in PDF format. For those who want to see it in action, a link is provided below. Note that if you plan to modify the print area, you can simply adjust the length of the 2020 extrusions and rods for each axis. To make things even easier, I have created videotutorials on how to build CUBETRIX, covering every step from assembly to printing. You can find these tutorials at the following links: No:1, No:2, No:3, No:4, No:5, No:6, No:7, No:8, No:9, No:10, No:11, No:12, No:13 These videos will guide you through homing tests, movements, and printing, as well as Z-axis weight torture tests and time-lapse prints. If you have any questions or want to discuss improvements, I invite you to join the CUBETRIX Facebook group. To make configuration easier, I have included the firmware with the files. Happy building and printing, everyone!
With this file you will be able to print CUBETRIX diy corexy 3D PRINTER with your 3D printer. Click on the button and save the file on your computer to work, edit or customize your design. You can also find more 3D designs for printers on CUBETRIX diy corexy 3D PRINTER.
